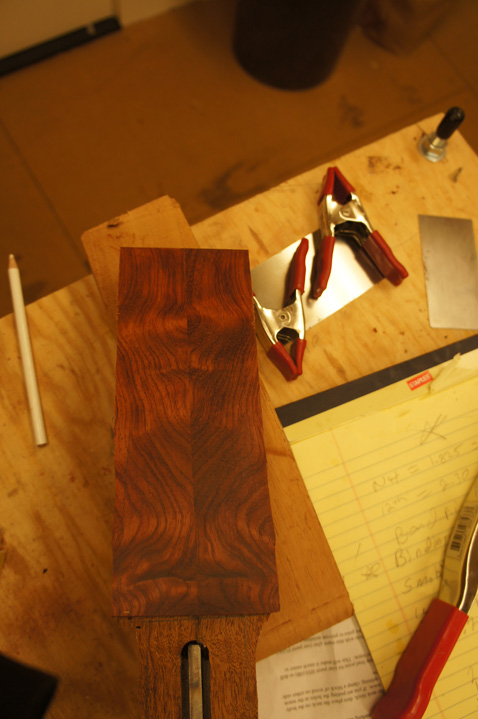
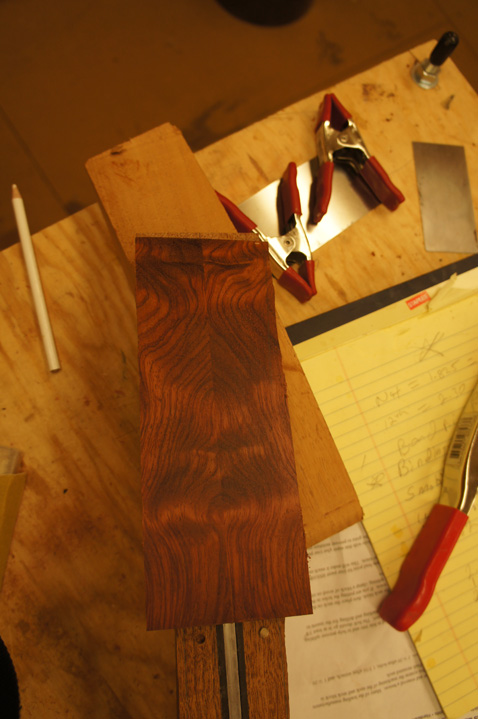
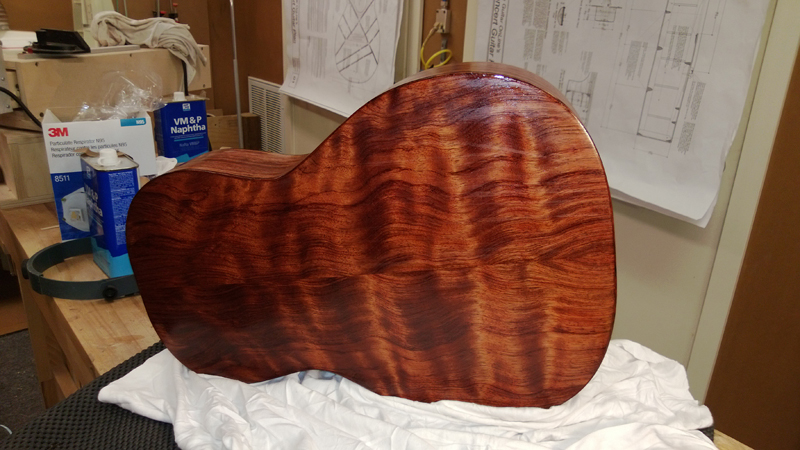
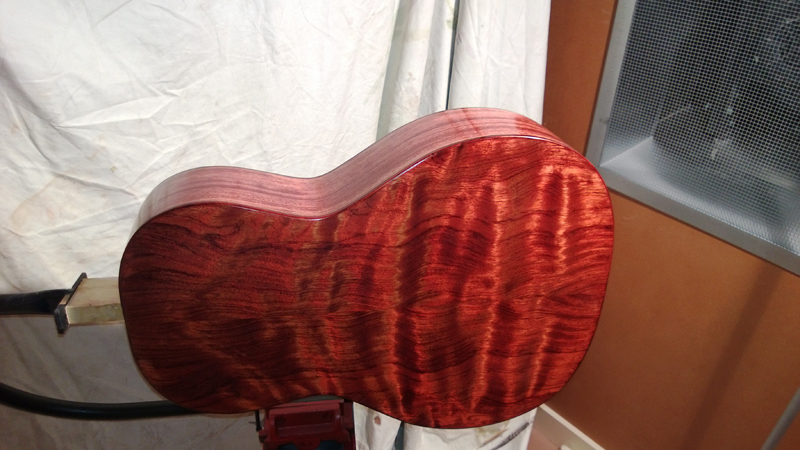
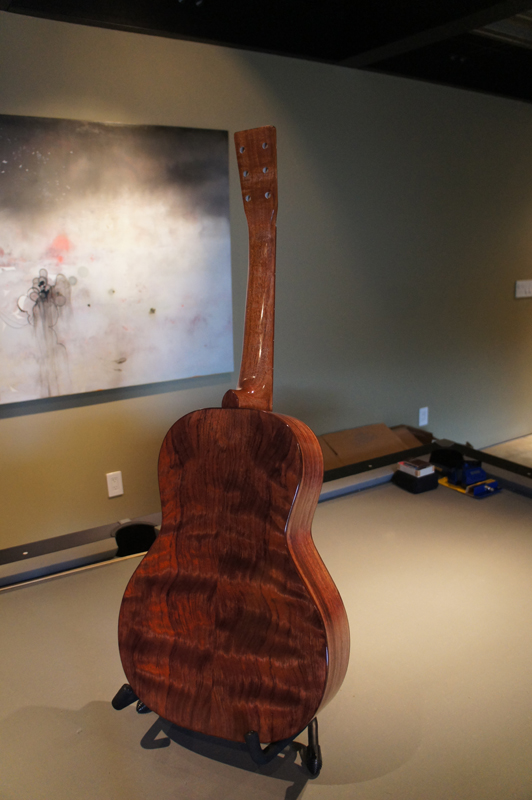
I am starting a new guitar for my 22-year-old niece. I have a waterfall Bubinga back and side set and a Sinker Redwood top. My original plan was Cocobolo bindings, rosette, and headstock veneer with some marquetry purfling that was a good colour match. But then I saw the book-matched cutoffs from the back — so I decided to save the Cocobolo for another project and use the Bubinga for the rosette and headstock veneer instead. The grain match is perfect.
The Sinker Redwood top is gorgeous. This is reclaimed wood from old-growth logs pulled from river bottoms — it has been naturally aging underwater for decades. The colour is deep and warm, and the tone is often compared to the best old-growth Western Red Cedar.
Sinker Redwood Sinker Redwood is recovered from logs that sank during the logging era and spent decades submerged. The slow underwater aging produces wood with exceptional tonal properties — rich overtones and warm sustain. Every piece is unique.
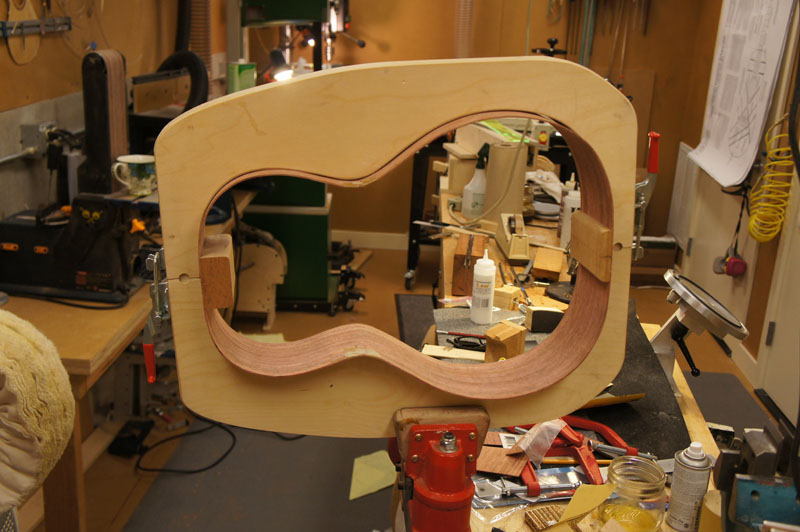
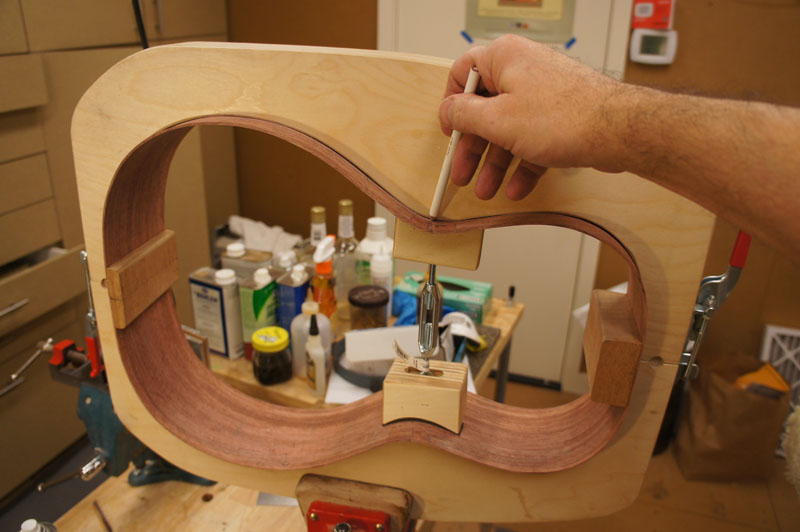
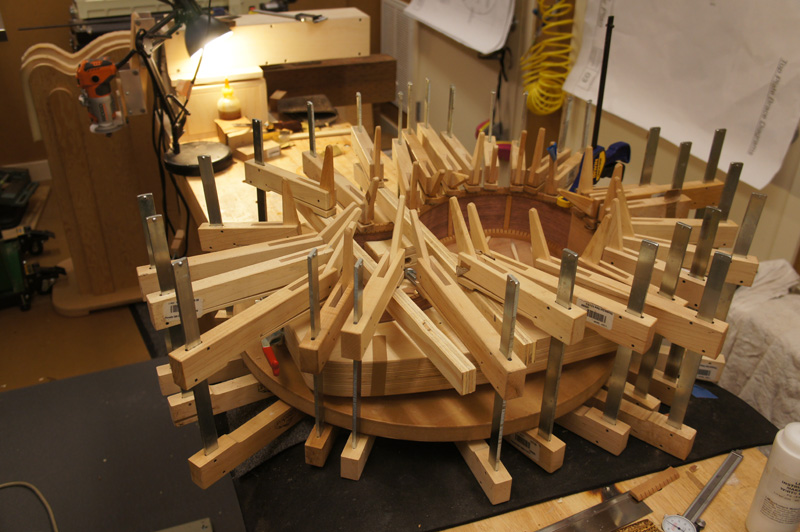
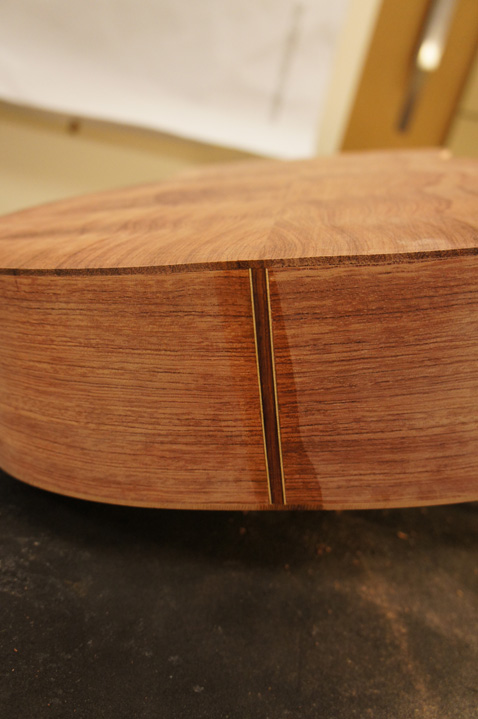
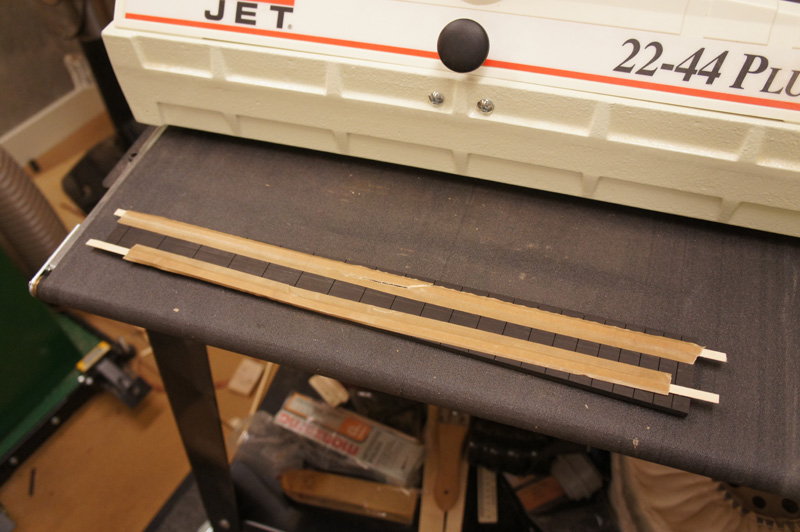
I had no issues at all bending the pre-profiled sides on a Fox-style bender with a heat blanket. I was very happy — the sides, once trimmed to size, fit perfectly in the moulds without needing spreaders to push them into place. I take care to place the bend exactly where I want it so the bend matches the profile I cut, and if the sides are book-matched I can control the match at the tail.
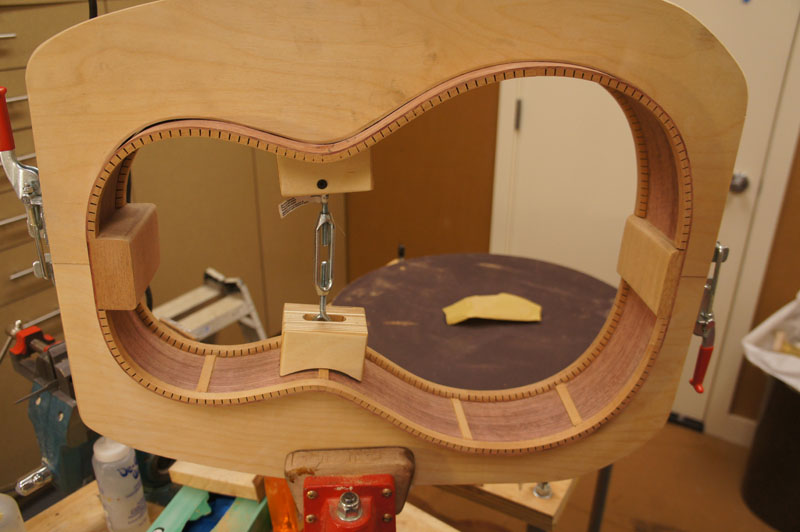
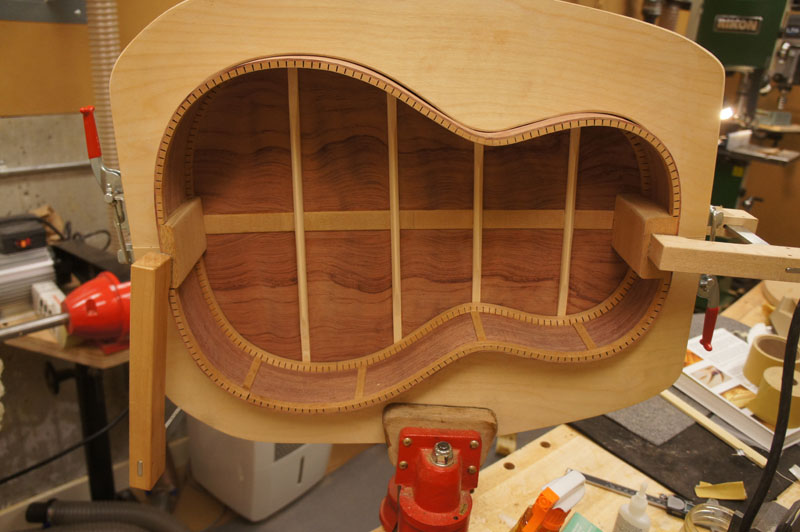
The rim assembly comes together. I use pre-profiled sides where the thickness tapers from the neck block to the tail — thinner at the waist for easier bending, thicker at the ends for structural strength.
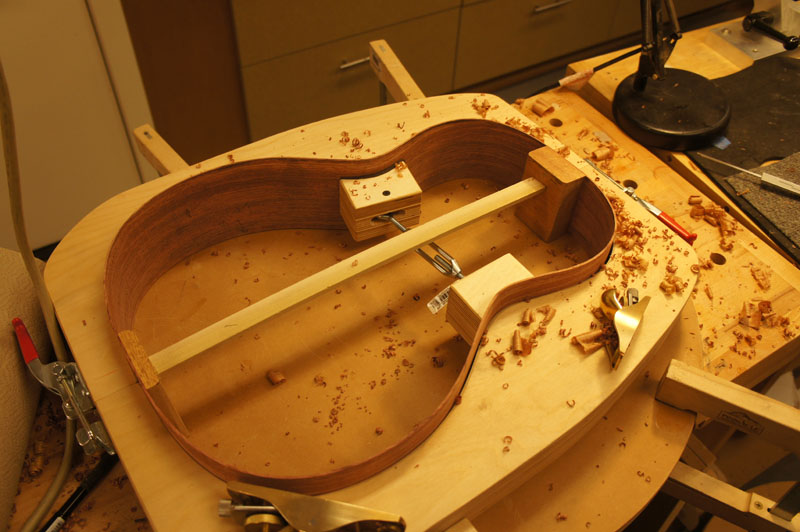
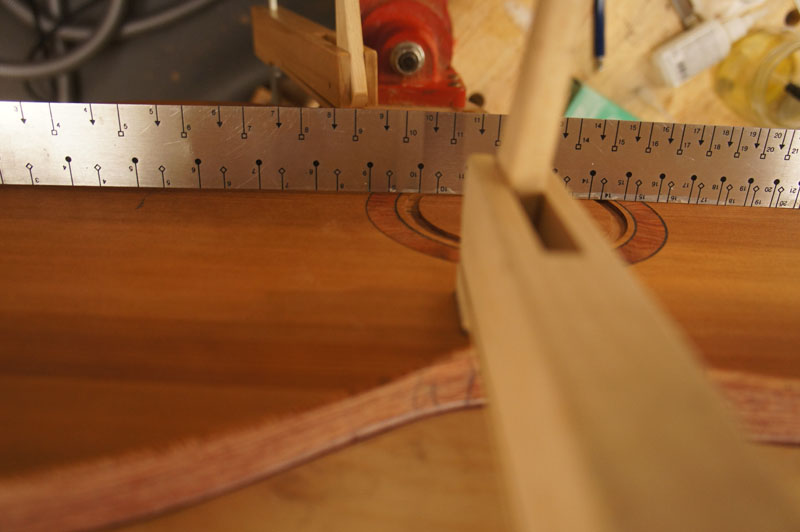
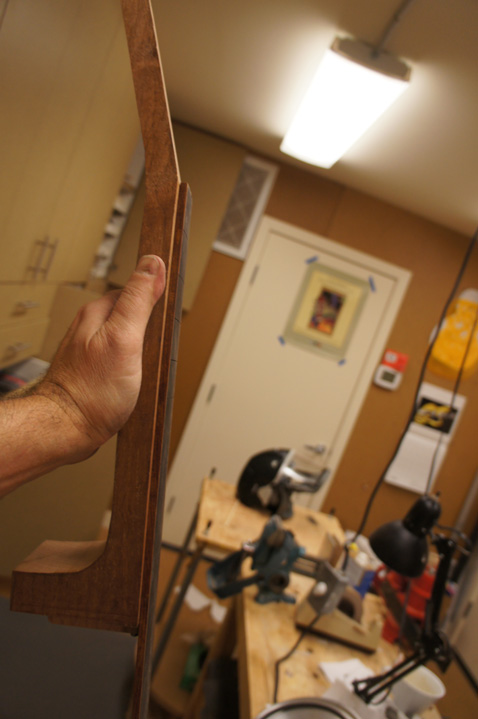
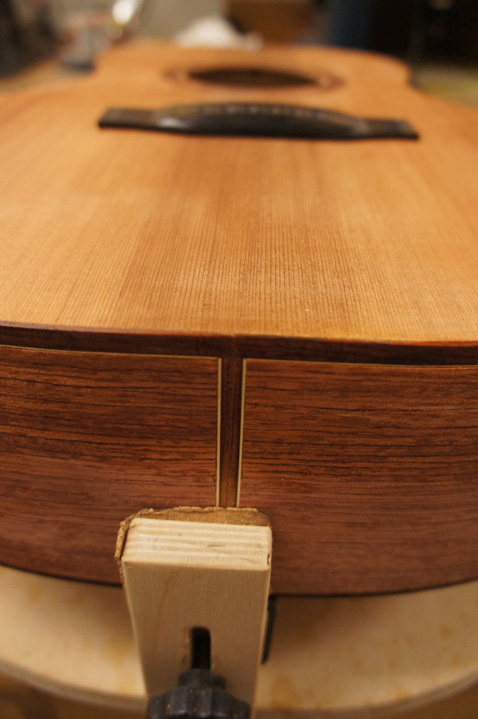
The rim is complete, ready for a back and top. I do a rough check of the profile by clamping the top onto the rim and placing a straightedge along the fretboard and string path to see what I have for a gap at the saddle. I have almost exactly 1/16″ gap now — I’ll recheck with the braced and fitted top before I glue it on.
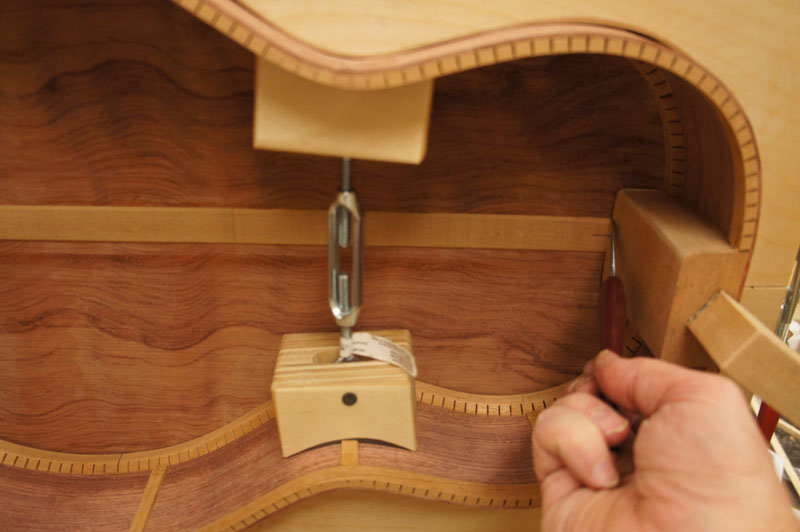
I’m on vacation doing what I like best. I braced the back and have marked out the rebates on the rims. I could probably have routed out the rebates tonight, but I had a glass of wine at dinner and I hate to use power tools after any drinking.
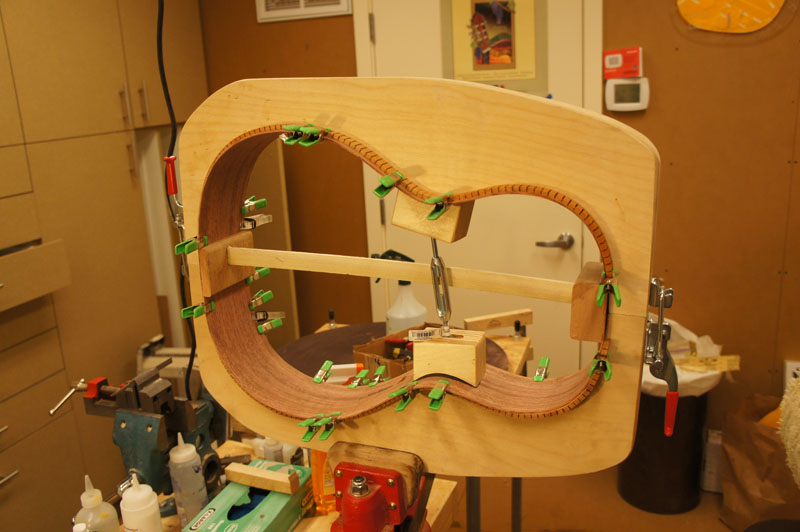
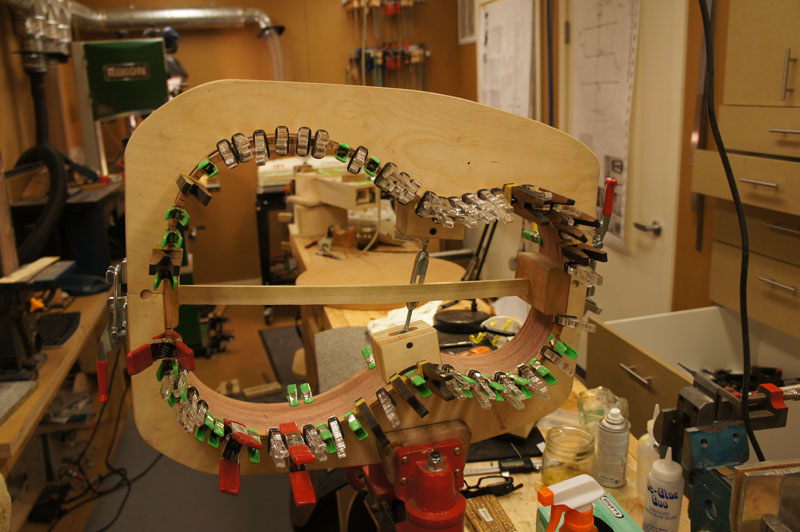
Honest MomentBen noticed I had the kerfing on the wrong side at one point. Yes, it was a close call — probably worked too late that night!
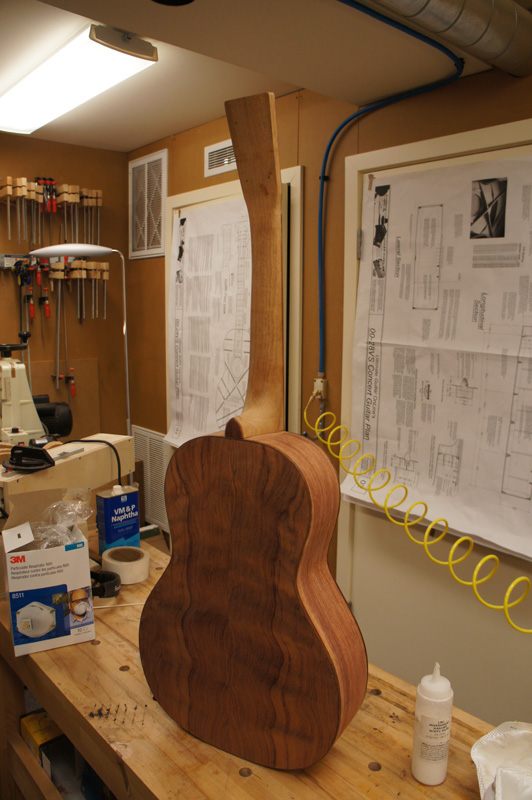
Book-matching the outsides of the back — where the wood is the least quarter-sawn — makes for really good patterns. Perfect for non-structural veneers like the headstock and rosette.
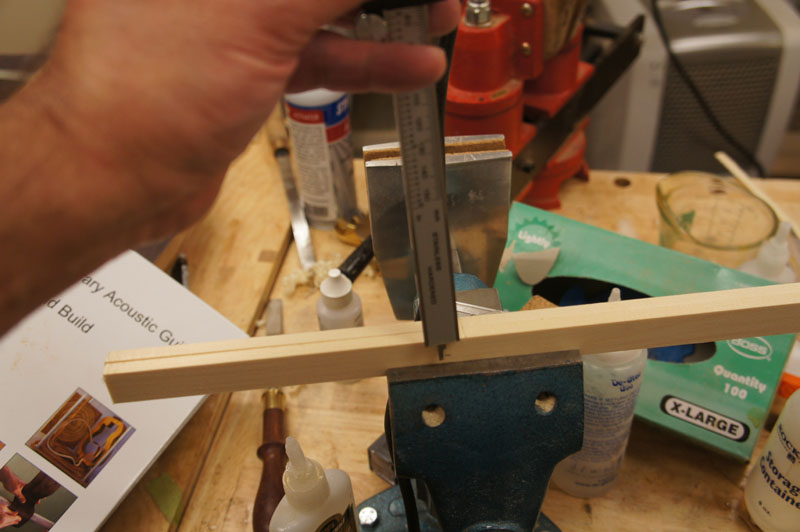
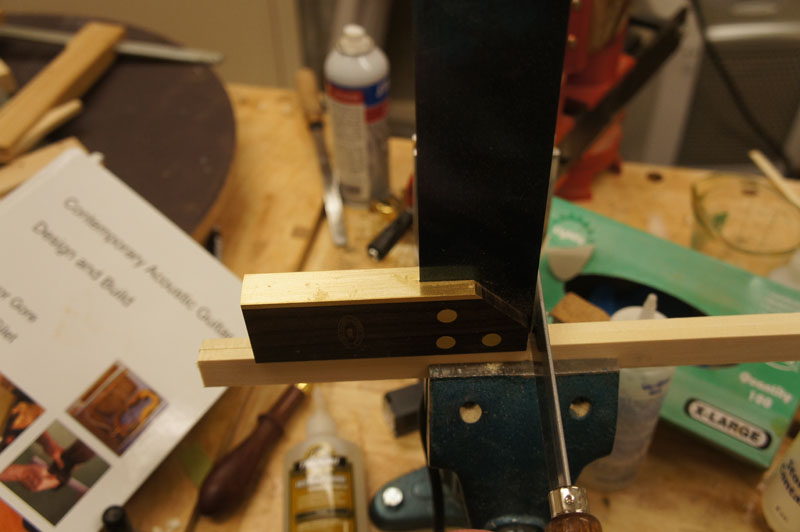
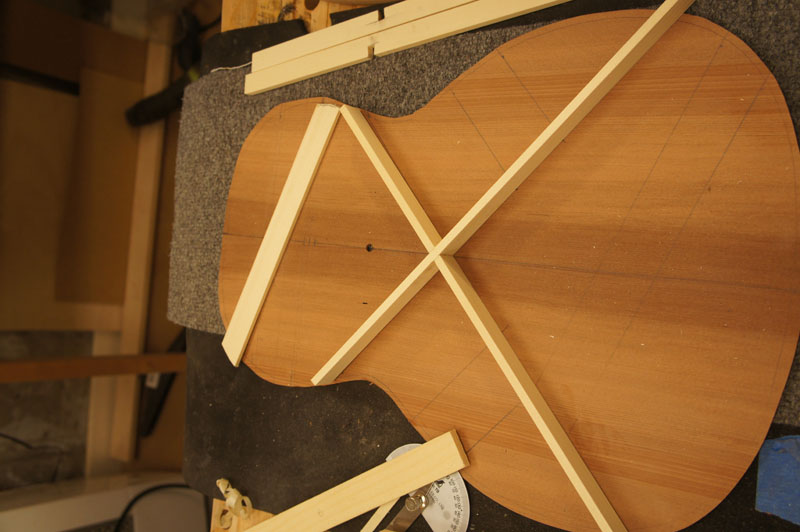
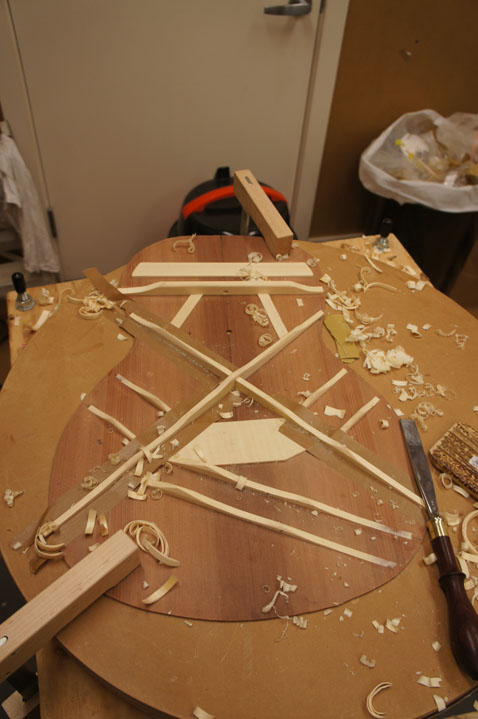
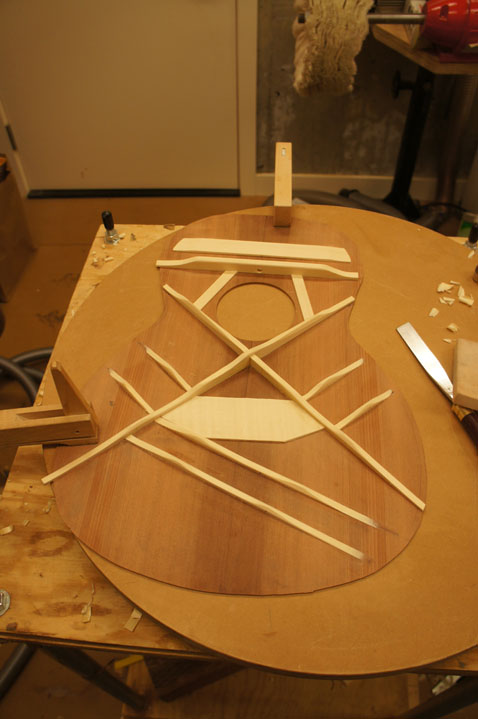
On to the top. I roughed out all of the braces, cut them close on the bandsaw, and either planed them or used the drum sander to take them down to size. I pre-shape each brace before gluing.
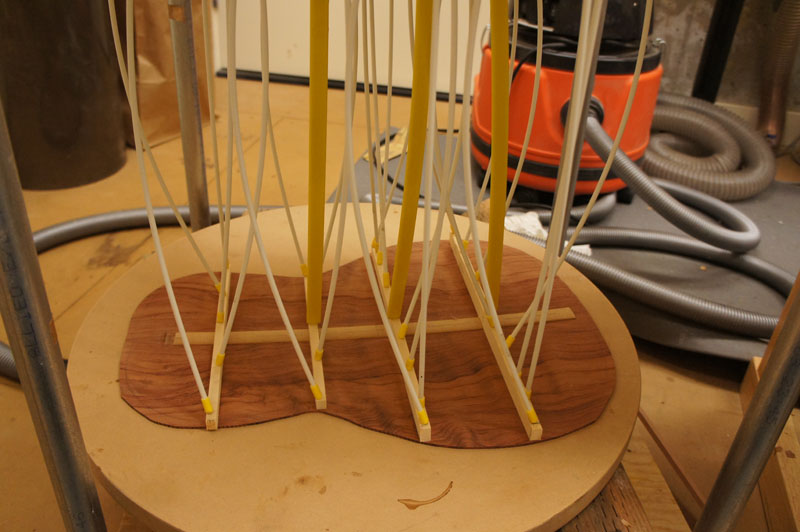
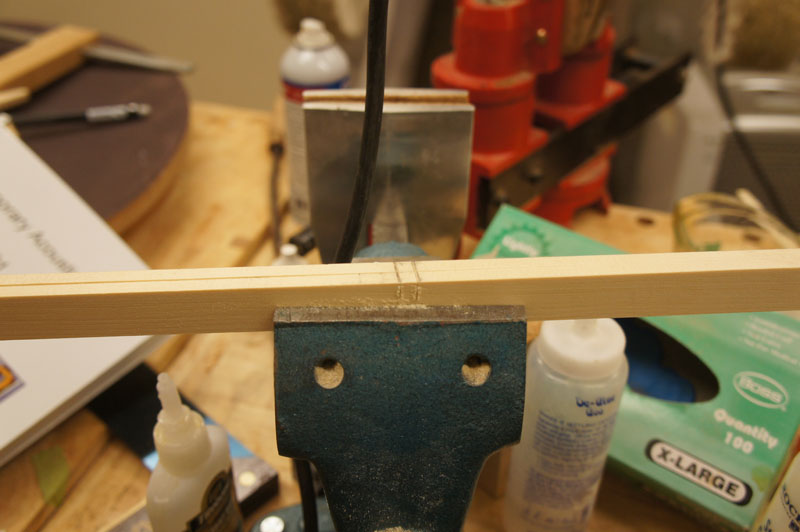
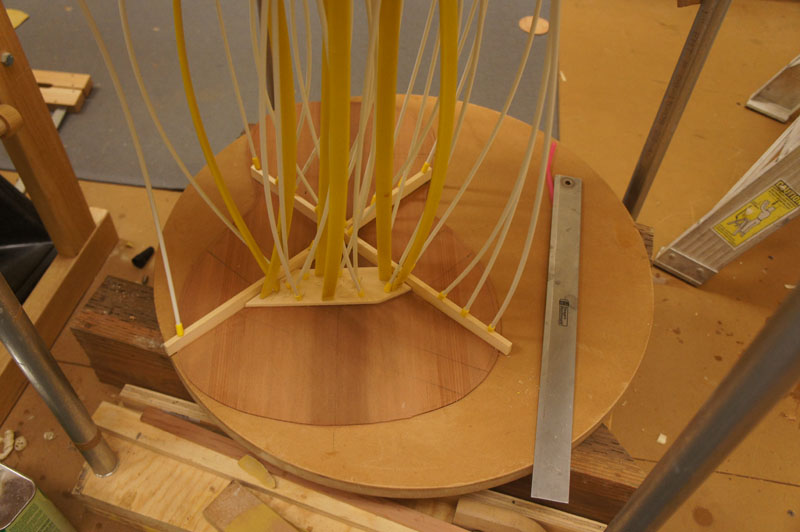
My shop is taking a beating, even though I try to keep it clean. Here I am gluing the upper transverse brace in the 28″ radius dish. I went back and forth between gluing it flat or in a dish. The brace has a 3″ flat area in the centre; the rest has the radius.
Ken shared a method for matching brace contours with a radius and flat area — a useful technique I’ll try next time. A little quality time with some sandpaper and this top is braced.
Not that I know what I’ll do with the information yet, but I’m going to do some frequency analysis of the tap tones. I have the software and a mic, so why not start collecting data.
Tap Tone Analysis This was an early experiment with frequency analysis of tap tones — using free software (Visual Analyzer) and a microphone to record spectrum traces at each stage. The goal was to start building a database of what good-sounding plates look like on a frequency graph.
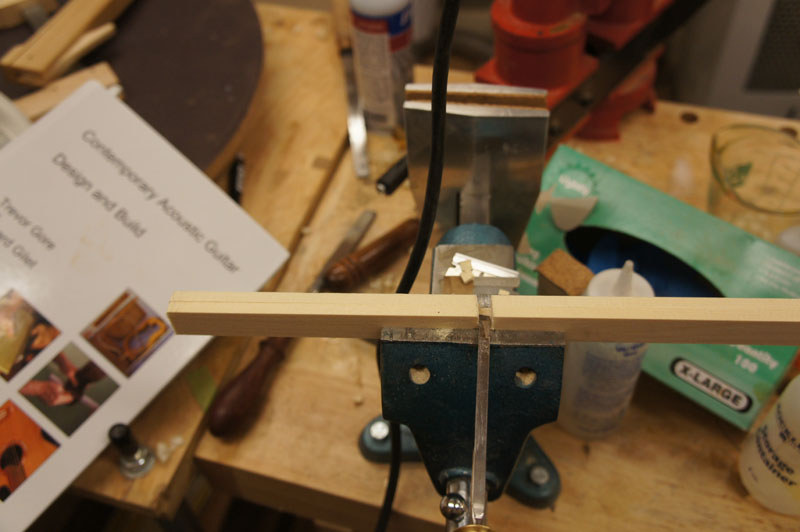
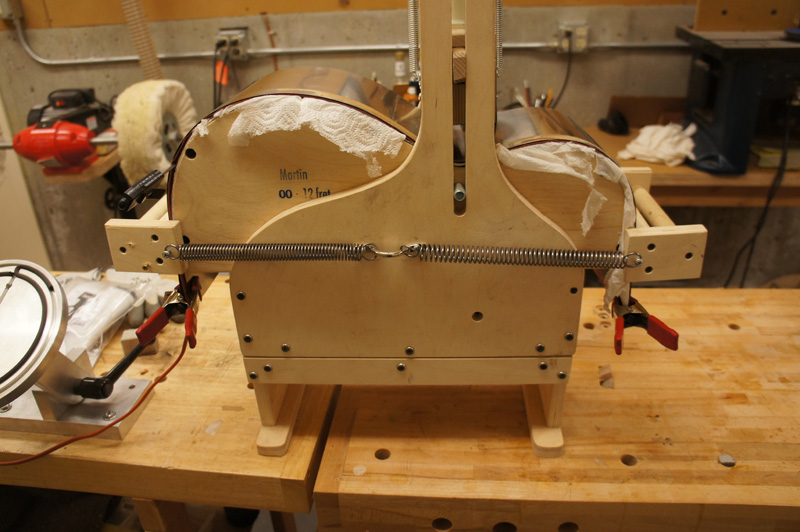
I managed to close the box today and trimmed the plates flush to the sides. Before I closed the box I did some final tap tuning and was able to open up the sound a bit. Through the tap tuning and before I closed the box I used Visual Analyzer to take spectrum traces — I recorded before and after tuning to compare.
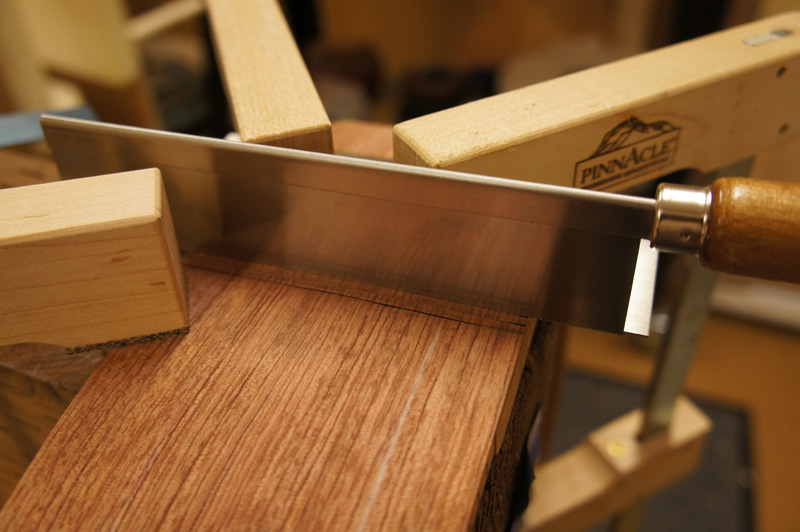
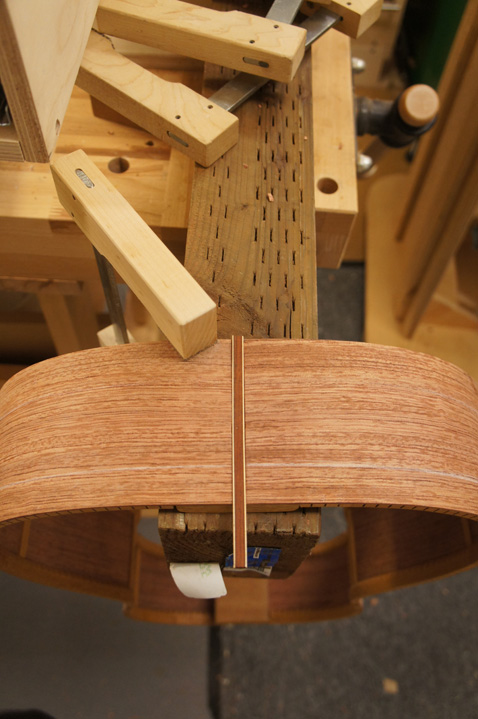
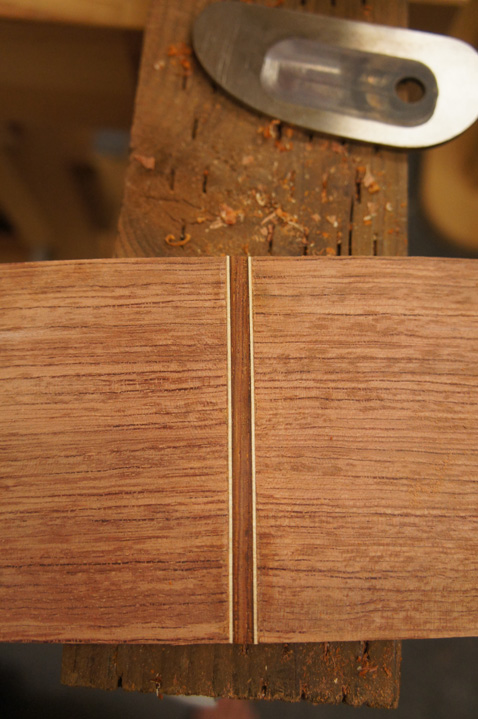
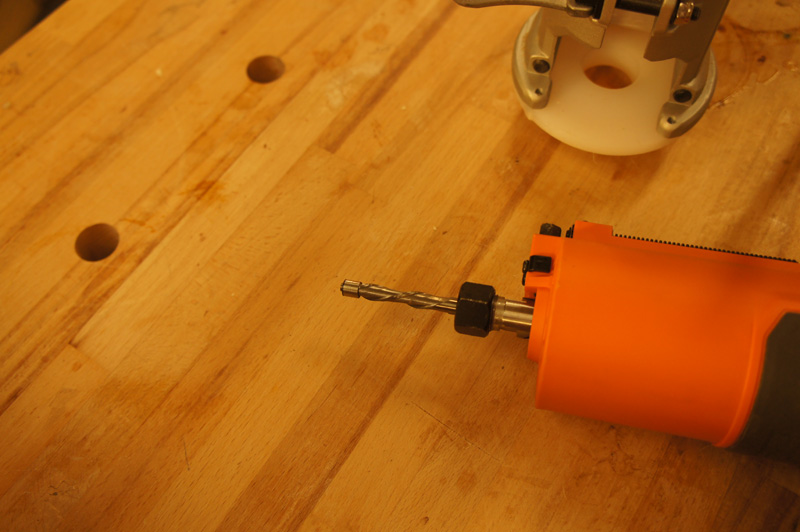
Ben asked why I glue the back centre strip before closing the box rather than after. I got in the habit of adding the strip before closing because at one point I didn’t have a good way to hold the box stable upside down. When I route the bindings I tape a bit of purfling on the top and back to avoid routing the top of the strip off, then a bit of chisel work and I can complete the strip through the binding.
Tony mentioned he’d done a similar wedge shim for neck angle correction and it made him nervous. I can relate — but checking and rechecking the geometry is just part of the process. Better to fix it now than after the finish is on.
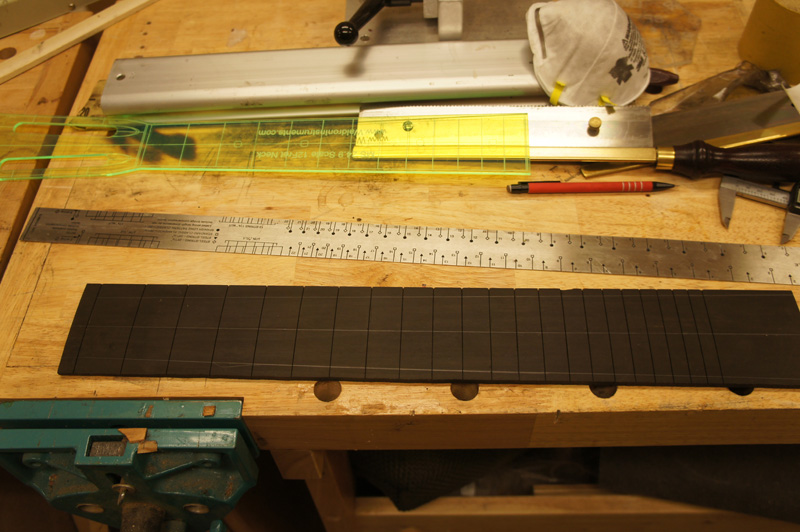
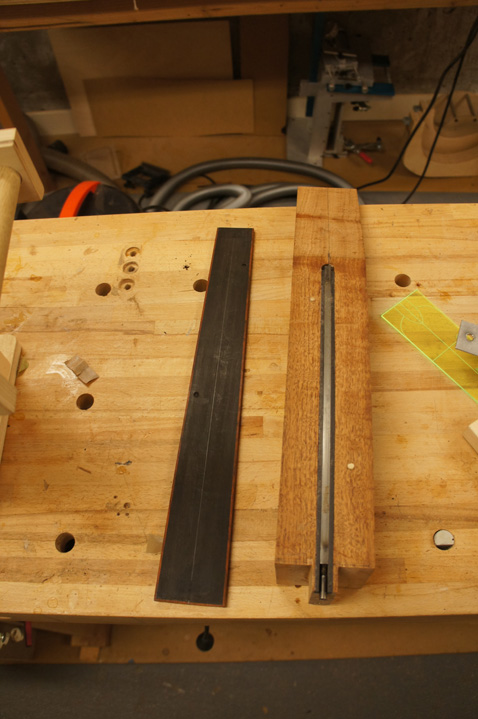
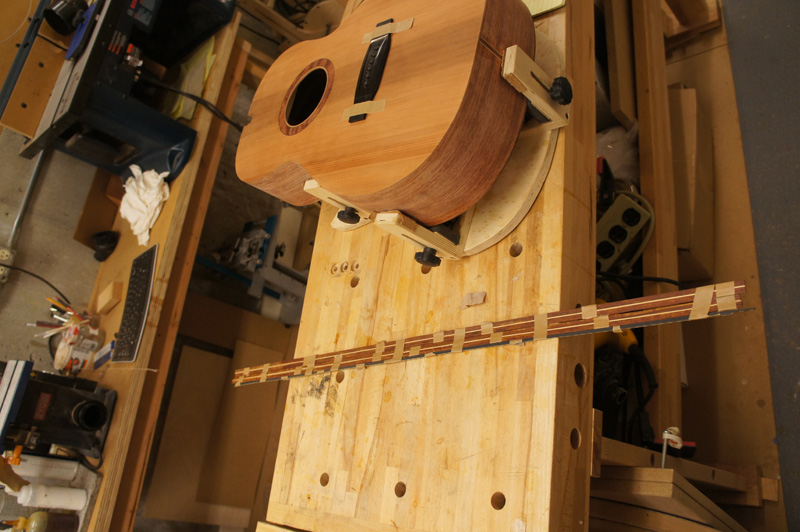
I have been making a bit of progress, though I’ve been very busy building the set for my wife’s entry into the Seattle Flower and Garden Show. I have the fretboard made, the neck mortise and tenon finished with a good neck angle, and I’m just finishing binding the body.
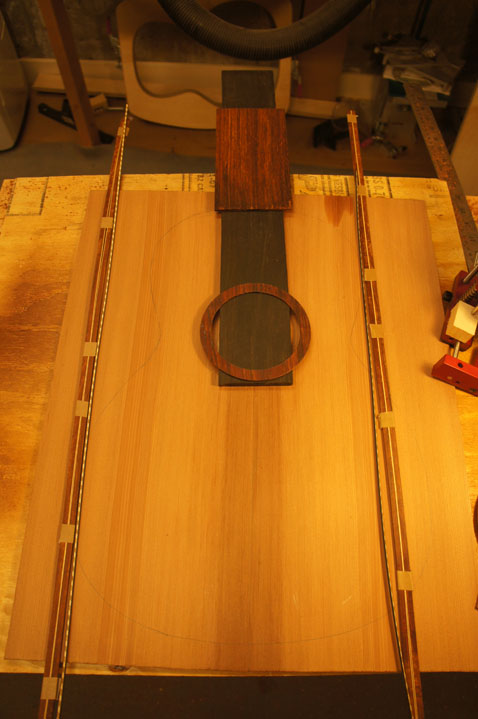
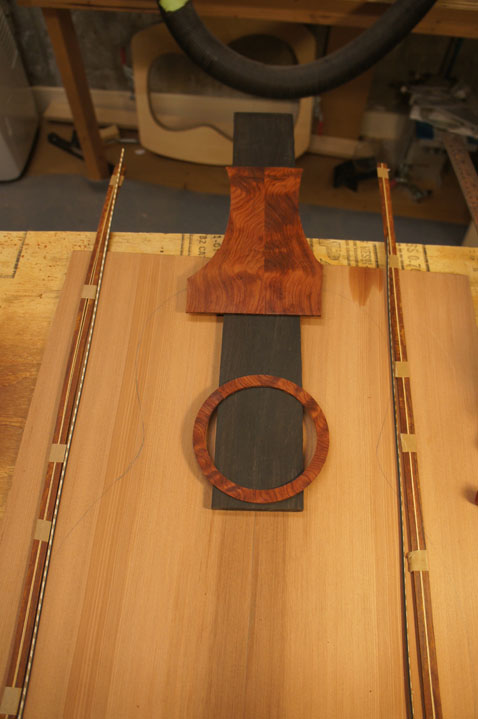
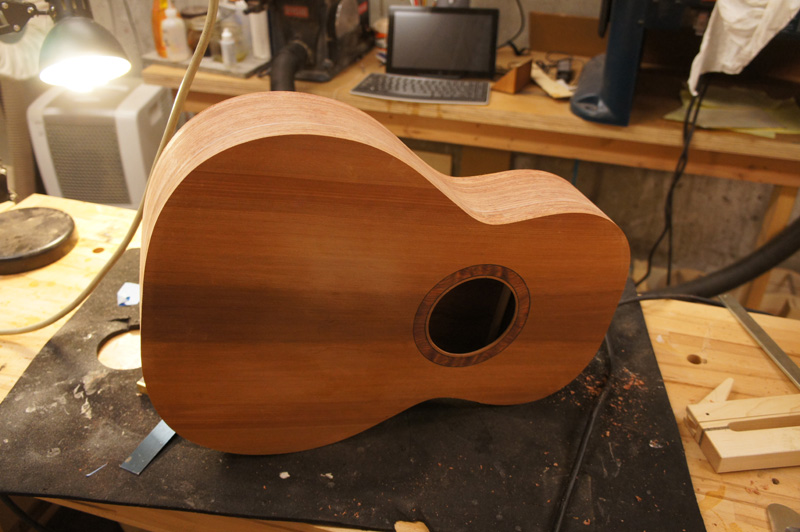
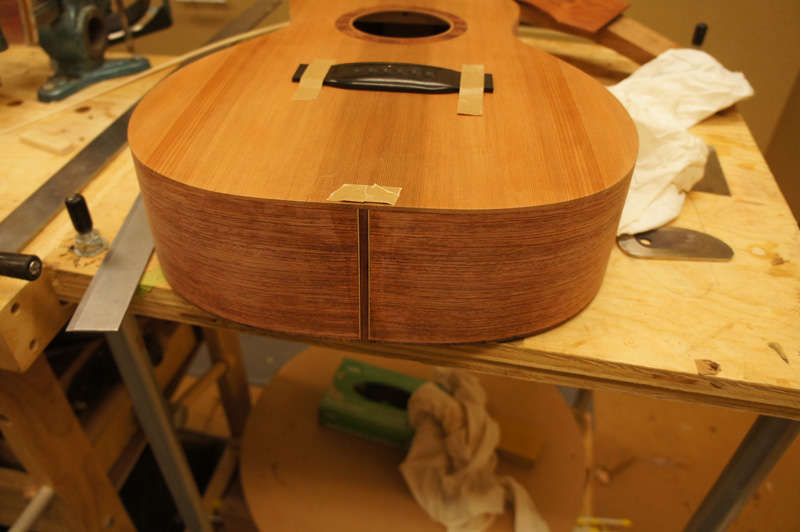
For the rosette I used the Bubinga book-matched cutoffs from the back. The grain pattern flows beautifully around the sound hole — much better than my original plan of Cocobolo.
The binding channels are routed and I’m fitting the bindings. I use the Bubinga offcuts for purfling strips as well, keeping the visual theme consistent throughout the guitar.
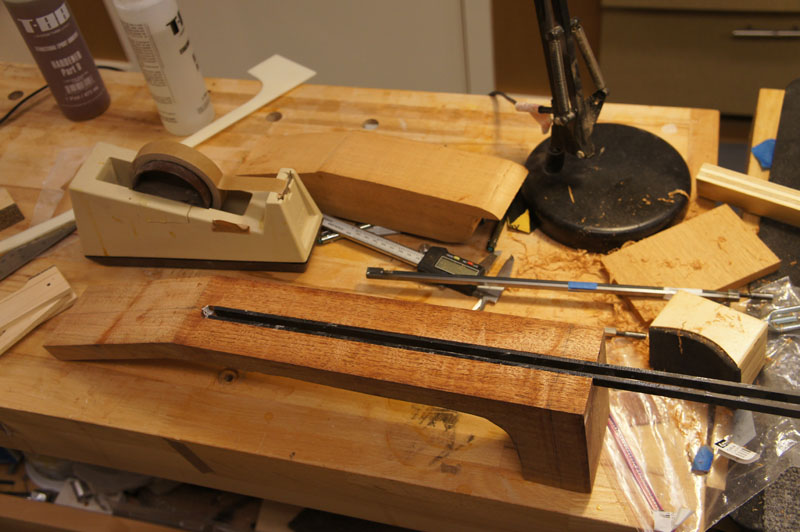
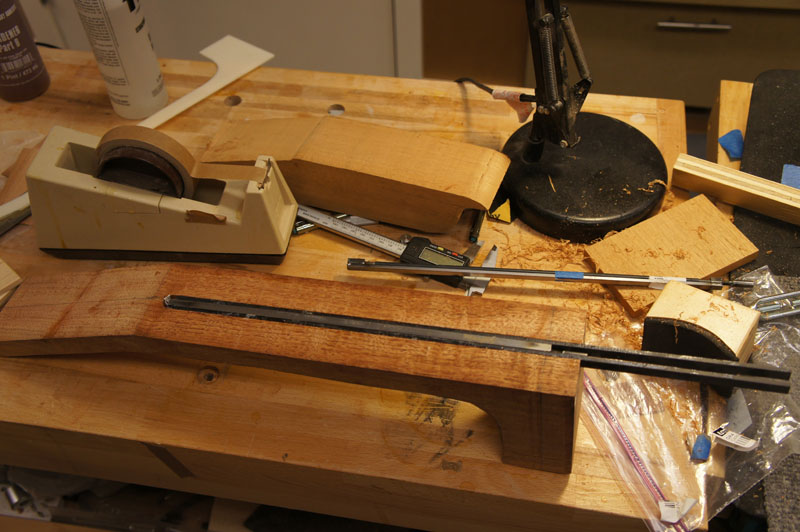
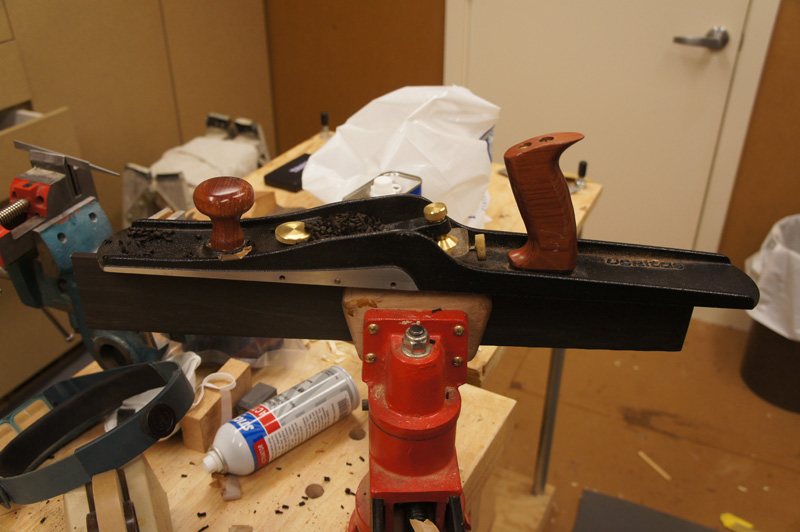
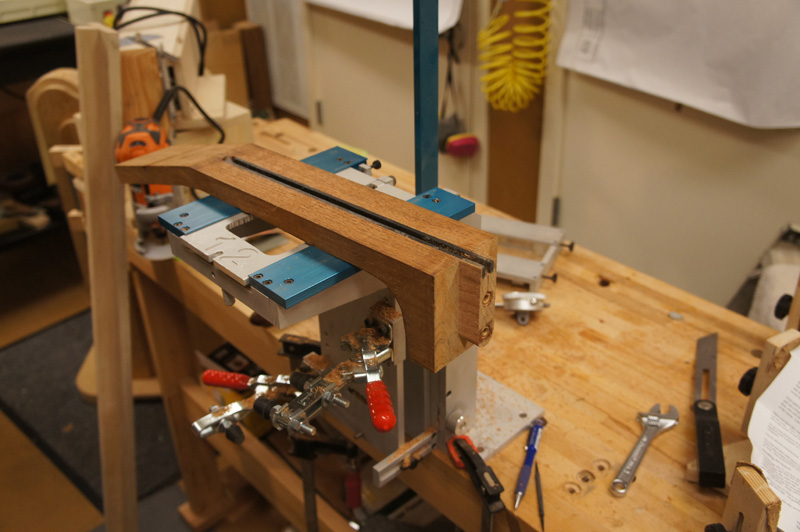
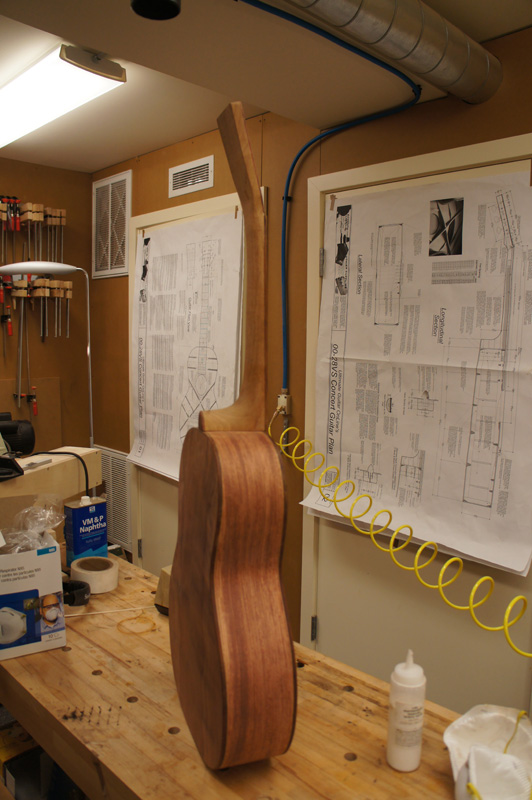
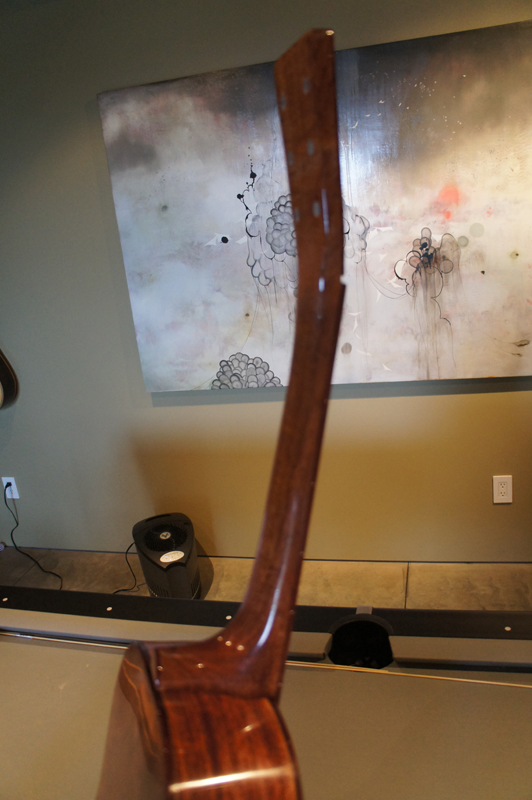
Finally back to this guitar and on to the neck. I find it best to get all of the square dimensions really close before carving. I roughed out the headstock — in the past I’ve taped on my template and used a template bit in the router to shape it. Twice now the template has slipped, so this time I cut close with the bandsaw and cleaned up the edges with a sanding drum. Lesson learned.
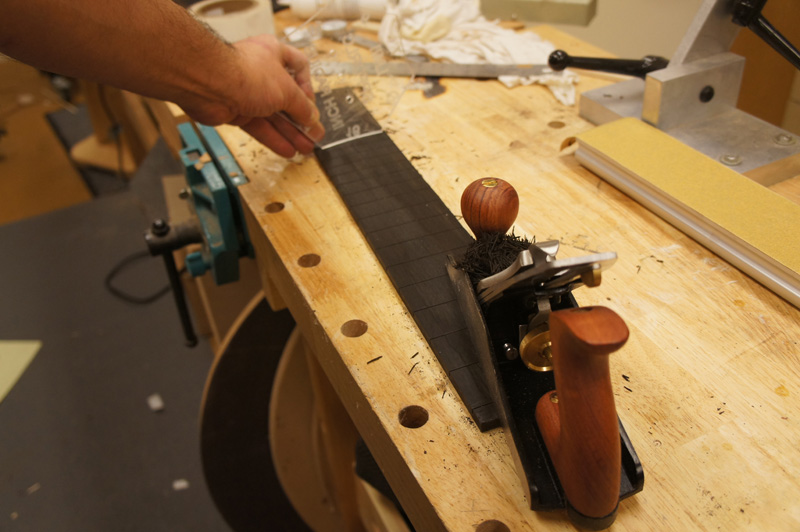
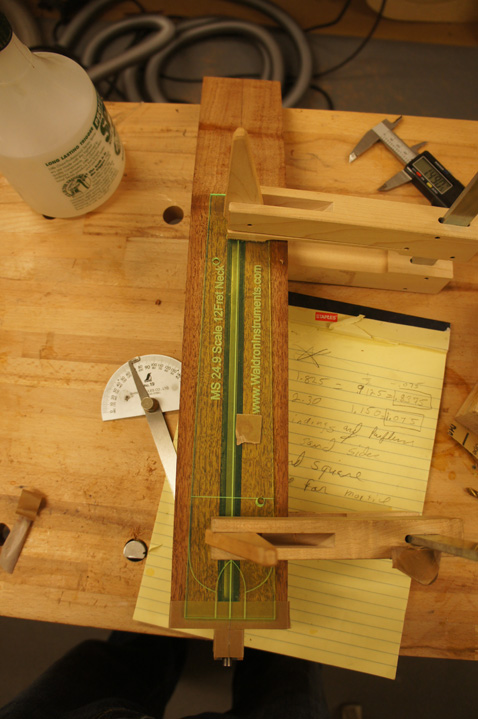
I worked out my neck profile for the first and eighth fret on paper, drew a tangent line, and measured where to put a couple of lines on the neck. Then I used the spokeshave to make a facet down the neck. If I was the patient type I would have drawn more lines for finer facets, but after the first couple I just carved to the feel I wanted.
Carving a neck with my Christmas Lie-Nielsen spokeshave is a dream come true. The tool just glides through the mahogany, leaving a surface that barely needs sanding.
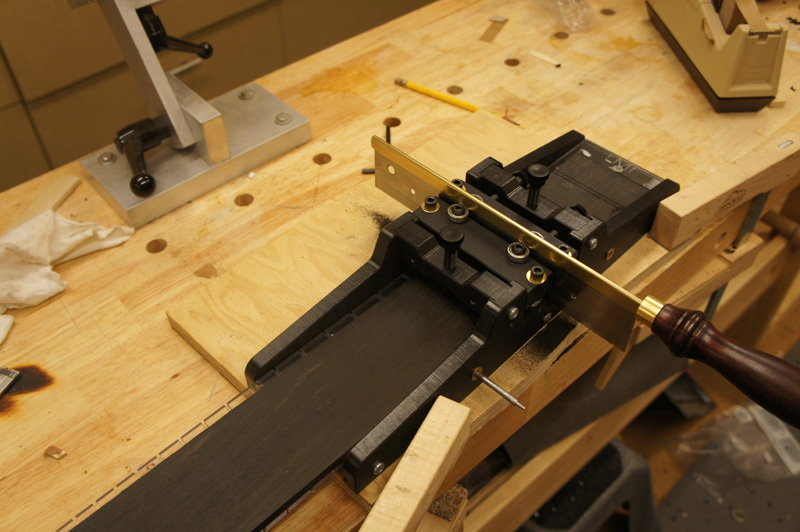
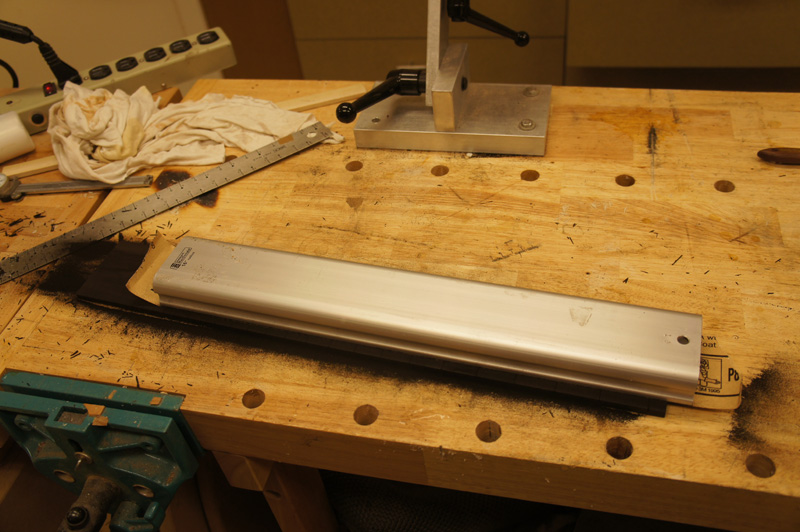
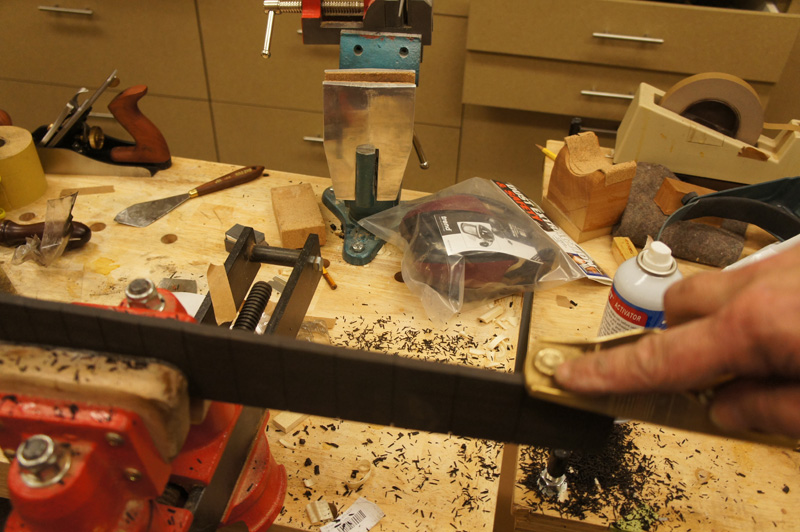
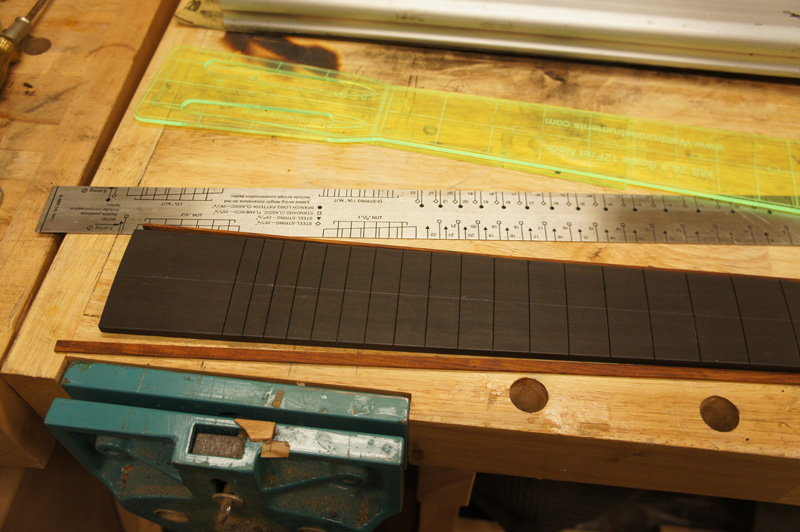
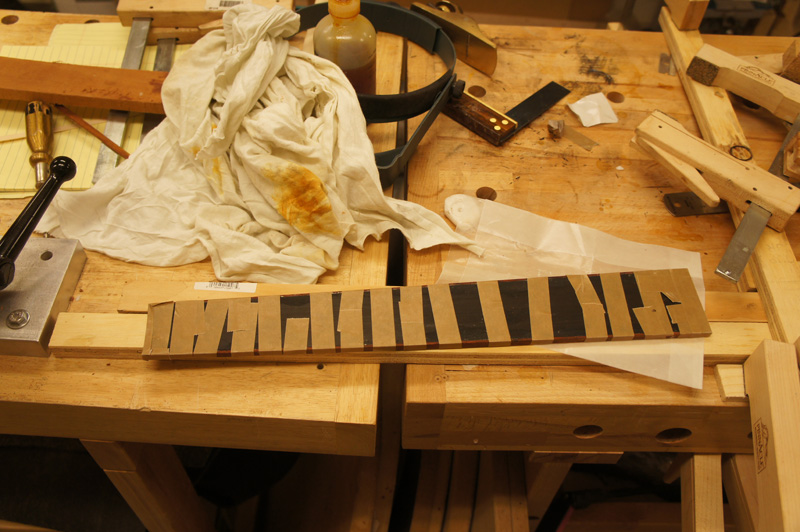
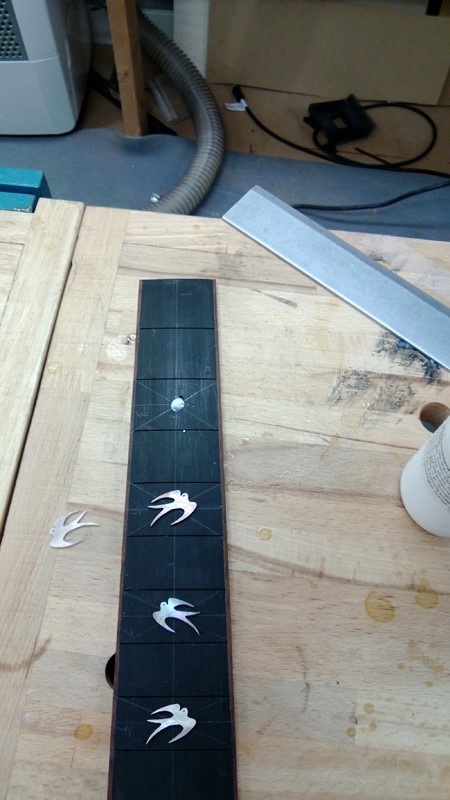
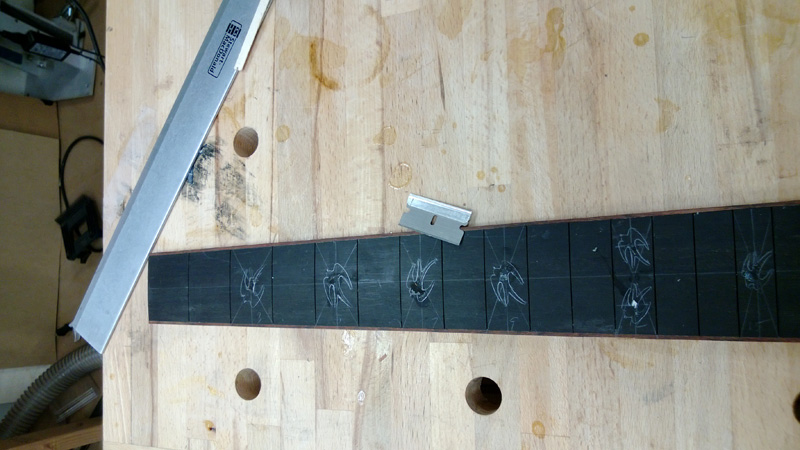
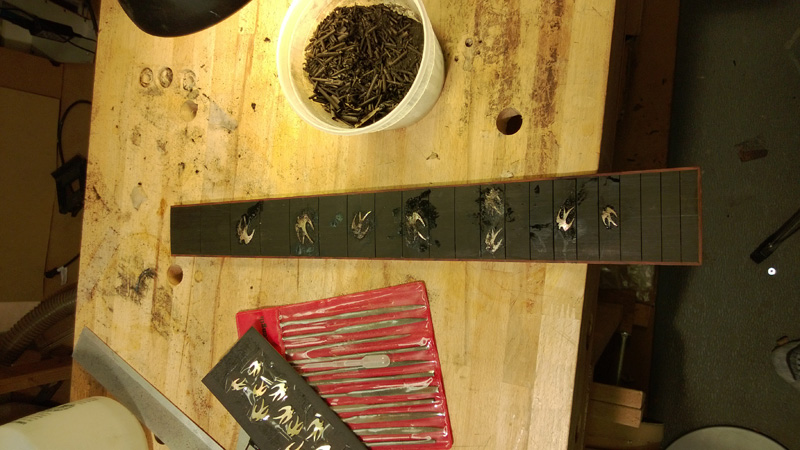
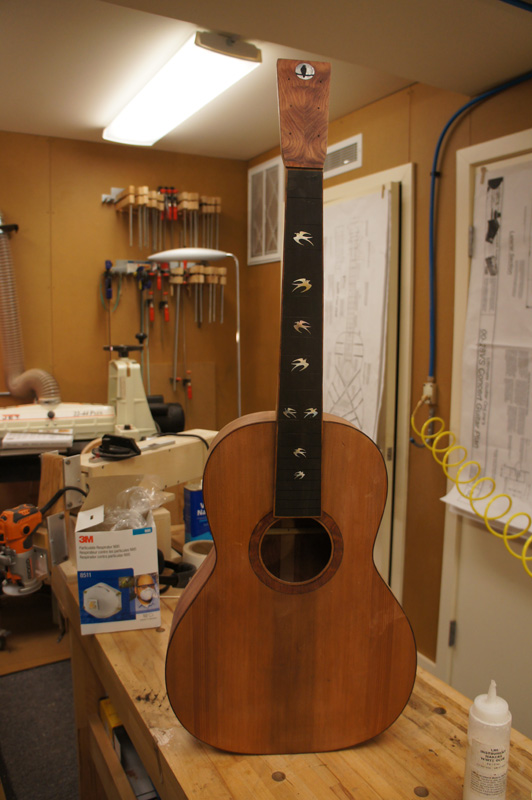
I put the inlays in the fretboard today. Thank goodness for ebony fretboards — I’m not sure I’m ready for rosewood yet. I’m getting better with the router but I need to work on making a nice clean line. I used a pencil this time; next time I’ll try a sharp awl scribe and chalk. The other thing I’ll try next time is to route the inlay rebates before I radius the board.
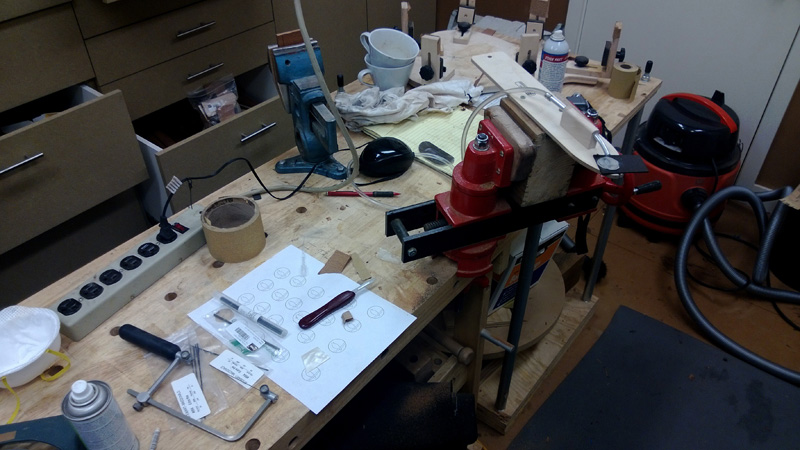
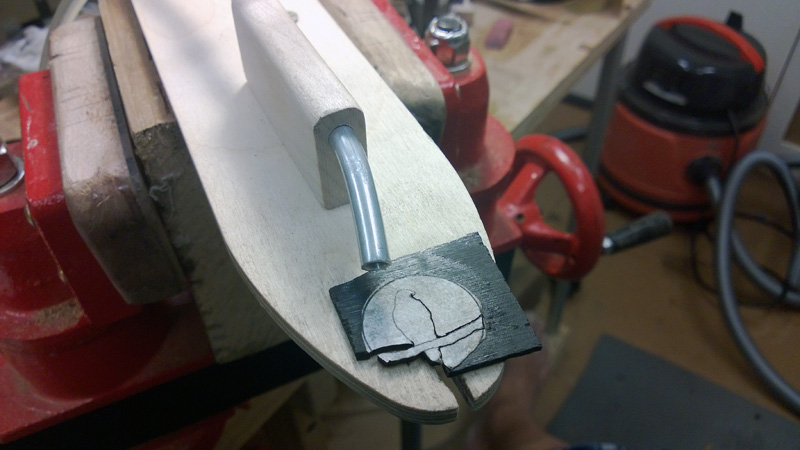
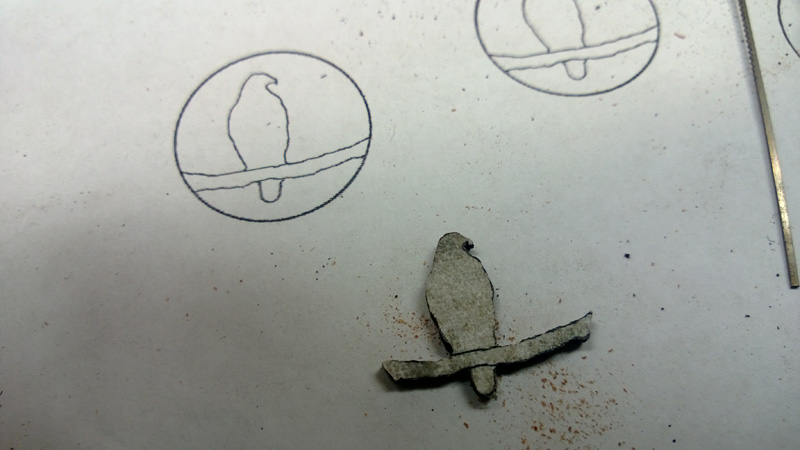
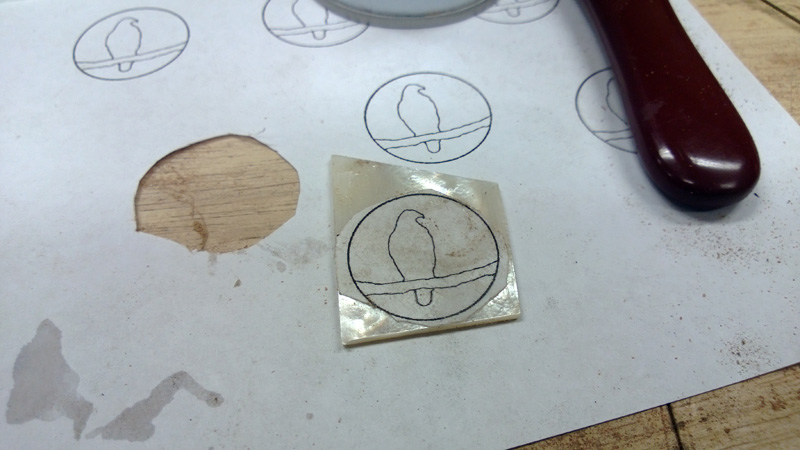
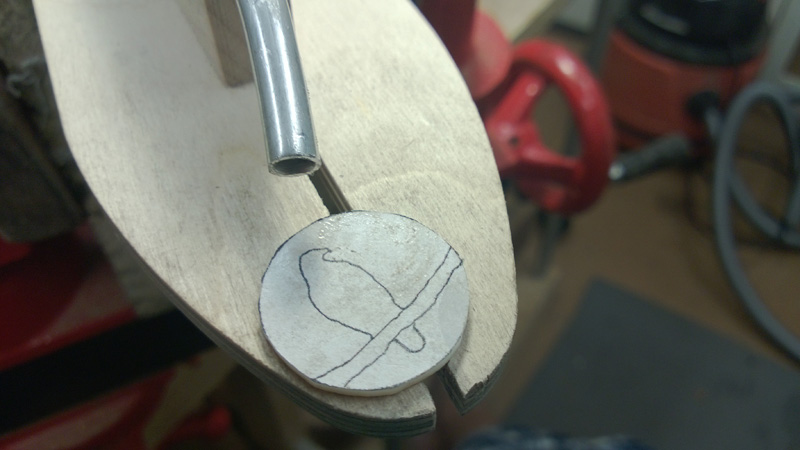
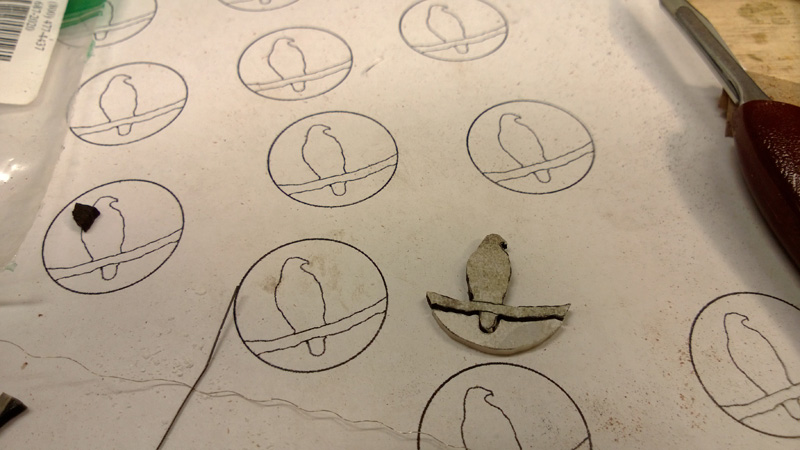
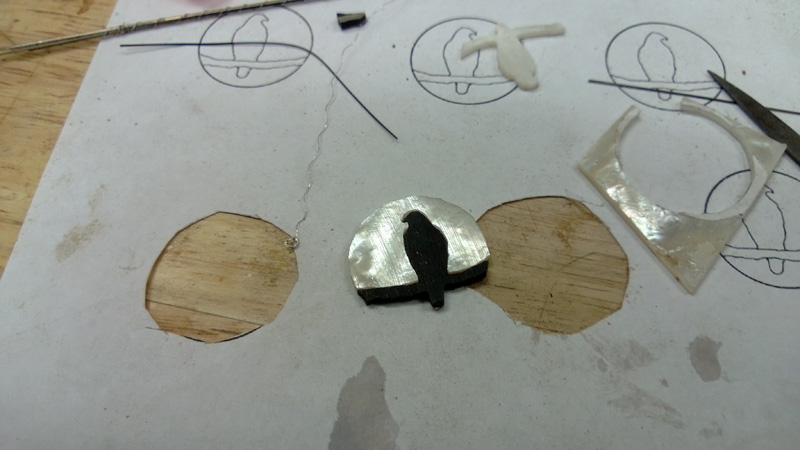
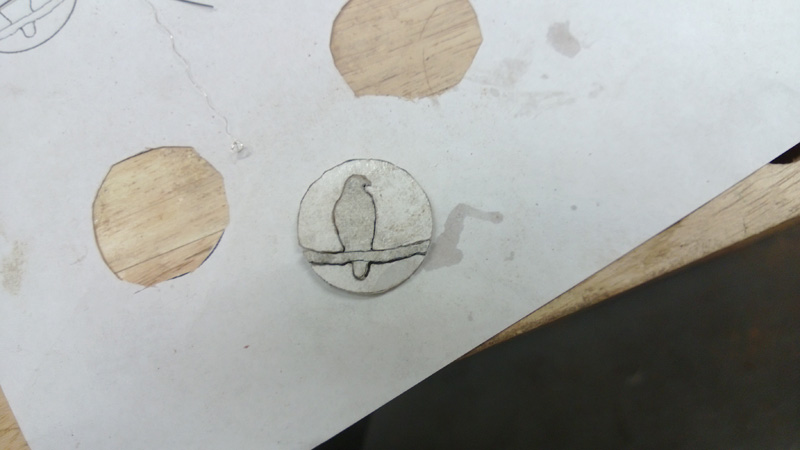
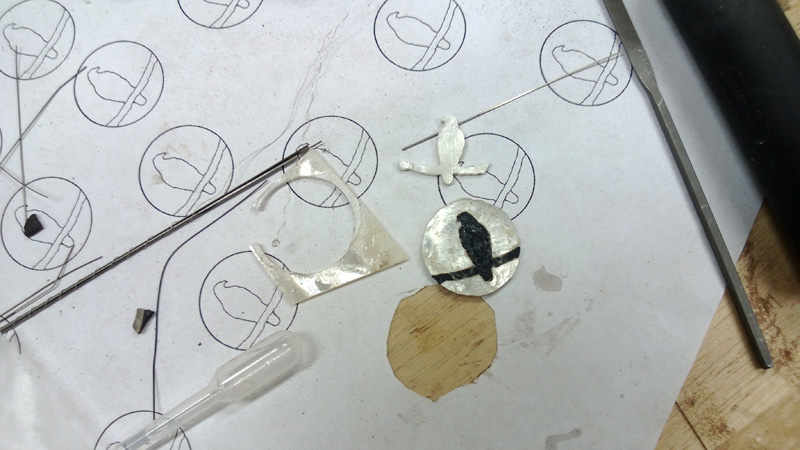
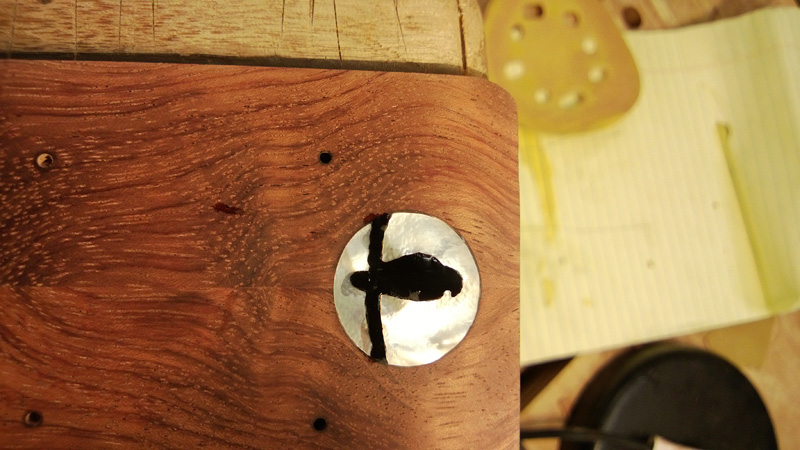
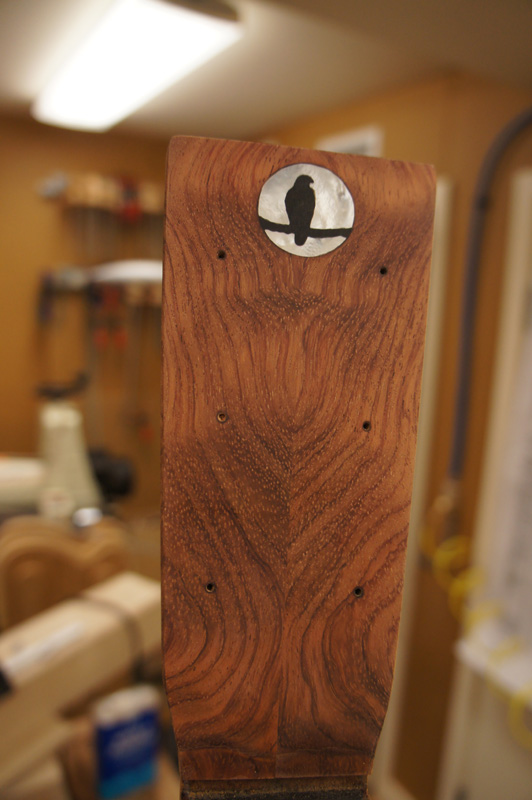
I finished the construction today and am ready to finish-sand. The last step was to make my hawk-in-the-harvest-moon logo. While I use the same template I’ve been changing the approach. Mostly I’ve used shell — white mother-of-pearl for the moon and one black MOP piece for the hawk and branch. This time I made the hawk from crushed stone and epoxy mixed with black dye, which gives it a natural, matte look against the pearl moon.
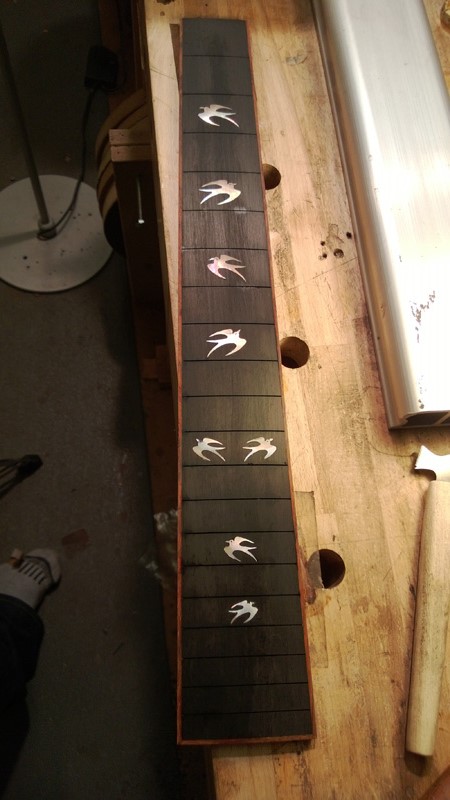
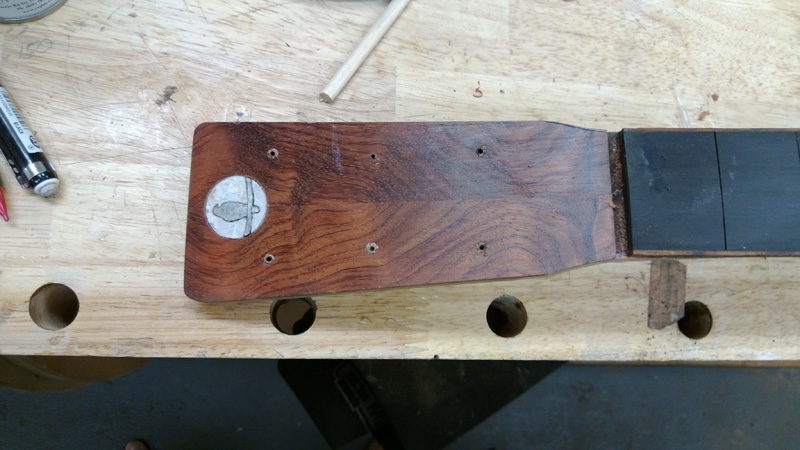
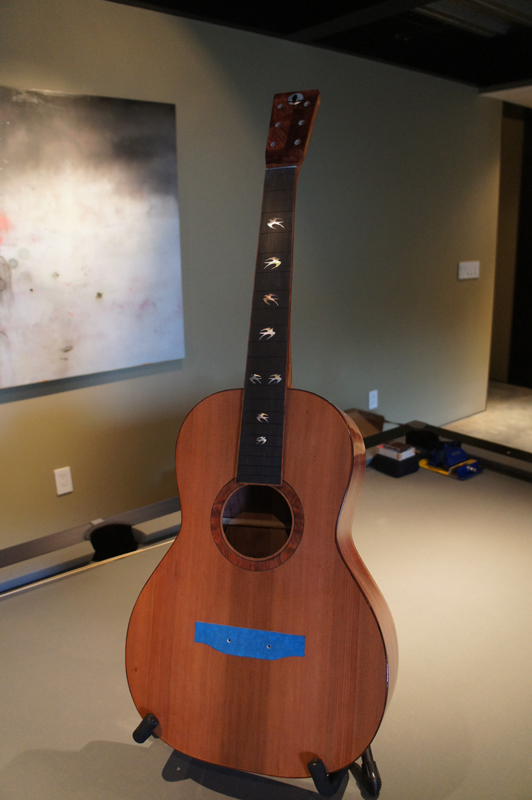
The inlays set into the headstock. My niece picked swallow position markers from DePaule — I sent her to his website praying she didn’t pick anything too hard. As it turned out, someone pointed out the irony of having a hawk watching a set of flying swallows.
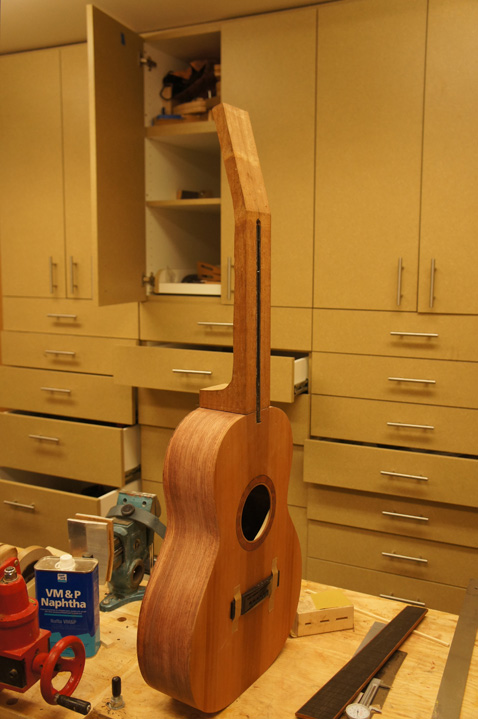
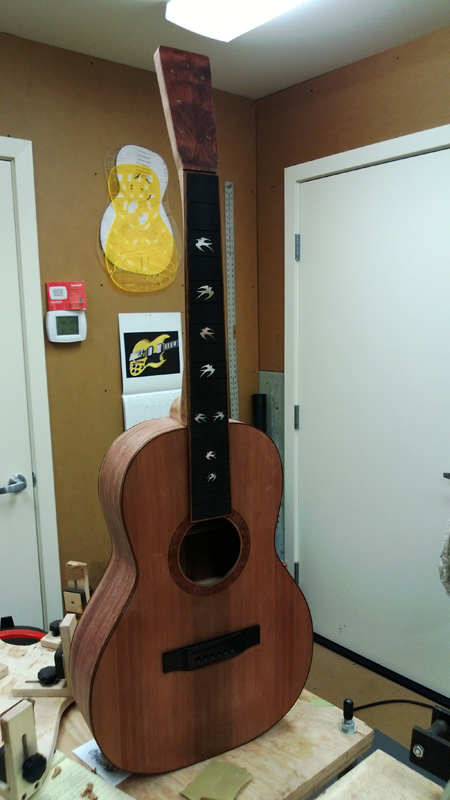
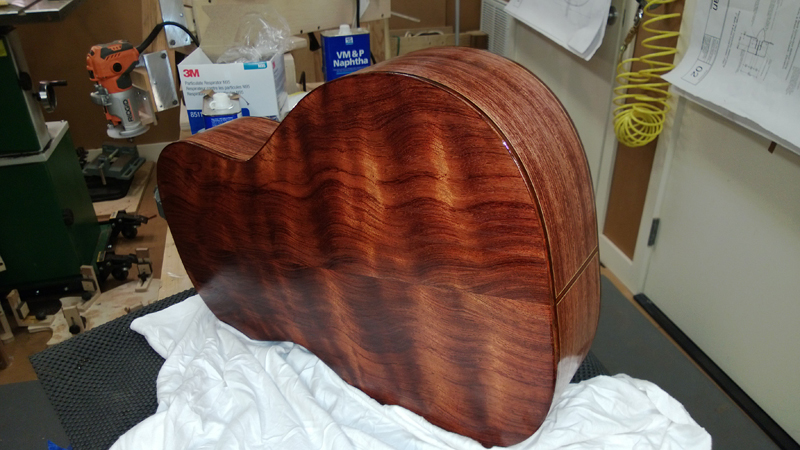
Here is one of the steps I live for — only second to the first strum. The first coat of Zpoxy pore filler, and suddenly you can see what the guitar is going to look like.
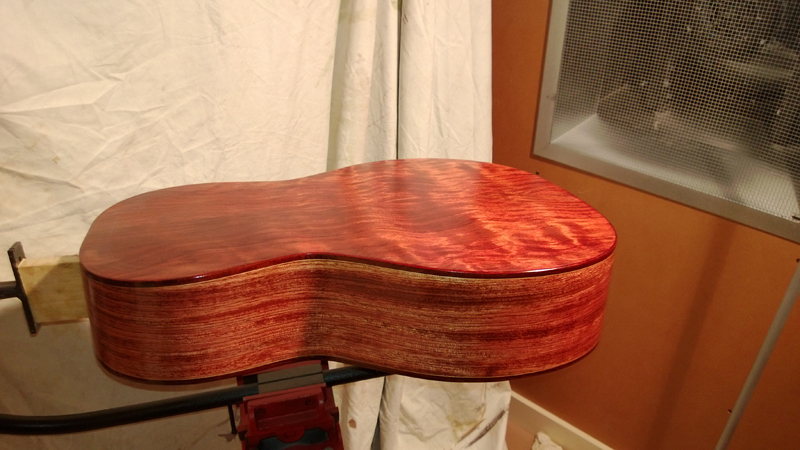
I’m not sure the more boring Bubinga sides work perfectly with the fancy waterfall back. The colour looks OK, but I cracked one of the fancy sides when I started many months ago, so I grabbed another set of Bubinga sides that I had. It is noticeable enough that someone could think I made it as a design decision — so I’ll take it.
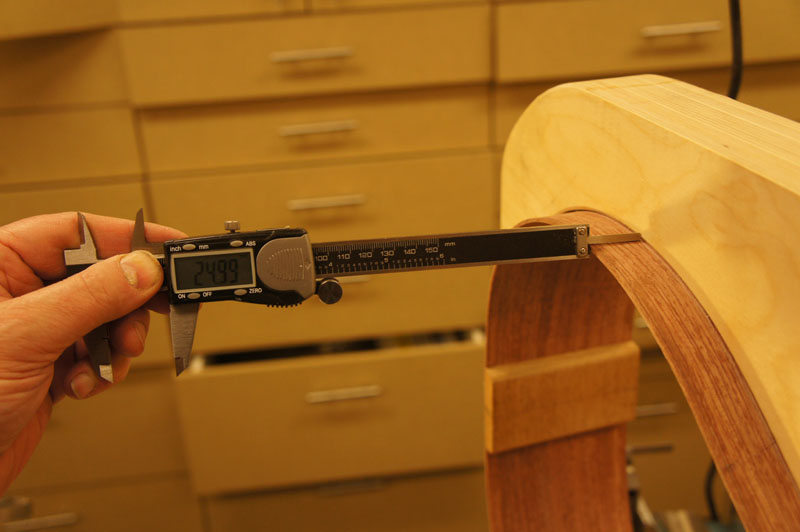
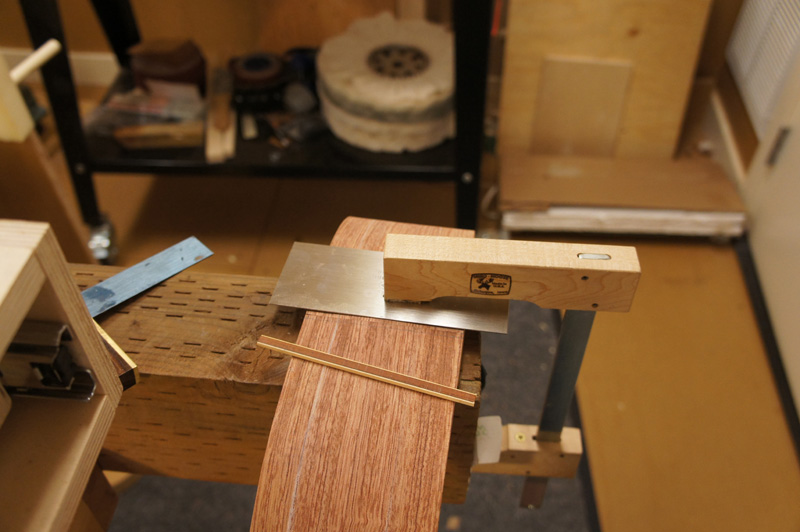
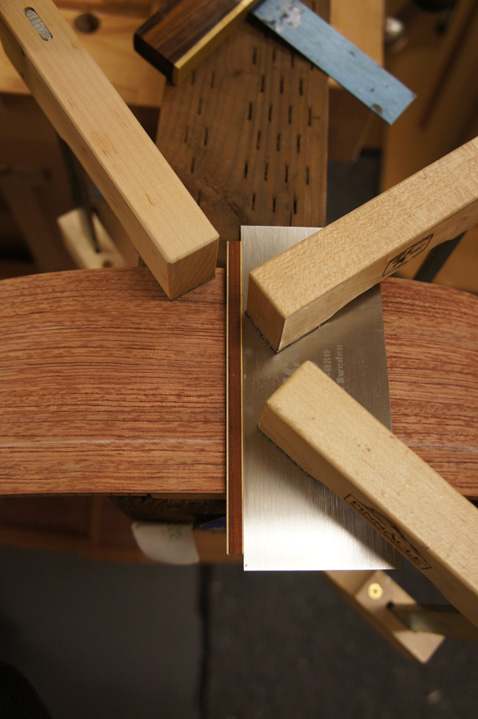
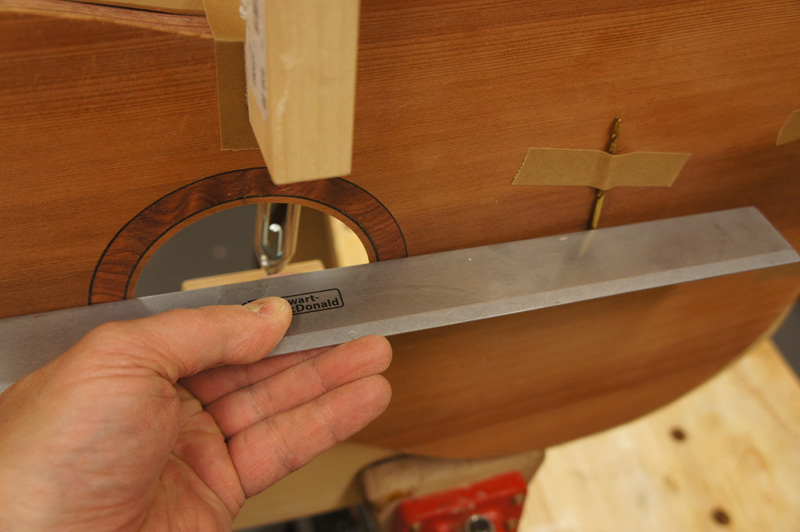
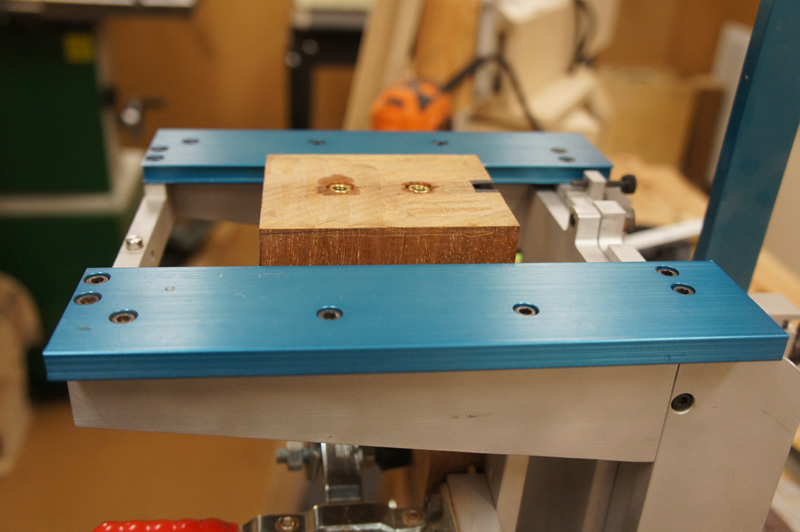
With everything together I checked the neck angle again and found it was angled back a bit more than I liked. I was too high at the saddle and had a gap at the end of the fretboard. I used a straightedge to confirm, then adjusted the neck joint. Getting this right before spraying saves a lot of heartache later.
Neck Angle Always recheck the neck angle with the body fully assembled and braced. Wood moves, glue joints shift, and what looked perfect at the mortise stage can be off by the time you’re ready to finish. A bolt-on neck makes this adjustable; a dovetail joint means you get one shot.
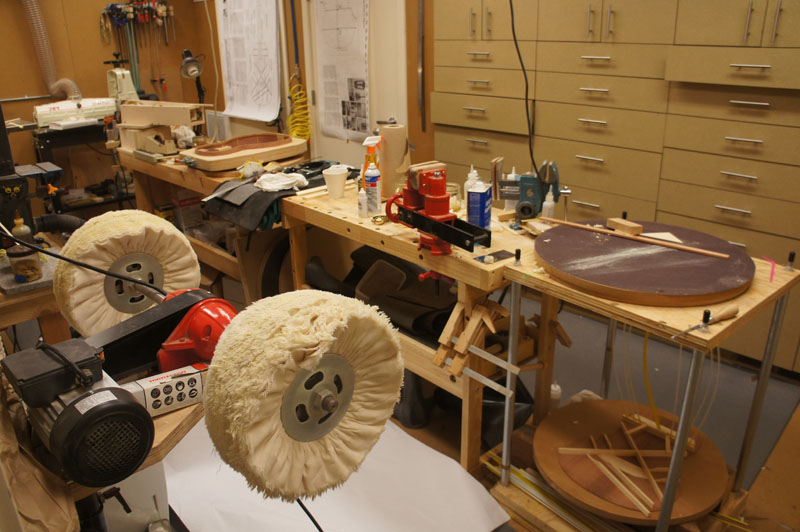
I finished spraying the guitar with EM6000 water-based lacquer, but I need to wait until next weekend to buff it out. I’m really glad to go back to EM6000 after my EM7000 disaster. This water-based lacquer is a lot easier to spray — it levels well and is really forgiving. Also it’s not so blue.
Finish Choice EM6000 is a water-based lacquer that sprays easily and levels well. I took the time to set up the sprayer each session with a film thickness gauge — a little preparation at the spray gun makes a big difference in the final result.
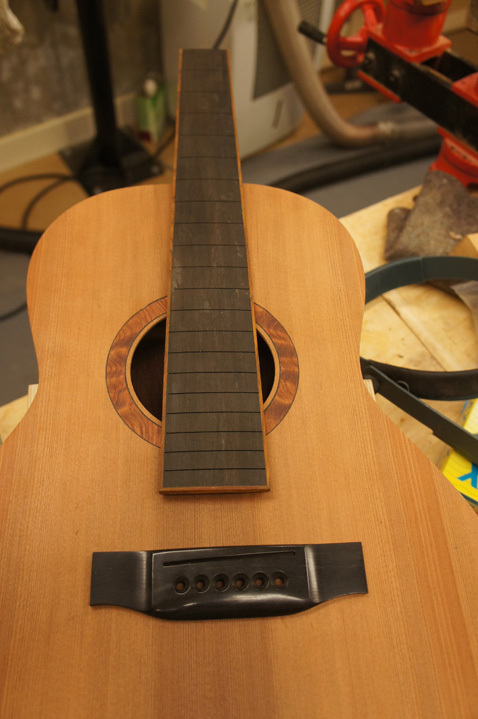
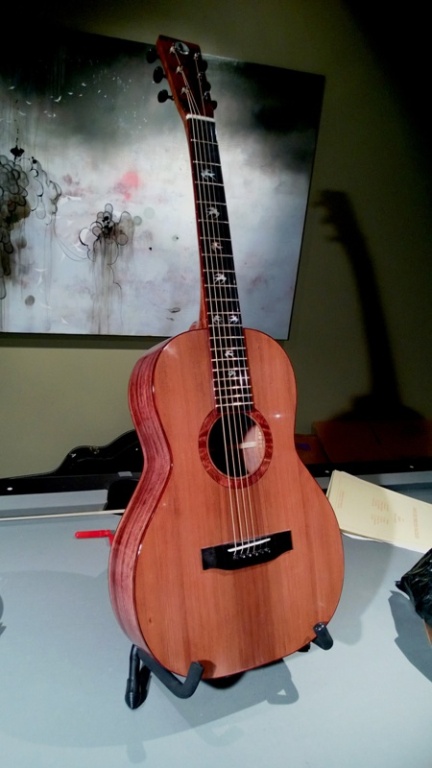
I wet-sanded the finish with 800-grit and buffed it out. I am quite happy with the way it looks. Still need to glue on the bridge and make a nut and saddle, but the finish is done and the guitar is showing its personality now.
The DePaule swallow inlays look wonderful against the ebony fretboard. Ben asked if they were doves — they’re actually swallows. The irony of a hawk watching a set of flying swallows was not lost on the forum.
Well, I have some strings on and it sounds great! I still need to make a real saddle — I had one in a drawer that was very close but the action is a bit too low on the treble strings. But the first impression is everything I hoped for. The Sinker Redwood top has a warmth and depth that pairs beautifully with the Bubinga back.
This project is finished. I made this guitar for my 23-year-old niece who asked me for a guitar. It has a Sinker Redwood top, Bubinga back and sides plus rosette and headstock veneer. It is styled after a Martin 00 guitar with a forward X brace. I made mine a little light on the braces but I did follow a 00 Martin bracing pattern.
Specifications
Style12 Fret 00
TopSinker Redwood
Back & SidesWaterfall Bubinga
BindingsBubinga
RosetteBook-Matched Bubinga
Headstock VeneerBubinga
FretboardEbony
Position MarkersDePaule Swallows
LogoMOP Moon · Crushed Stone Hawk
FinishEM6000 Water-Based Lacquer
Built ForSarah (Niece)
Build PeriodDecember 2012 – April 2013