Kenneth Michael Guitars est.1978
Top or Back Jointing ---- glue up fixture
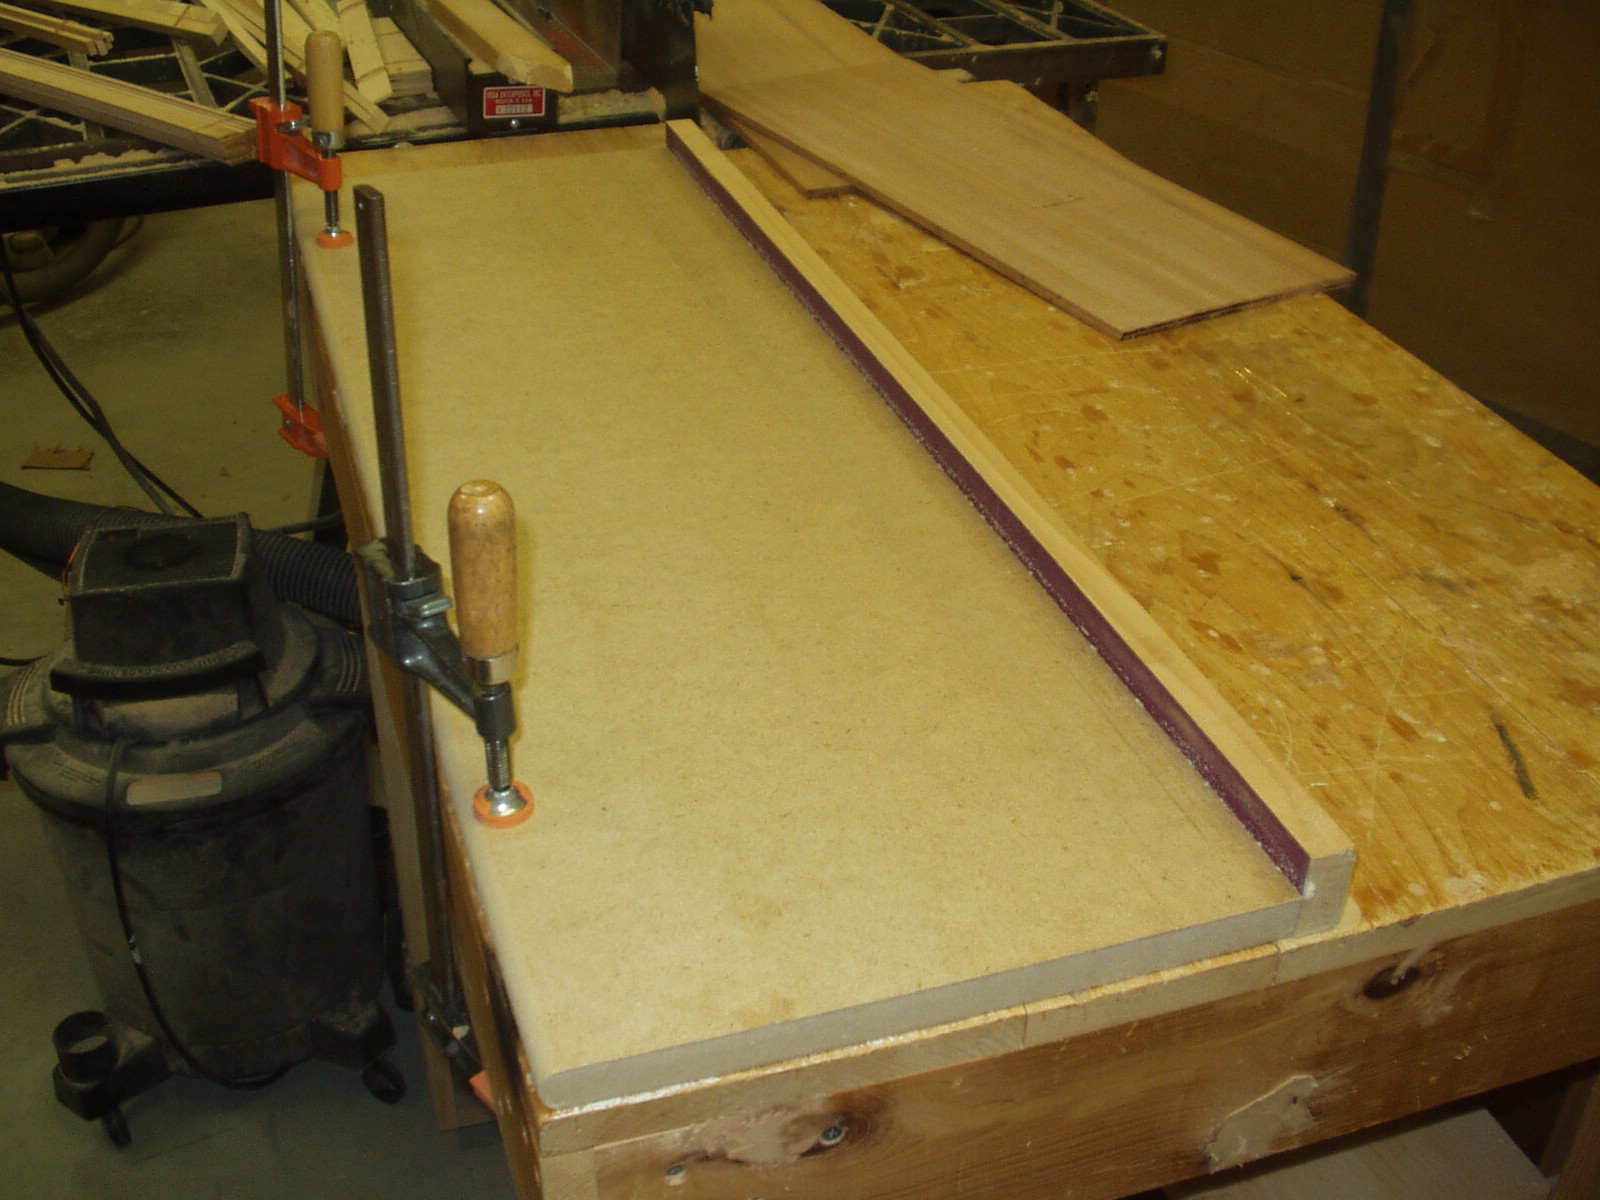
If you do not have a jointing machine, a good quality joint can still be accomplished
using a shooting board. This is simply a piece of MDF 12” x 24” x ¾ “ with a piece of 1”
x 2” material screwed to one edge. The 1” x 2” has 220 grit sand paper glued to the
inside surface. Just glide the mating surfaces along the abrasive, with uniform pressure.
Check your progress by putting the edges together and looking at the joint into a light.
The joint must be PERFECT with no light showing through.


For the base fixture I use a piece of 24” x 24”
x ¾” MDF with a stop block screwed on at
one end. In the area where the joint is going to
be there are several rows of regular clear
packaging tape. Over the years I discovered
that this type of tape acts as a release material
for just about any adhesive.
x ¾” MDF with a stop block screwed on at
one end. In the area where the joint is going to
be there are several rows of regular clear
packaging tape. Over the years I discovered
that this type of tape acts as a release material
for just about any adhesive.

You will also need a 1-1/2” x 2” x 26”
clamping board. The material should
have a significant bow so when its
clamped on the ends it pushes down in
the center route a channel about 1/4" x
1/8" deep for clearance of the glue line
and relief for a center strip if used.
Apply release tape on either side of
the channel.
clamping board. The material should
have a significant bow so when its
clamped on the ends it pushes down in
the center route a channel about 1/4" x
1/8" deep for clearance of the glue line
and relief for a center strip if used.
Apply release tape on either side of
the channel.

The actual clamping force is generated
by wedging the two halves together
with pieces of builder’s shims (Home
Depot). Clamp three pieces of wood
scrap along the edge of the top/back
spacing them with shims about half
way along the scrap pieces. Maintain
the angle of the shim.
by wedging the two halves together
with pieces of builder’s shims (Home
Depot). Clamp three pieces of wood
scrap along the edge of the top/back
spacing them with shims about half
way along the scrap pieces. Maintain
the angle of the shim.

Apply the adhesive of choice to both
mating surfaces; slide back and forth to
make sure there is complete coverage.
I use “Tite-Bond” for just about
everything, guitars, dulcimers, harps,
zithers, furniture --- whatever. Over all
the years I have never had a complaint
regarding joint failures or incompatibility
problems with any finishing product.

Clean off the excess glue --- saves
time later!
time later!

Lightly clamp the joint board in place.

Re- position the shims – progressively
tap them to apply pressure to the
top/back. The joint board should be
tightened slightly also.
tap them to apply pressure to the
top/back. The joint board should be
tightened slightly also.
After the adhesive has dried the Manufacturer’s prescribe amount of time release the
top/back from the fixture by first removing the shims than the joint board. If done in
reverse you run the risk of the top/back snapping in the middle --- Then you will end
up doing the operation for a second time!!
top/back from the fixture by first removing the shims than the joint board. If done in
reverse you run the risk of the top/back snapping in the middle --- Then you will end
up doing the operation for a second time!!