Kenneth Michael Guitars LLC

Attachment of the top procedure really
begins with the bracing of the top. The idea
is to make sure that all the braces except the
“X” brace are thinned out to “zero” at the
ends around the perimeter of the guitar. To
accomplish this the measurement that
represents the inside edge of the kerfing
needs to be plotted on the top where it
intersects the bracing.
The “X” brace and cross brace ends must be
thinned to about .120”. The total thickness of
the top plus the “X” brace has to be less than
the width of the binding --- why this is
necessary will become apparent soon.
thinned to about .120”. The total thickness of
the top plus the “X” brace has to be less than
the width of the binding --- why this is
necessary will become apparent soon.
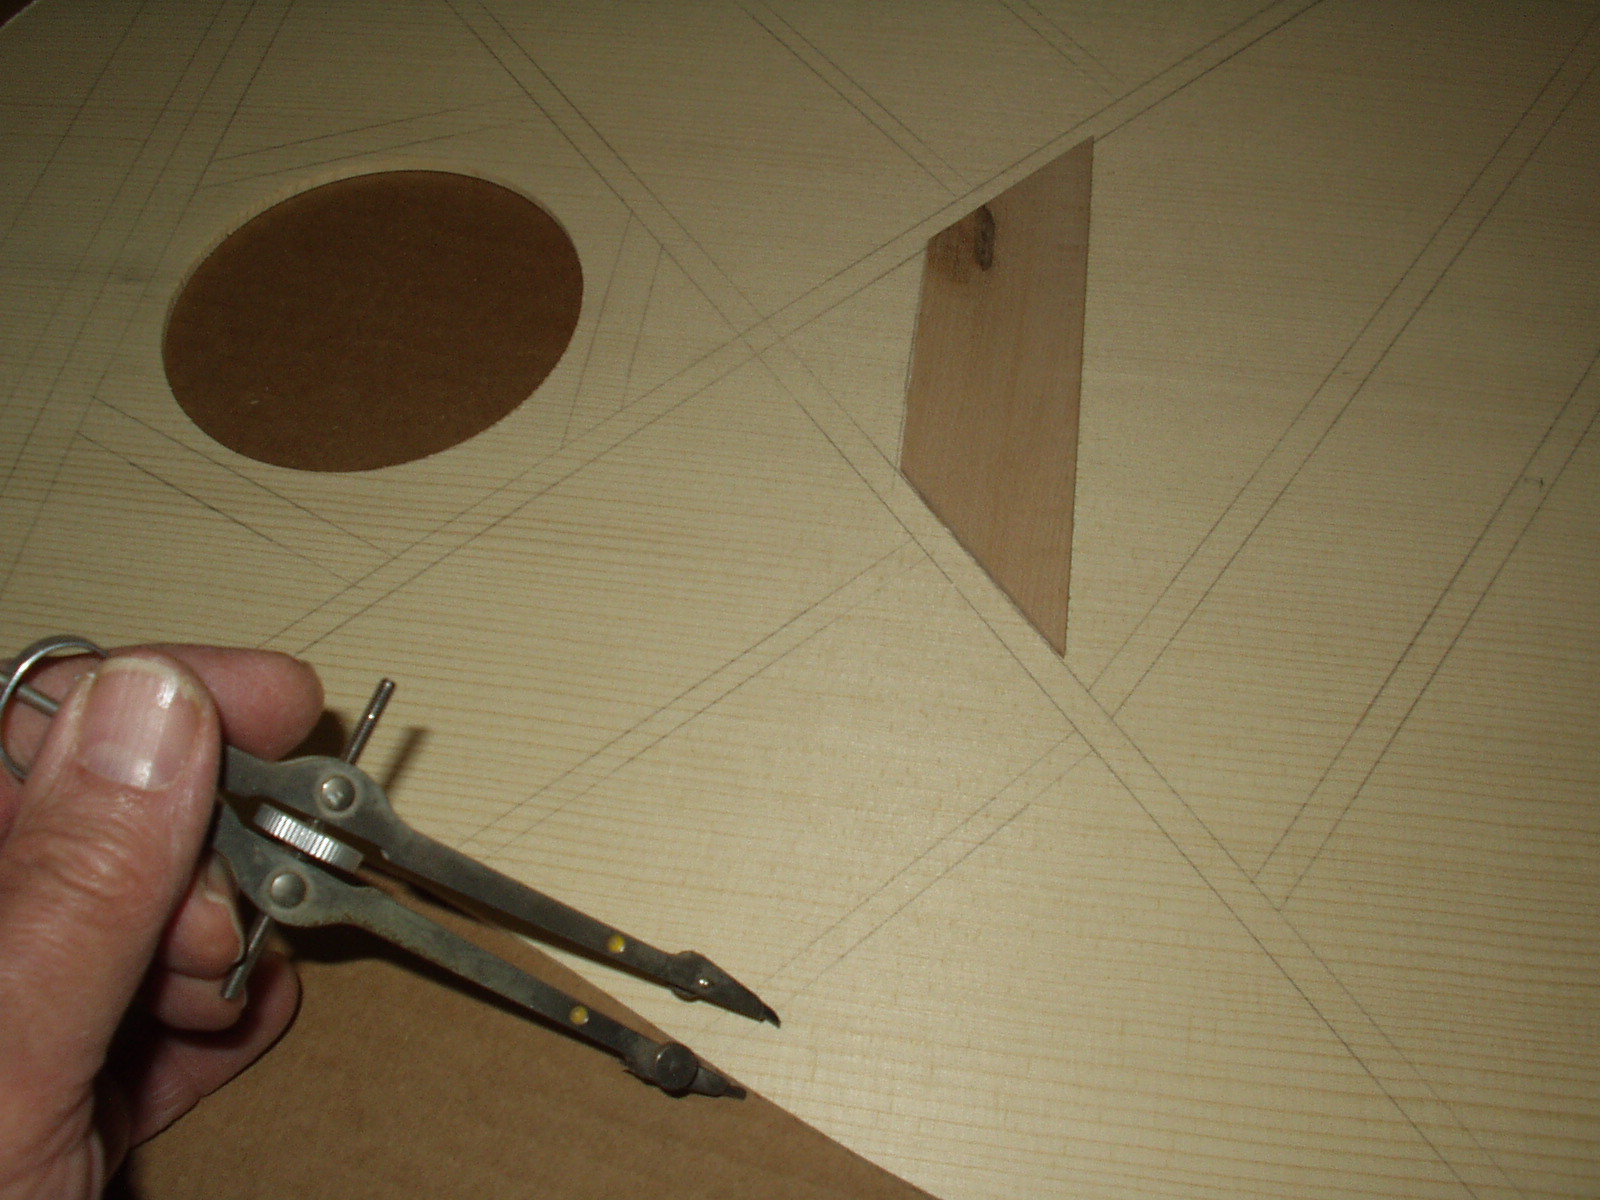
To maintain the proper distance from the 12th
or 14th fret to the sound hole center etc. drill
two pilots and insert #18 brads. The brads will
act as stops against the rim.
or 14th fret to the sound hole center etc. drill
two pilots and insert #18 brads. The brads will
act as stops against the rim.
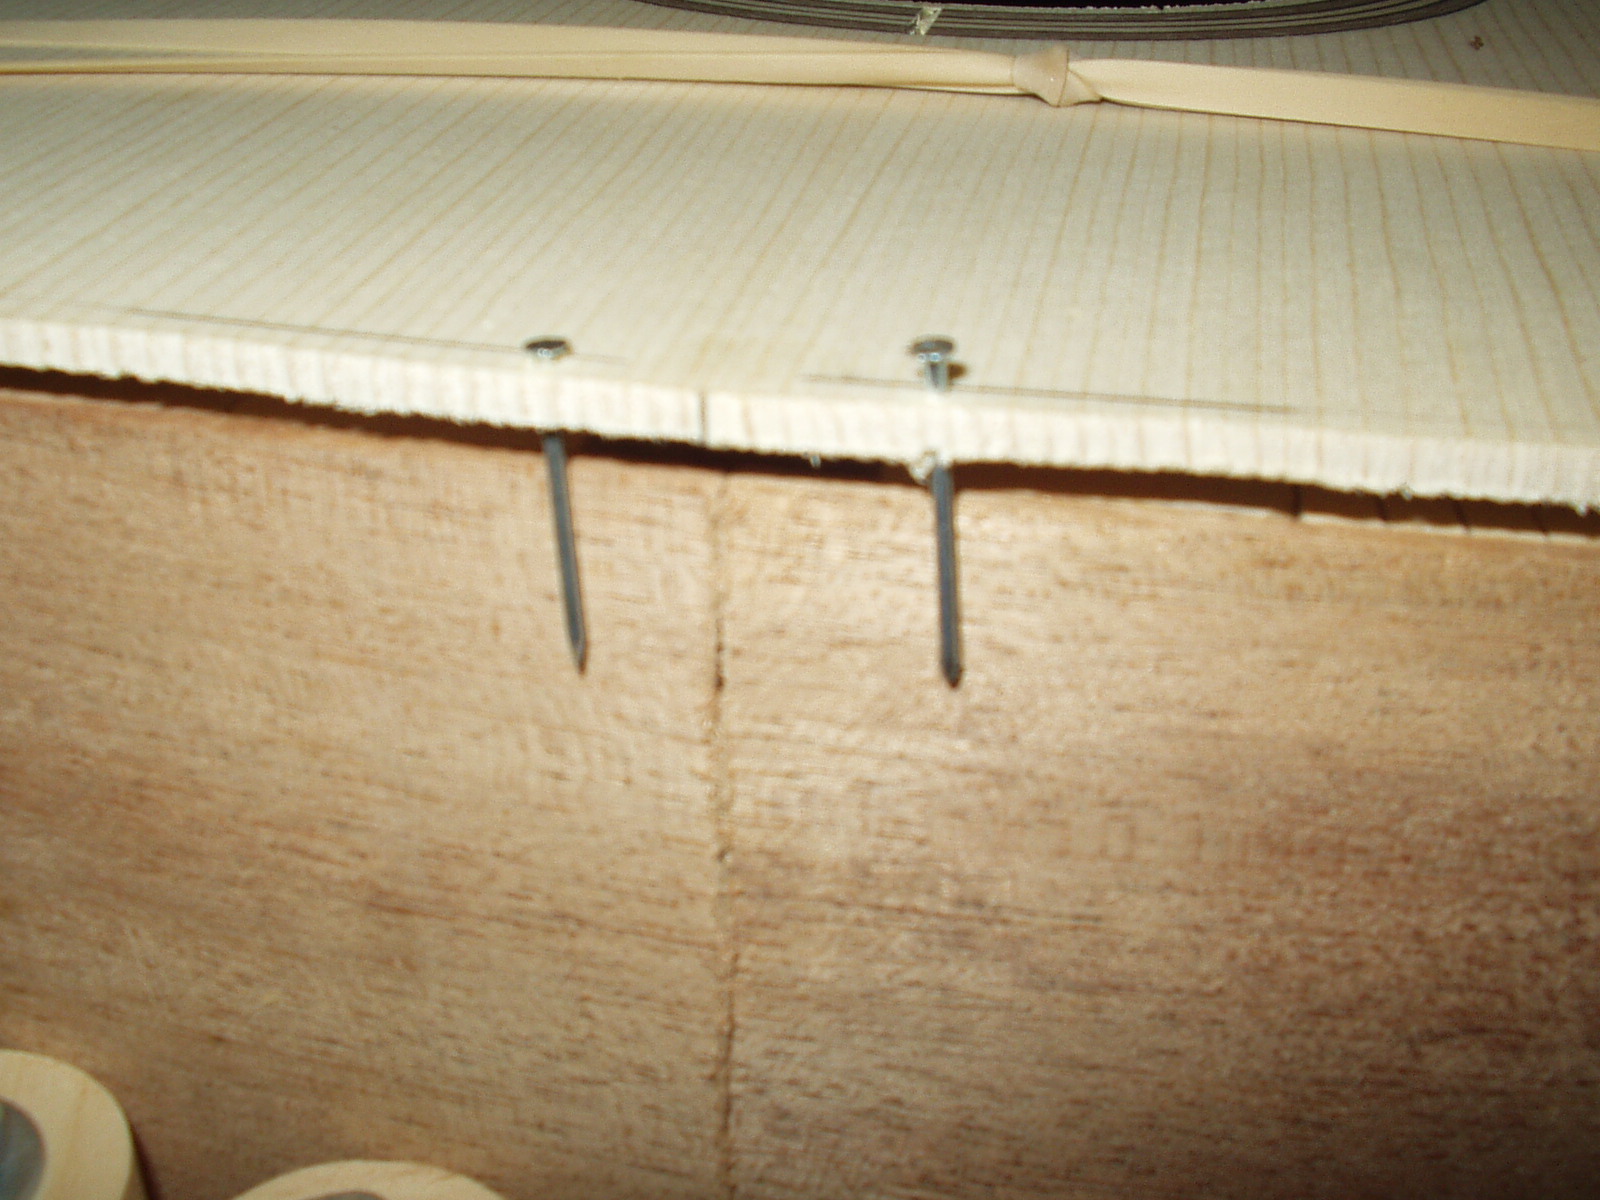

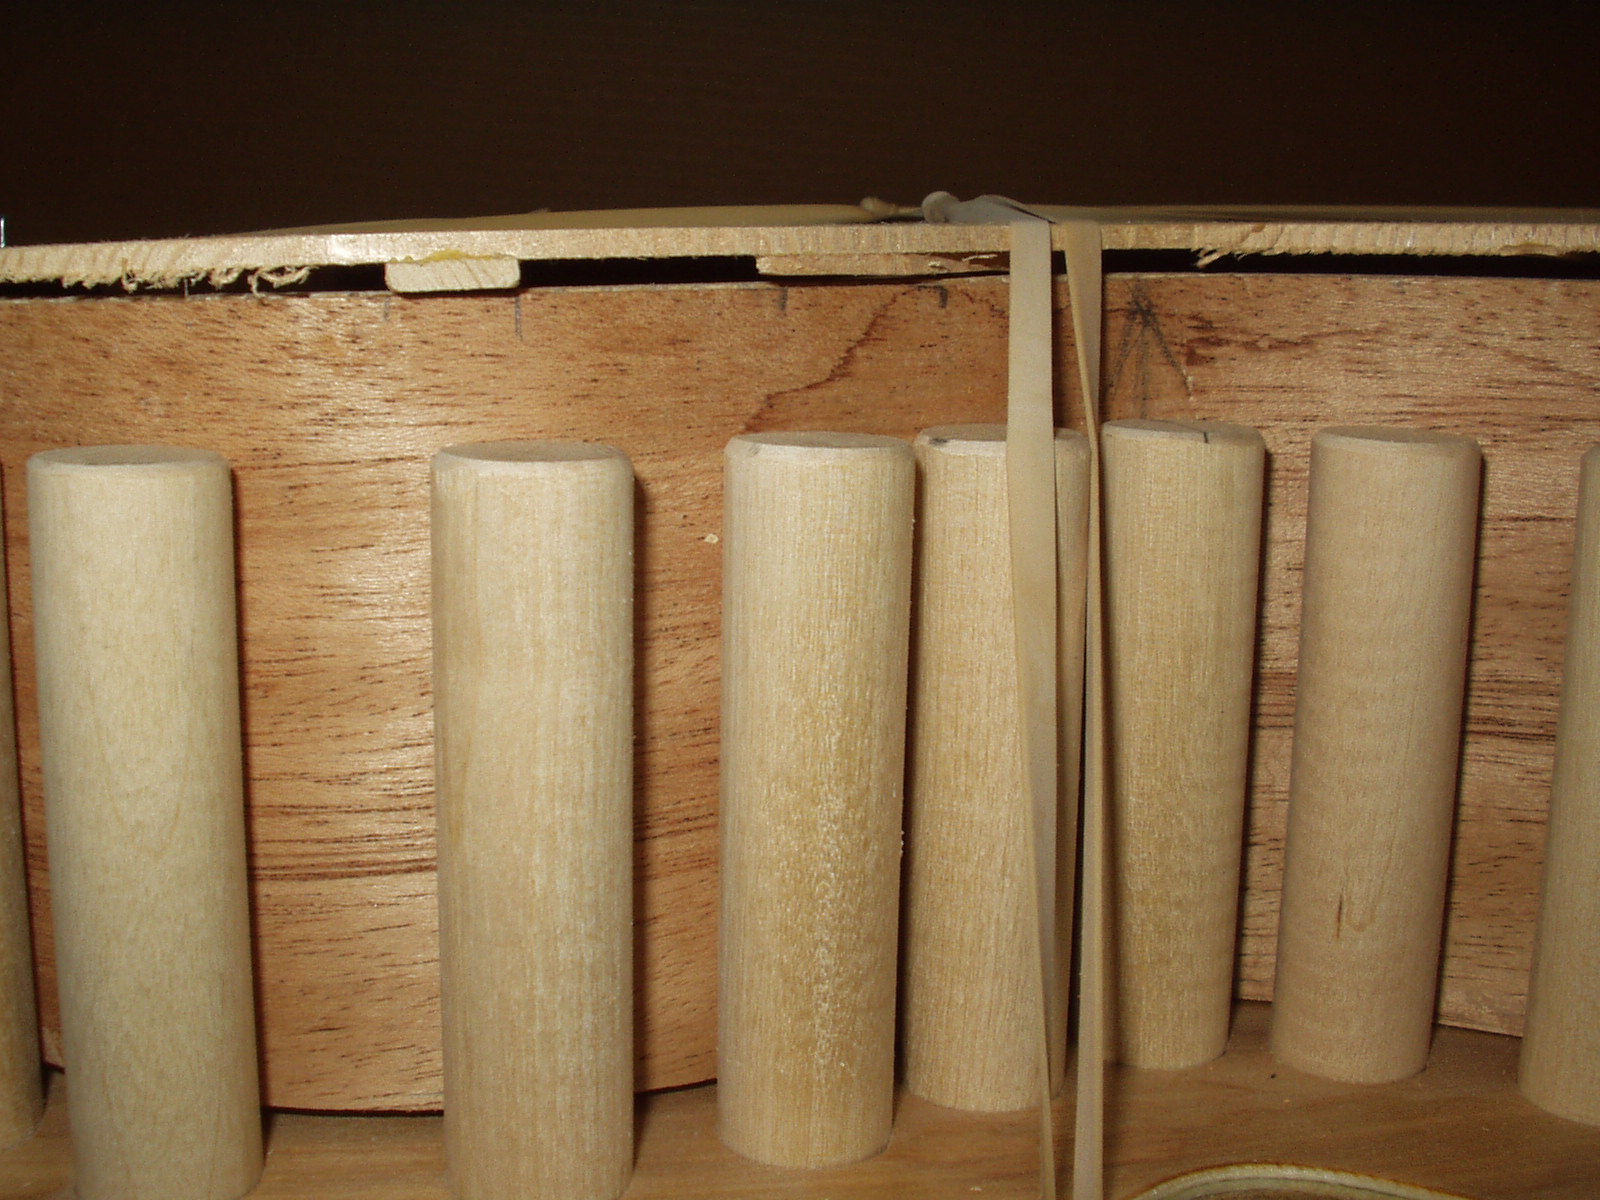
The top now can be anchored with a few
rubber bands aligning the center lines of the
top, tail and neck blocks
rubber bands aligning the center lines of the
top, tail and neck blocks
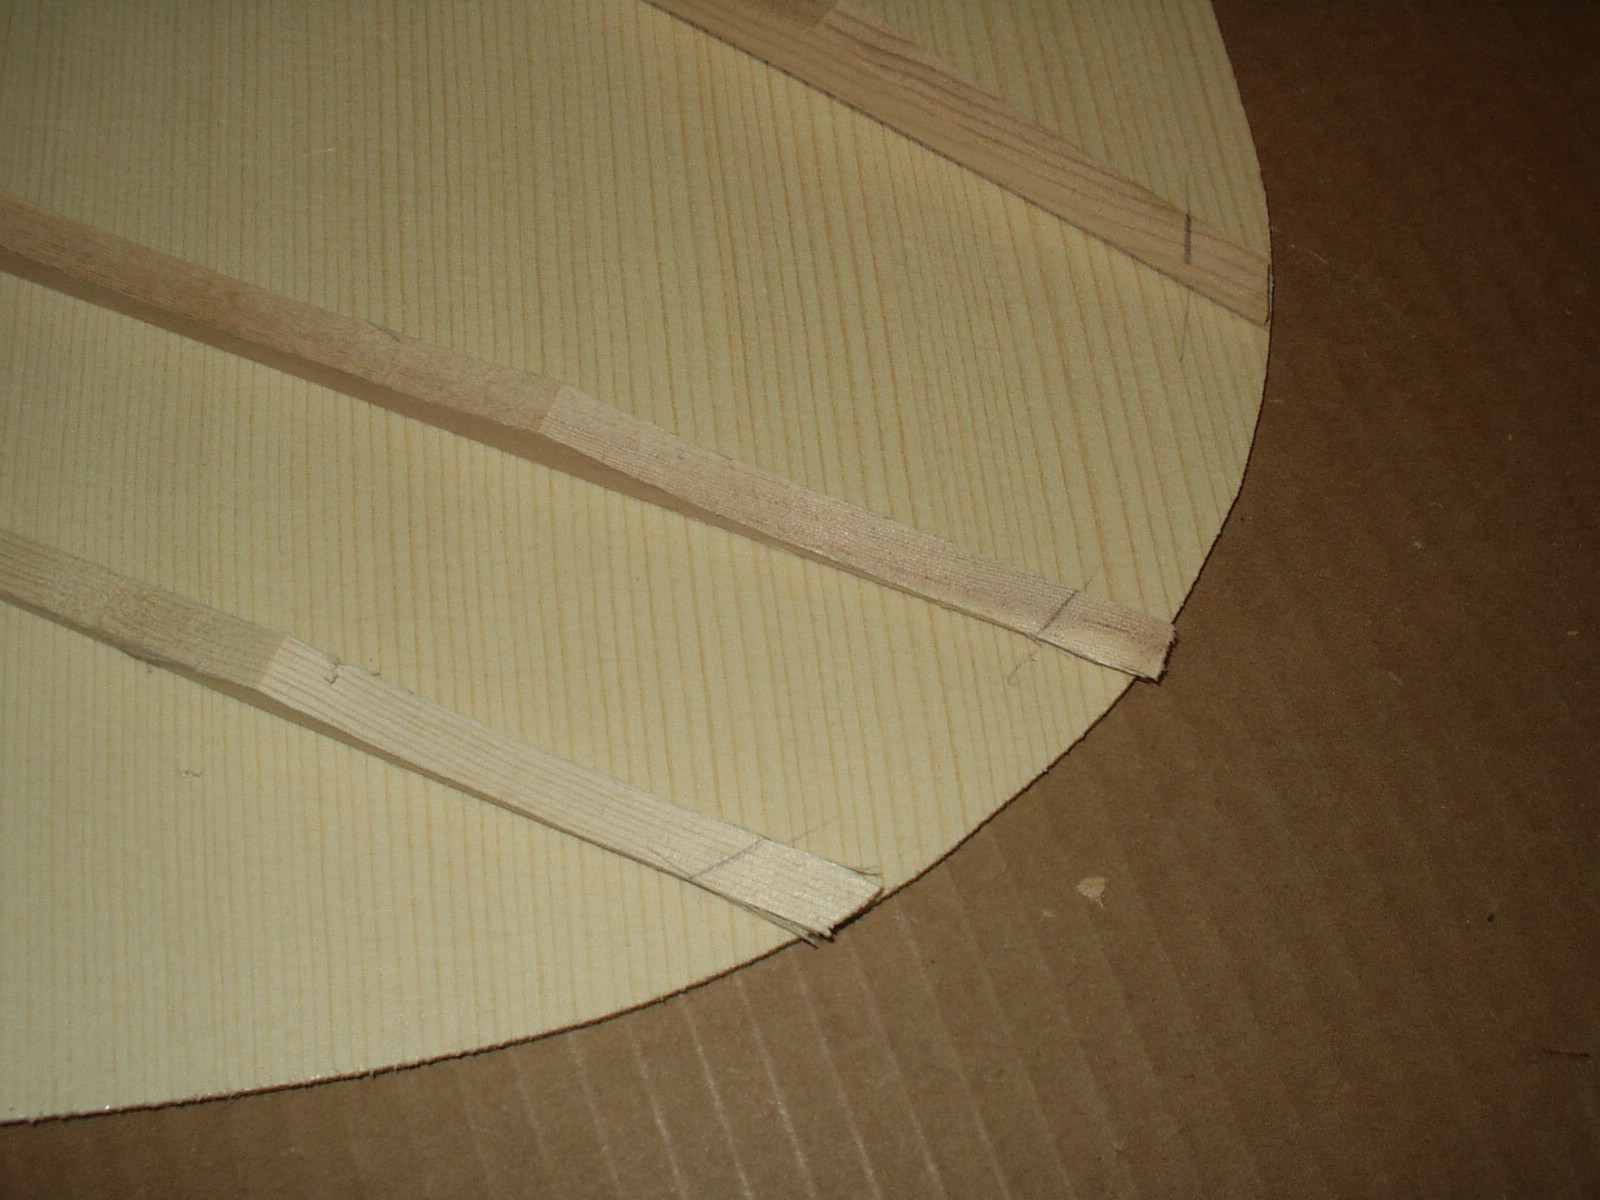
Mark the locations where the “X” brace and
cross brace lay on top of the rim
cross brace lay on top of the rim

Use a straight edge to connect the marks to
delineate where the braces cross over the
kerfing and sides.
delineate where the braces cross over the
kerfing and sides.
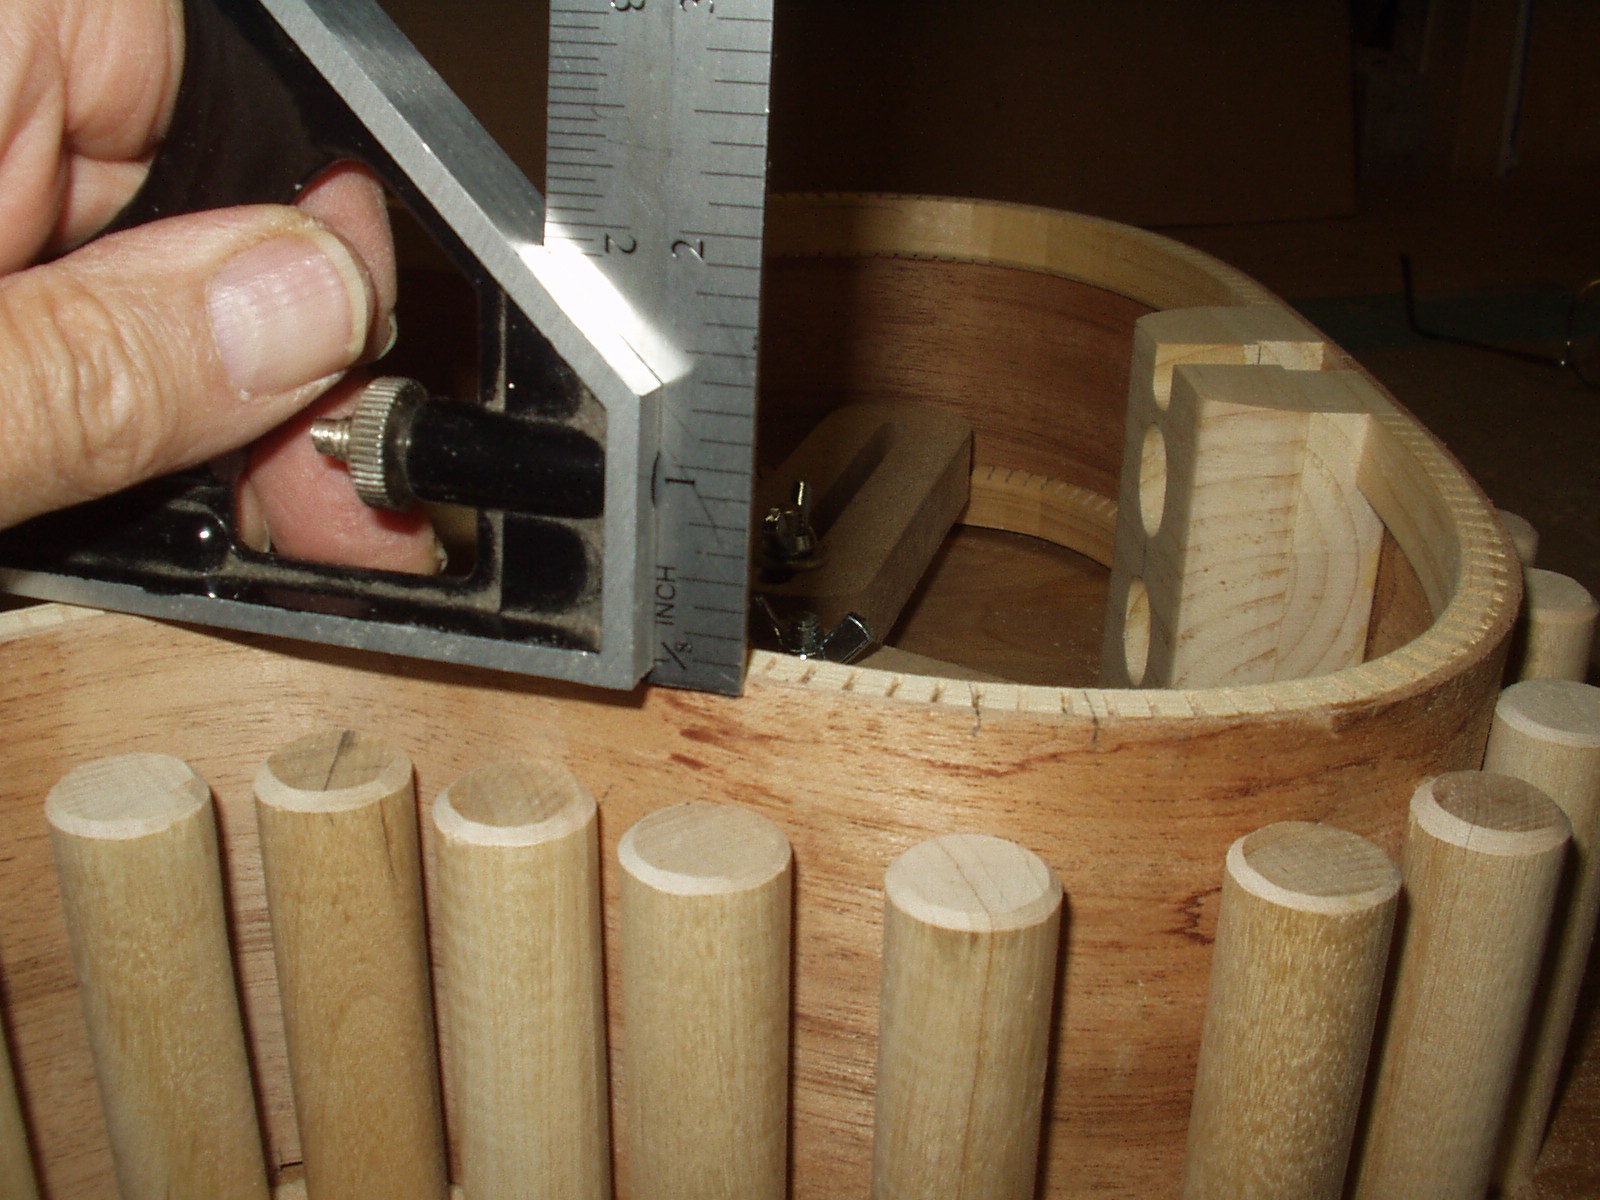
Using a square or compass mark the
maximum depth of the “X” and cross brace
channels – this must be something less
than the width of the bindings MINUS
THE THICKNESS OF THE TOP. Failure to
measure properly will lead to a
situation where binding will not cover
the brace ends. Mark the depth on the
inside also.
maximum depth of the “X” and cross brace
channels – this must be something less
than the width of the bindings MINUS
THE THICKNESS OF THE TOP. Failure to
measure properly will lead to a
situation where binding will not cover
the brace ends. Mark the depth on the
inside also.

Using a knife, razor saw and a small chisel
notch out the rim to the proper depth.
notch out the rim to the proper depth.

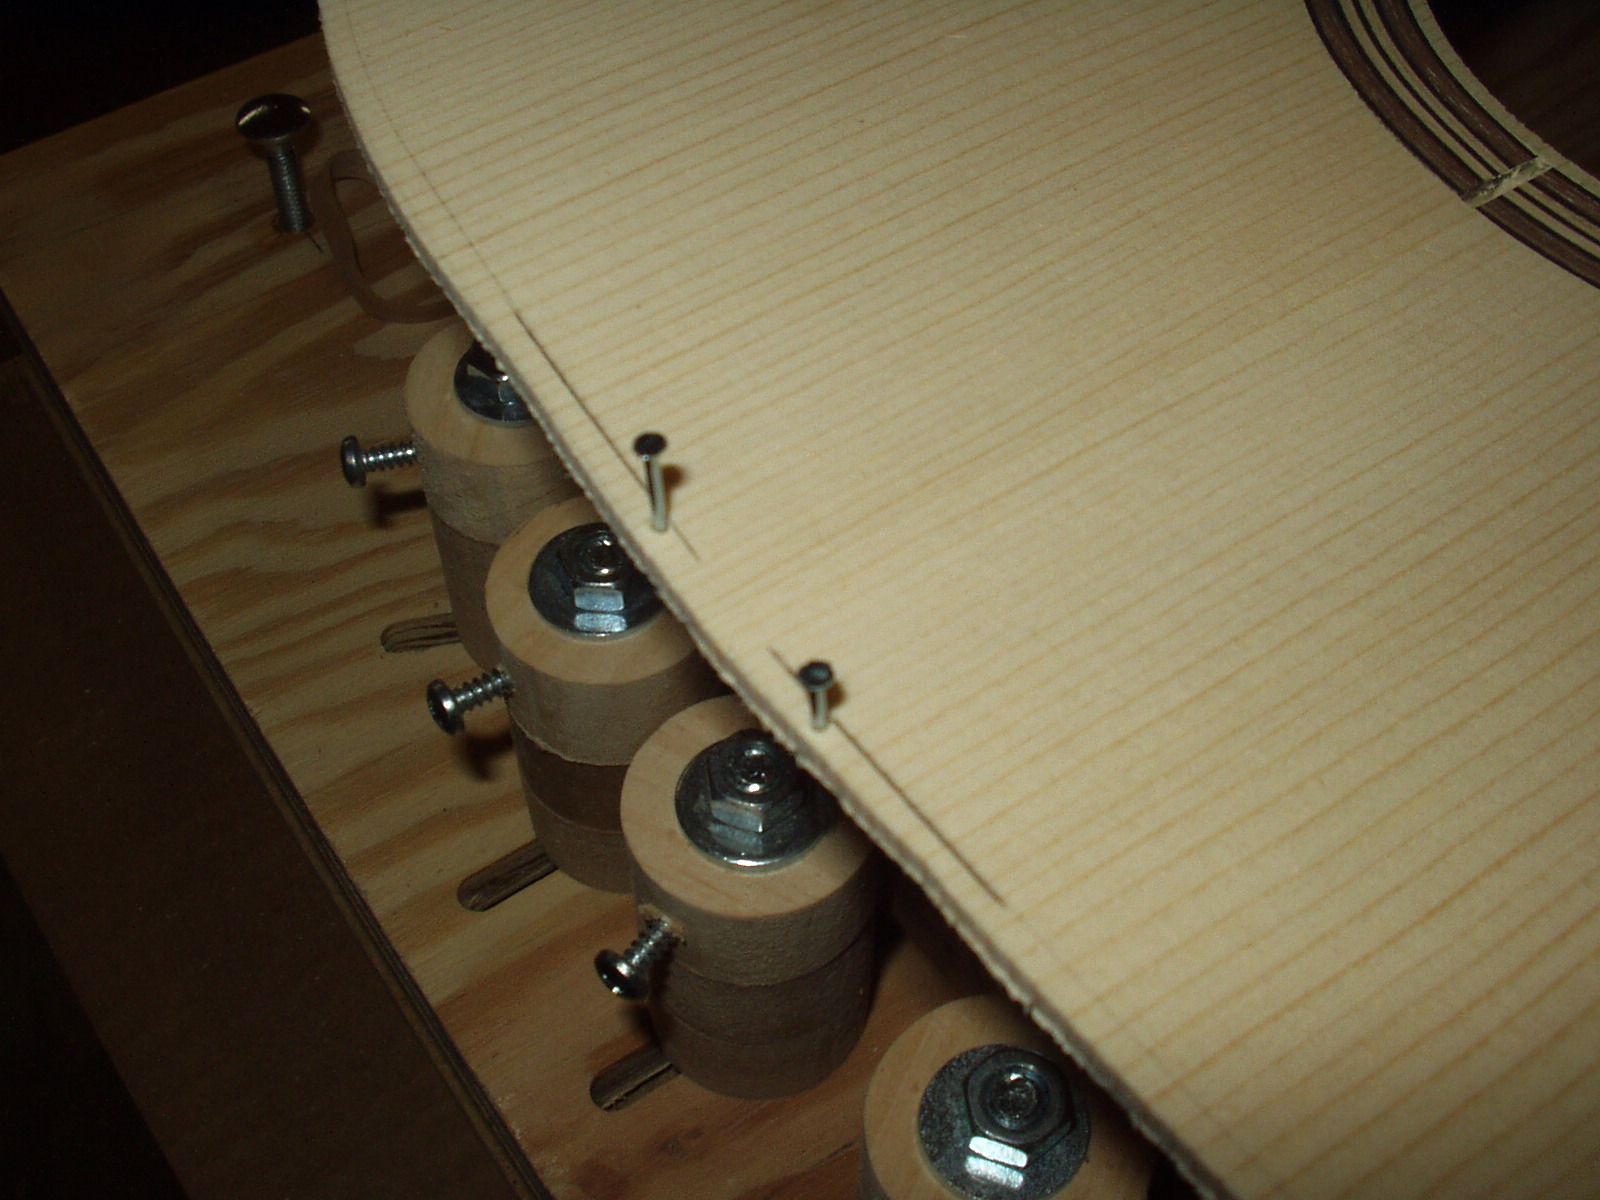
When all six notches are completed
place the top on the rim to check the fit.
If executed properly the top will sit flat on
the rim with no resistance. Sand the
braces if there is an interference DO
NOT MAKE THE NOTCHES DEEPER!
place the top on the rim to check the fit.
If executed properly the top will sit flat on
the rim with no resistance. Sand the
braces if there is an interference DO
NOT MAKE THE NOTCHES DEEPER!

There are many benefits to using the “brace
through the sides” method. First, it is easier
than trying to chip out the kerfing location
without damage. The tedious trial and error of
measuring the “X” and cross braces to get
them to fit inside the rim is eliminated. And,
when done properly the top is automatically
locked in place.
through the sides” method. First, it is easier
than trying to chip out the kerfing location
without damage. The tedious trial and error of
measuring the “X” and cross braces to get
them to fit inside the rim is eliminated. And,
when done properly the top is automatically
locked in place.
It always intrigues me when I see photos of guitar tops and backs being glued in
place. There are usually twenty or so huge clamps or thirty spool clamps. It is not real
clear, but the top in the last picture is being glued. Note that there are FOUR rubber
bands. This top is seated all the way around and there is glue squeeze out all the way
around. This is a contoured top with a 28’ radius. I cannot repeat this enough --- If it
takes bone crushing force to bring your parts together something is wrong. Building
stress into a musical instrument simply is not a good idea. I always glue the top on first
– this makes the assembly very stiff. To complete the contour of the back it does have
to be shaped over the waist to match the side taper. Again, if the back was braced
properly and rim contoured properly, there will be very little force required to get the
longitudinal bend.