Kenneth Michael Guitars, LLC
"Multi-Style Guitar Mold" ™
This is the only mold you will need to produce virtually any style and size
guitar. The mold can be adapted for guitar shapes that are one of kind
originals. The time consuming chore of constructing a special fixture has been
eliminated.
guitar. The mold can be adapted for guitar shapes that are one of kind
originals. The time consuming chore of constructing a special fixture has been
eliminated.
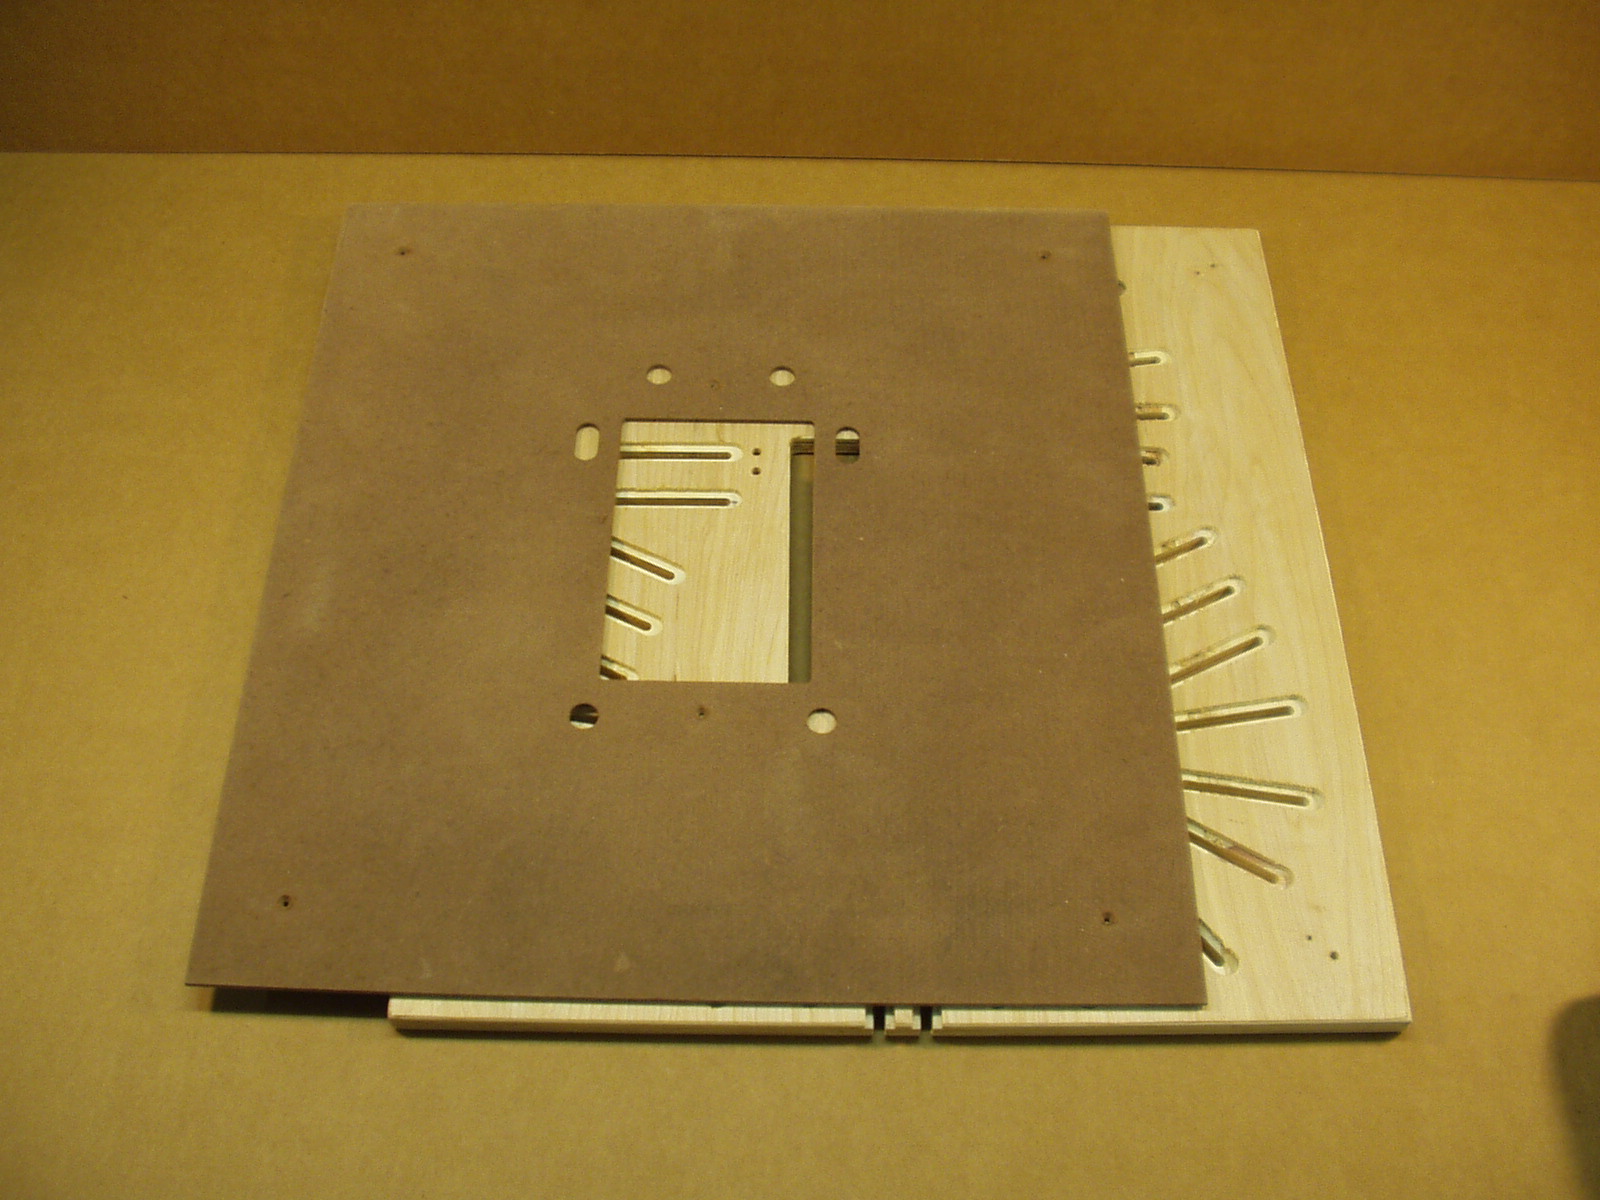
Begin assembly by removing the Masonite
back.
back.
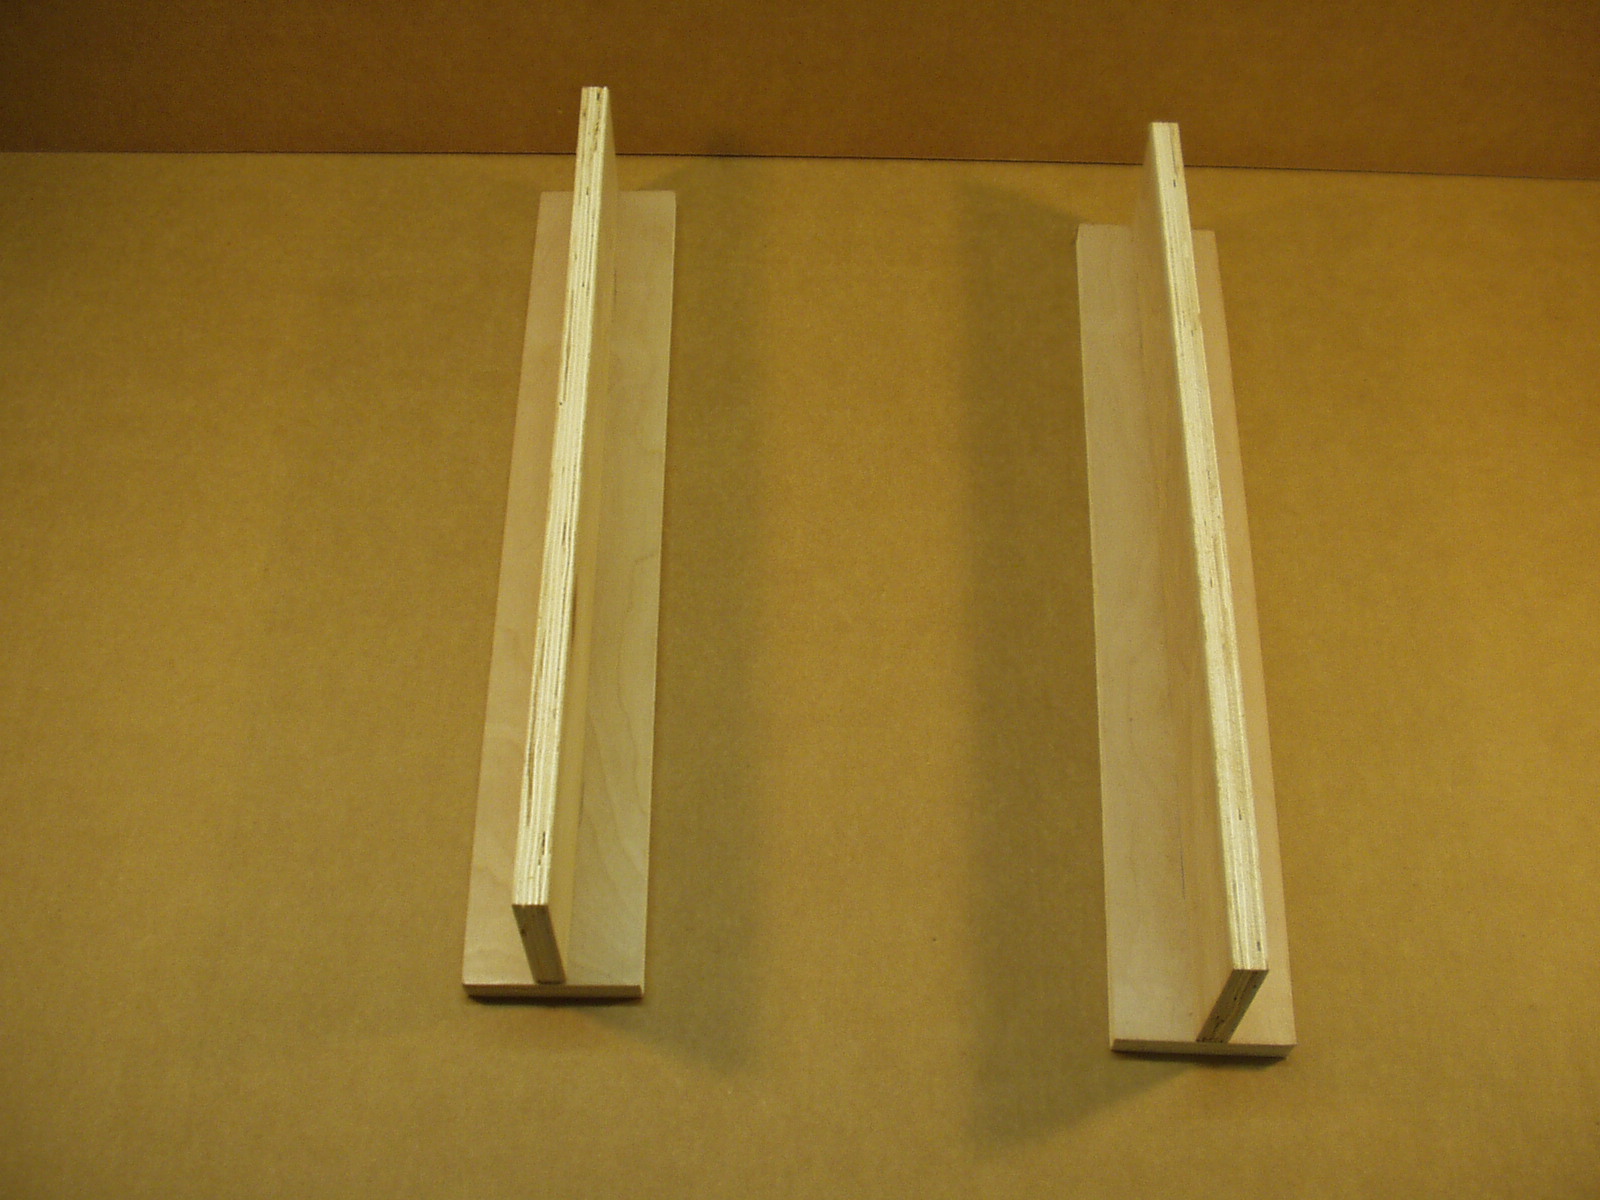
Two short pieces of 2x4 material standing
on the 2”edge are used as a stand to install
the 3 ½" post bolts.
on the 2”edge are used as a stand to install
the 3 ½" post bolts.
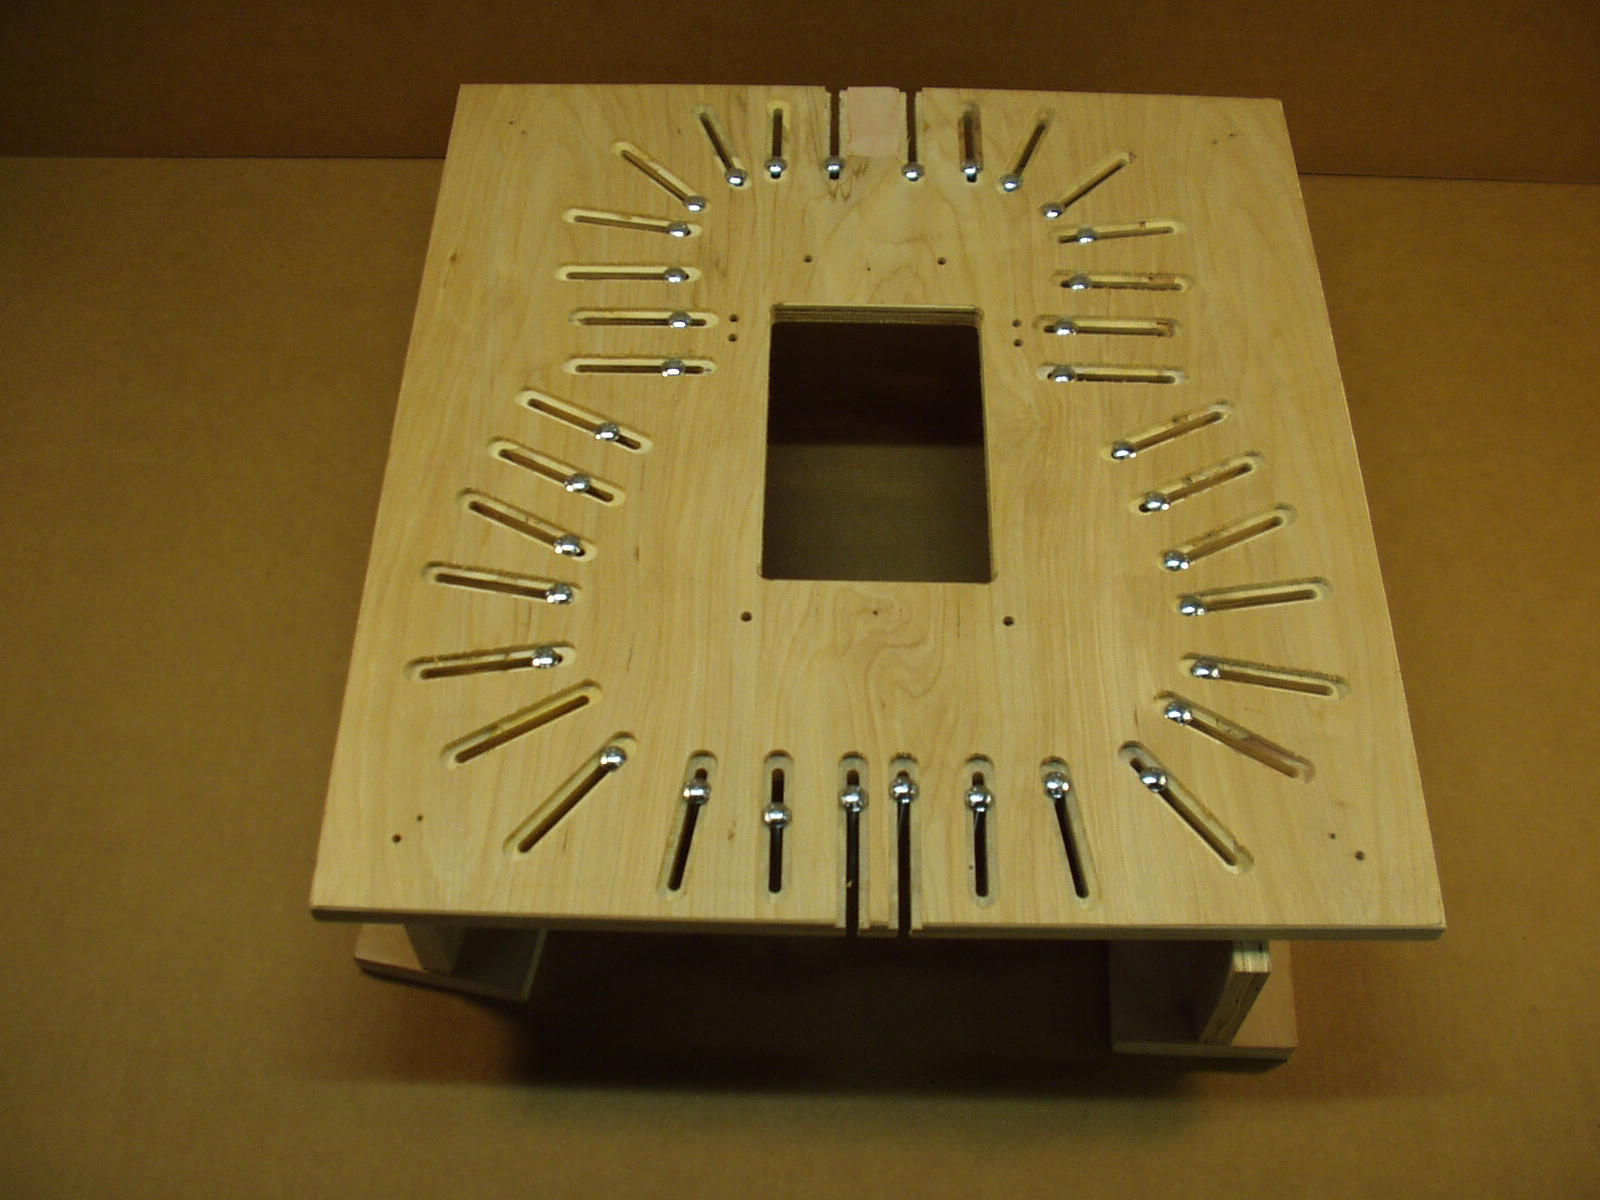
Place one 3 ½ “ carriage bolt in each
slot, make sure the square portion on the
bolt is seated properly in the slot.
slot, make sure the square portion on the
bolt is seated properly in the slot.

Assemble the Masonite back with the six ½ “
wood screws.
wood screws.
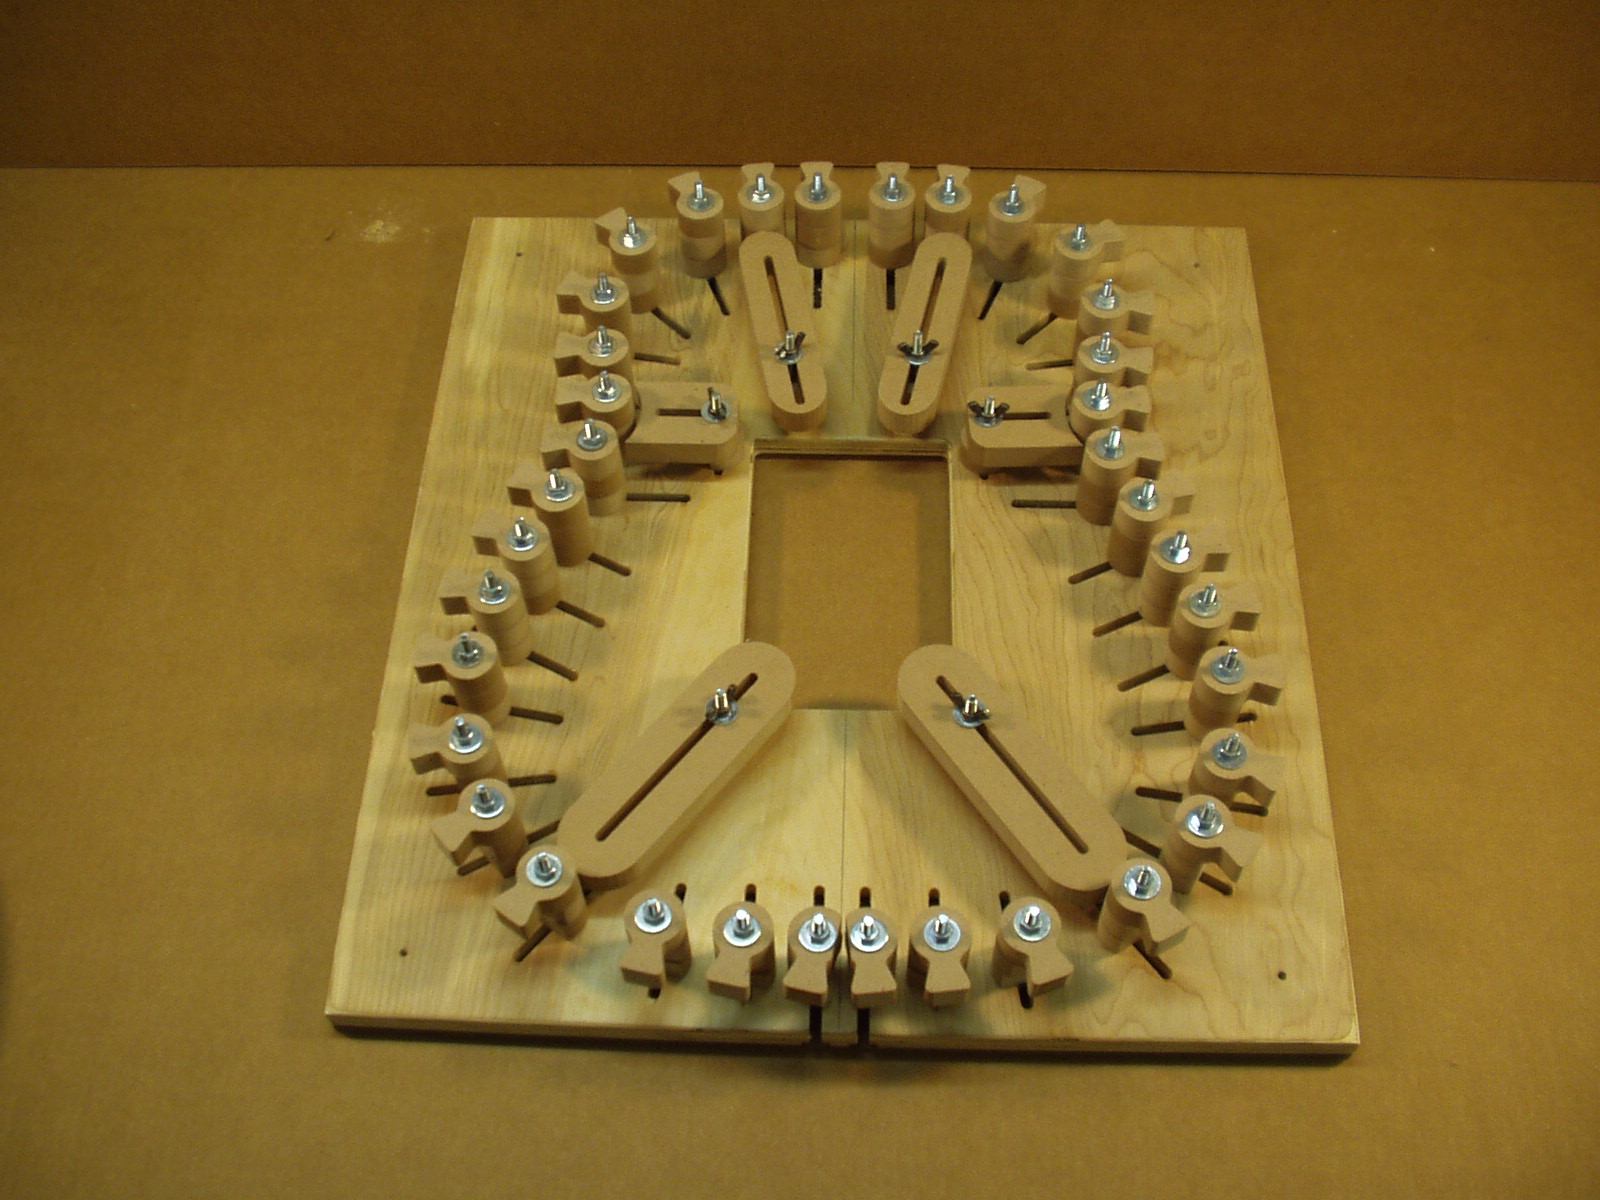
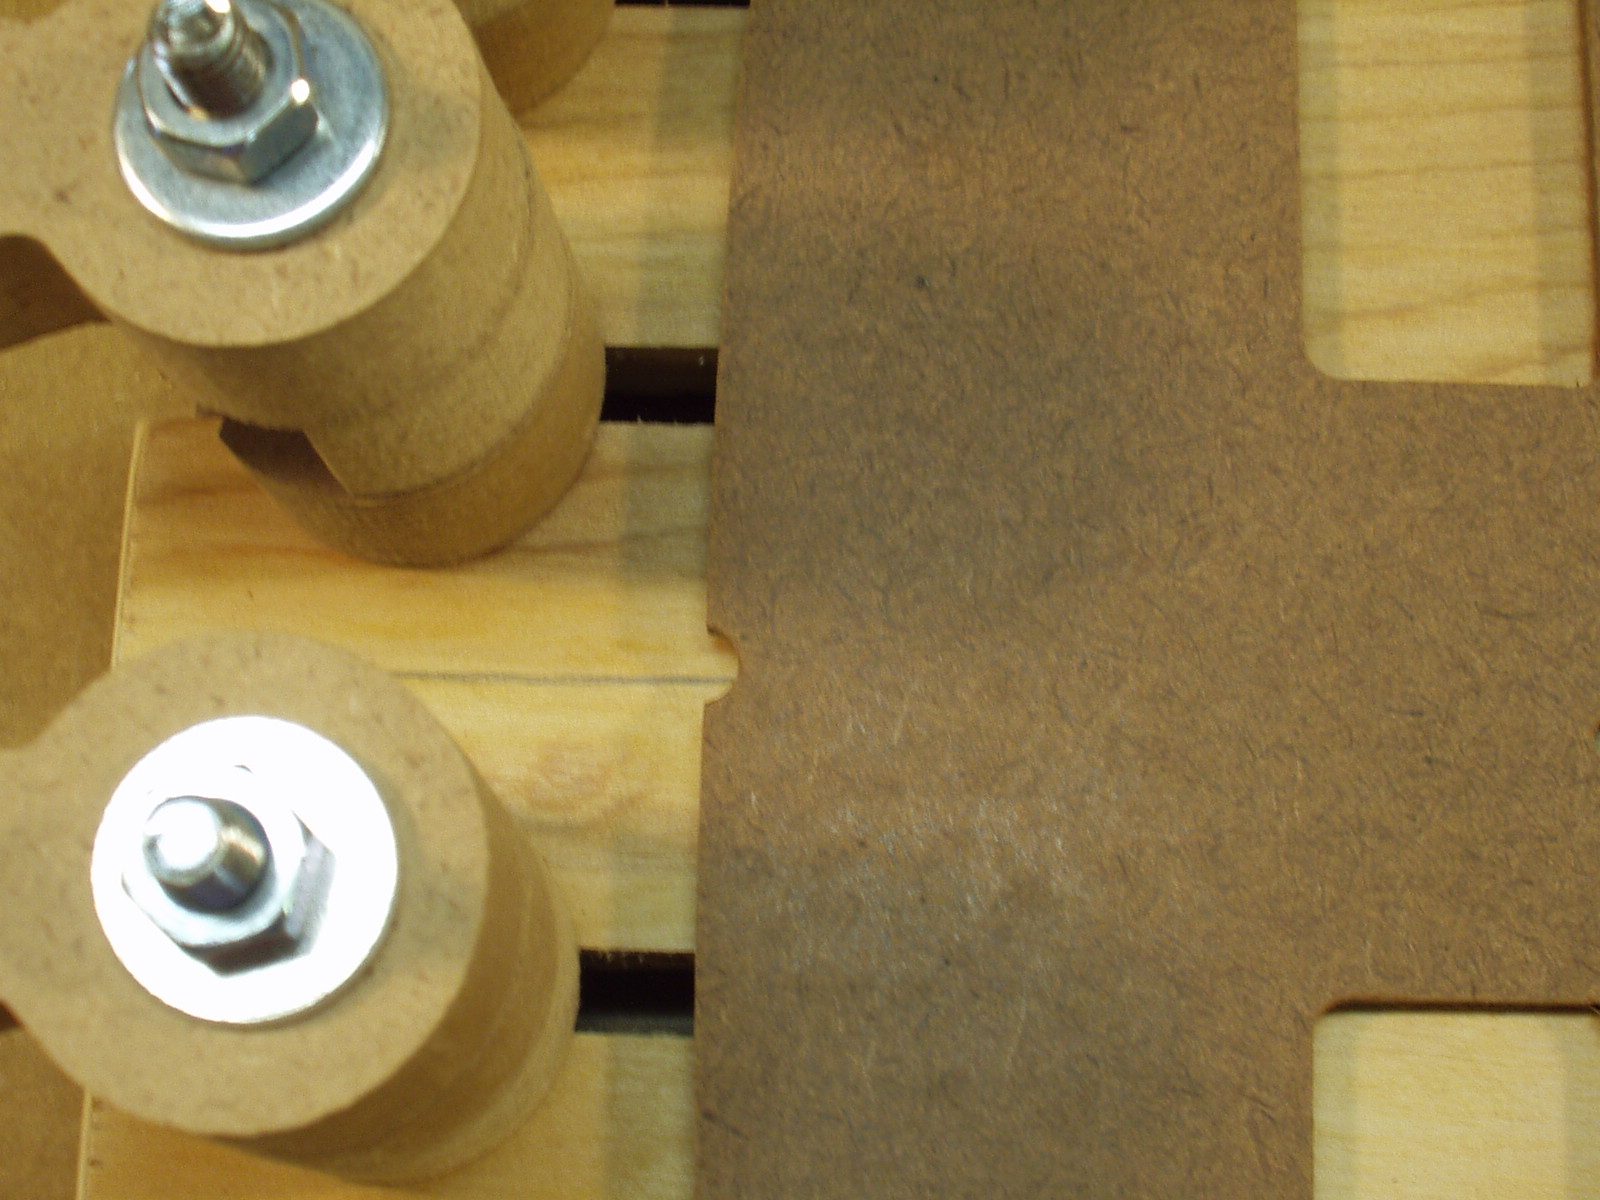
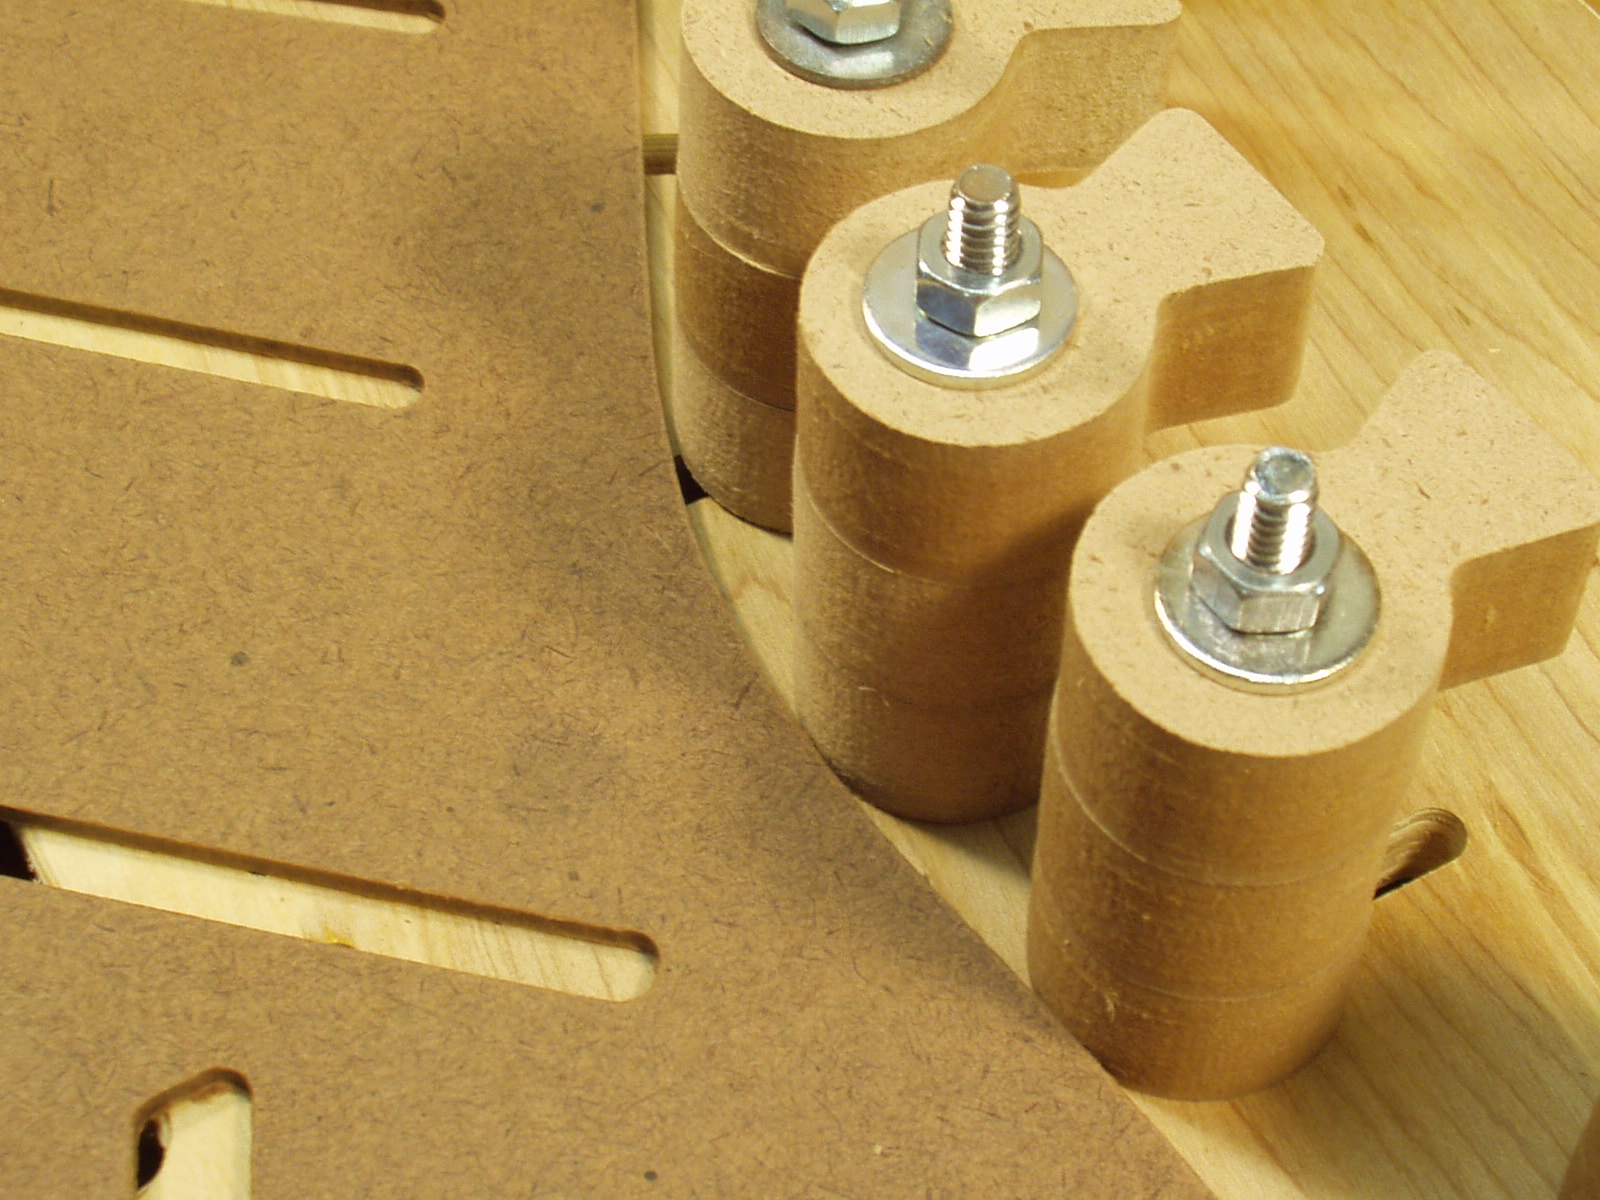
Flip the mold over; each post is made up of a PCV tube and a MDF cap with a
rubber band tab. Place the tube over the bolt, position the cap with the locater
ridge in the tube, loose assemble a washer and nut. This is repeated for all 36
posts.
rubber band tab. Place the tube over the bolt, position the cap with the locater
ridge in the tube, loose assemble a washer and nut. This is repeated for all 36
posts.
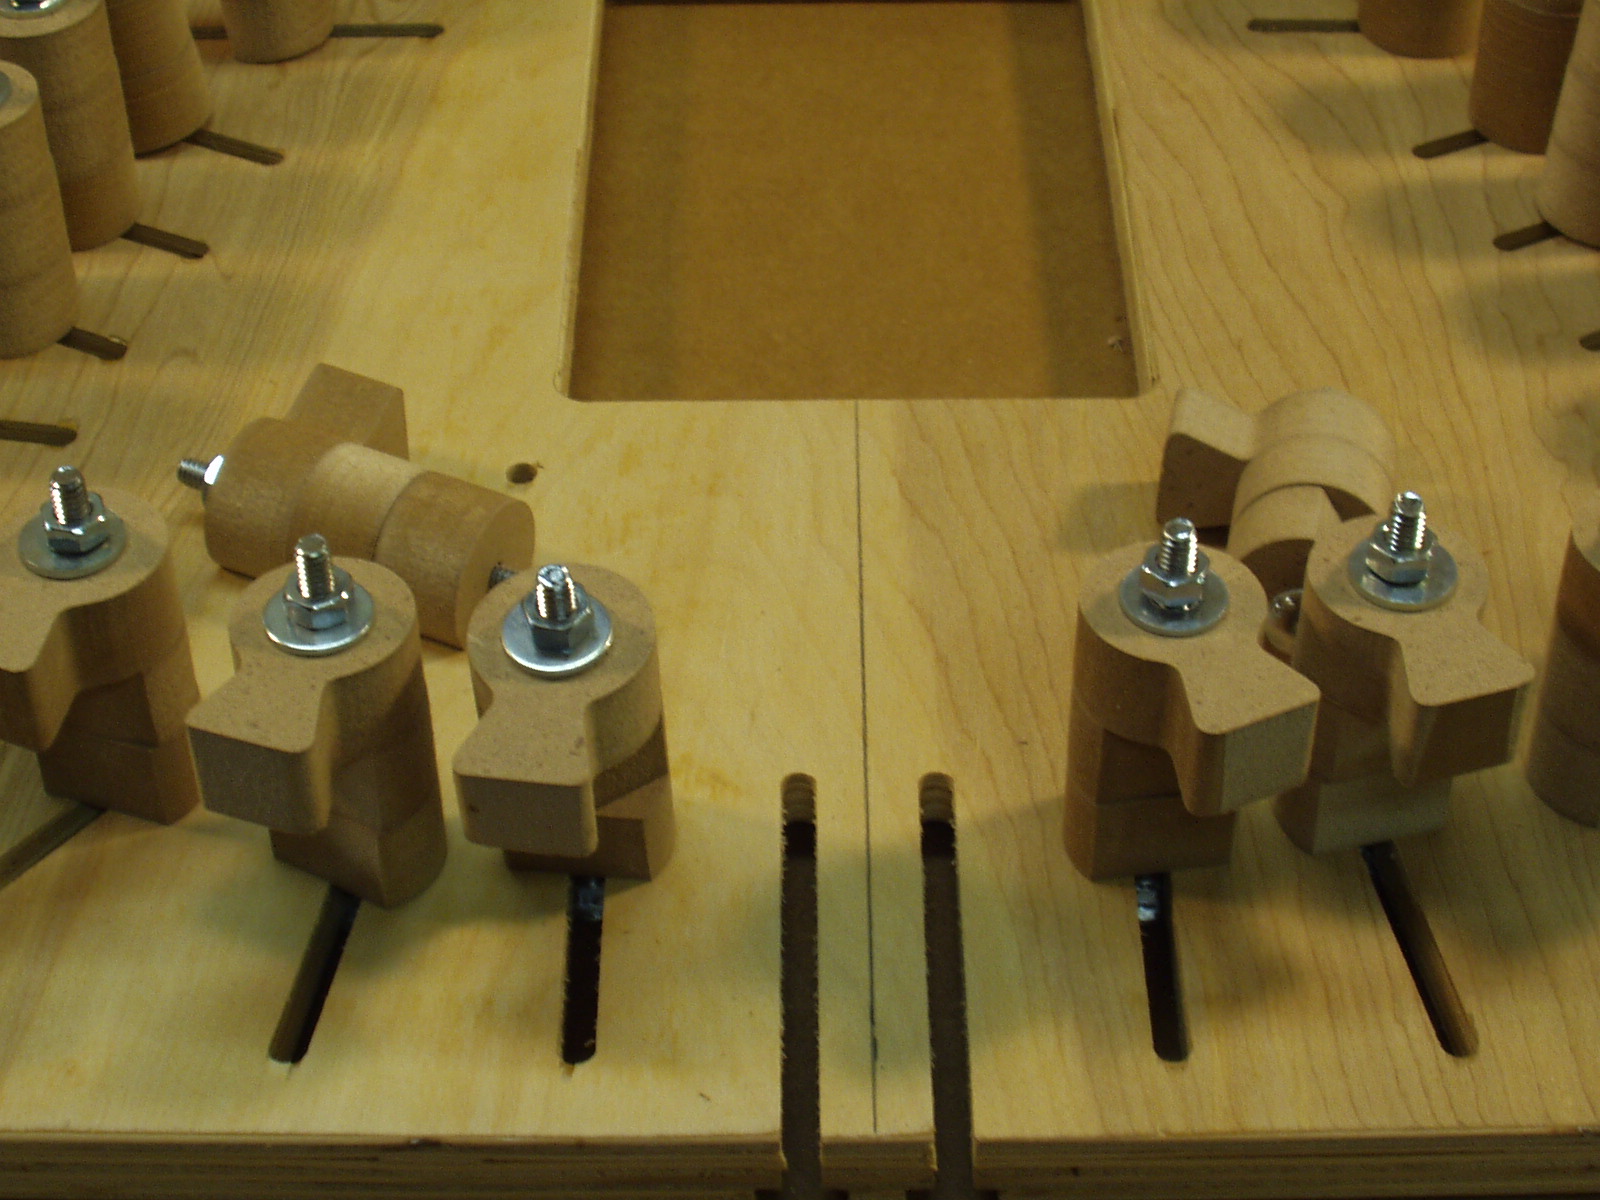
To establish a permanent reference a
line should be marked on the mold base.
Simply mark the centers between the end
slots and connect using a straight edge.
line should be marked on the mold base.
Simply mark the centers between the end
slots and connect using a straight edge.
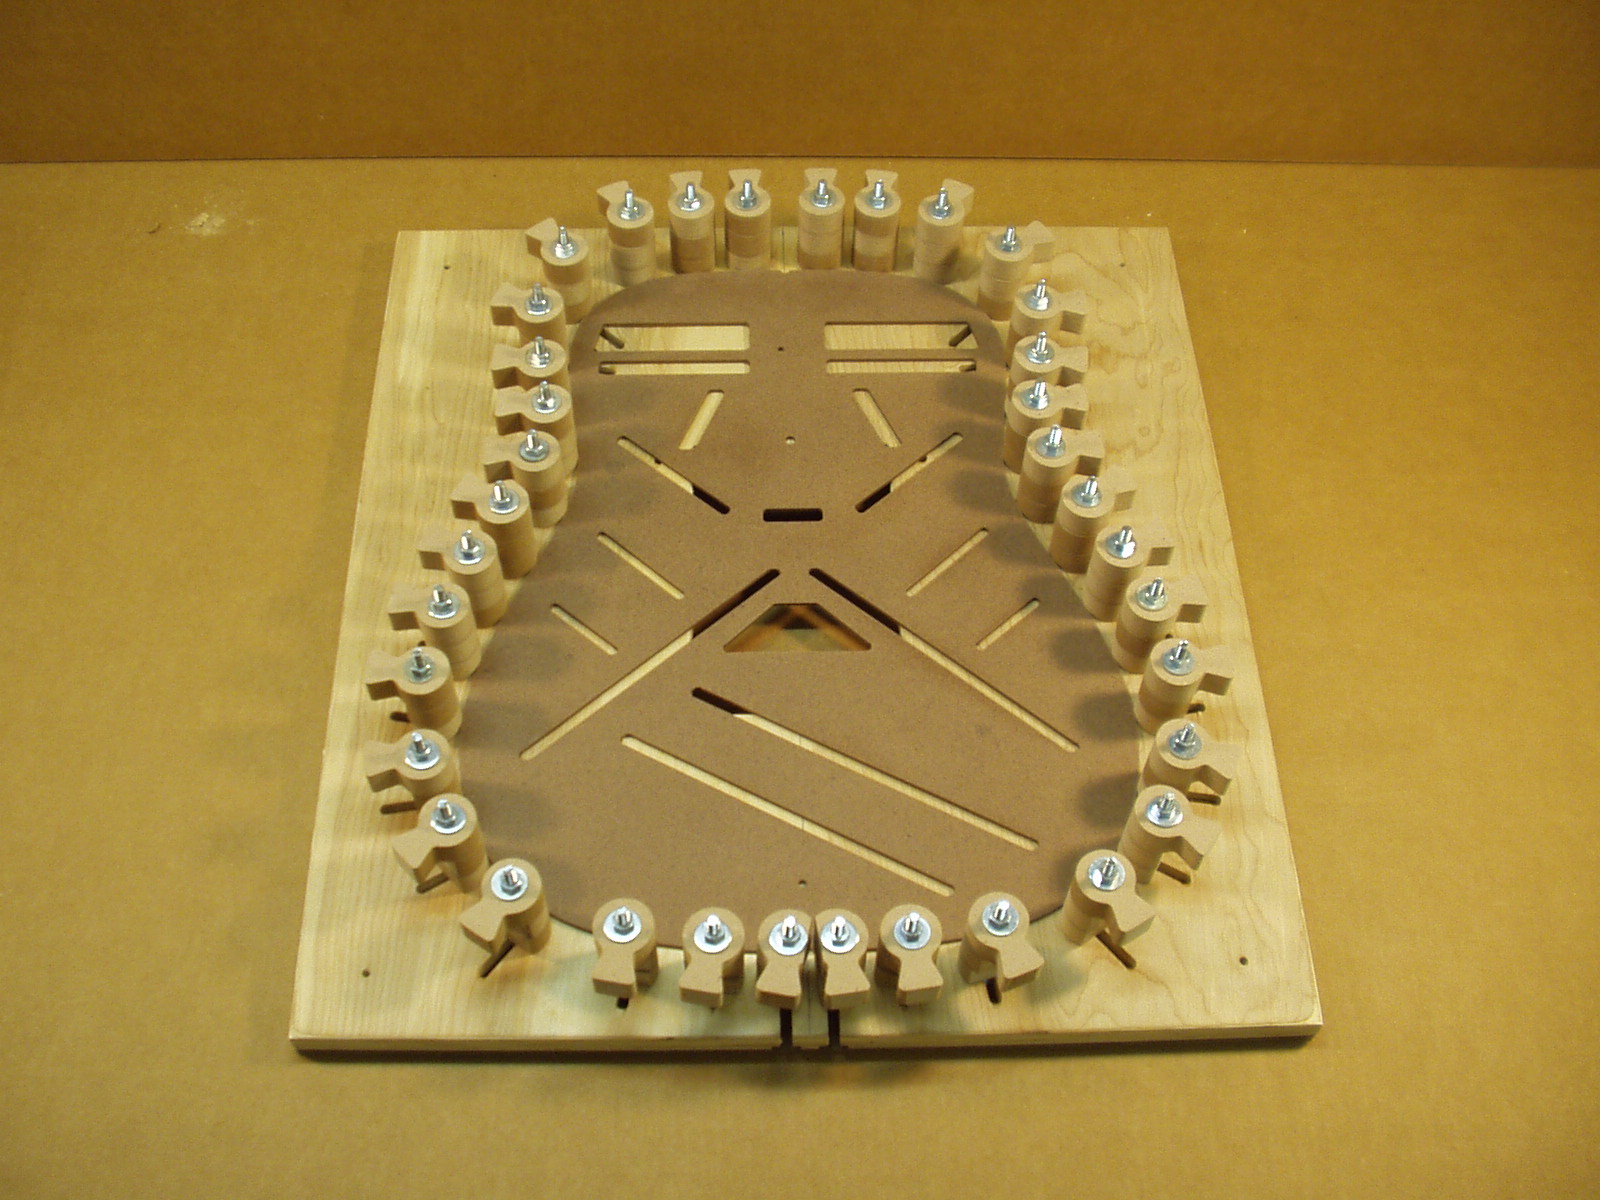
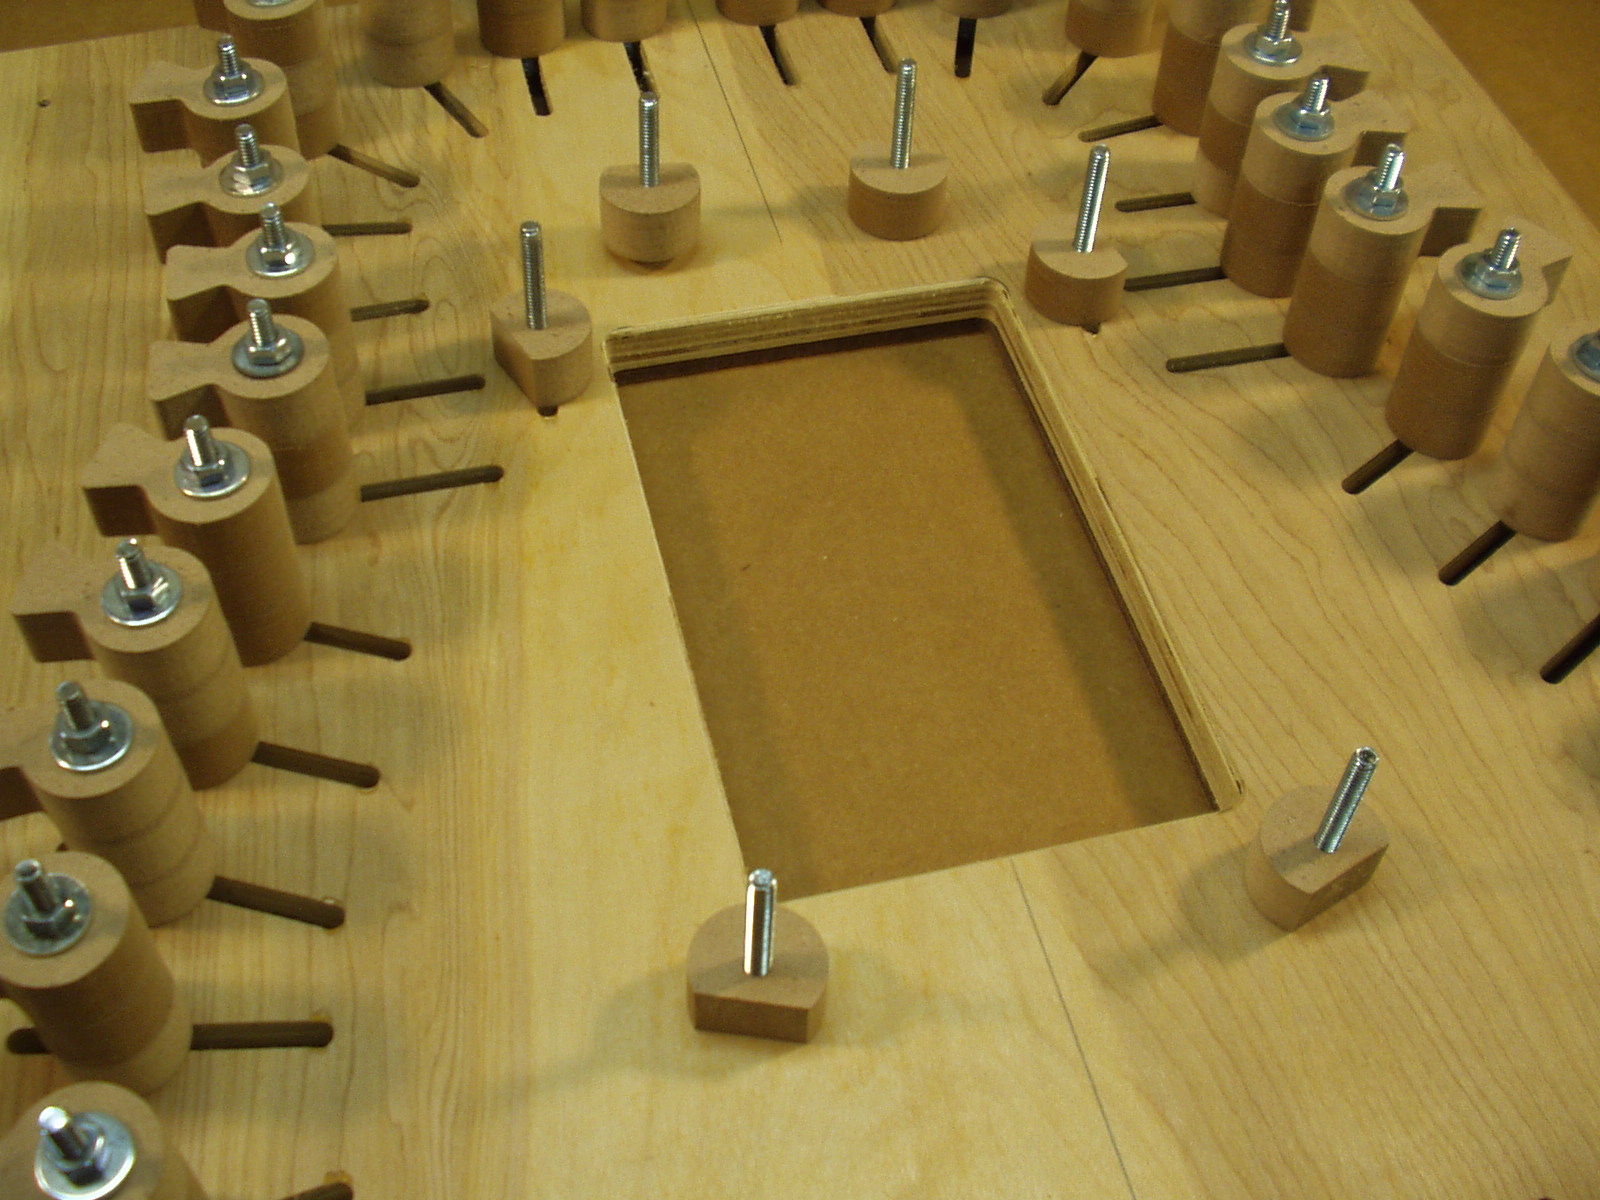
To set up the mold, place the stencil/template on the centerline. Locate the inner most
arc of the waist curve as close to a post as possible.
arc of the waist curve as close to a post as possible.
Tighten the end and waist posts on each side, slide the remaining post up to the
stencil/template and secure as you go around. Check to make sure the template stays
on the centerline.
stencil/template and secure as you go around. Check to make sure the template stays
on the centerline.
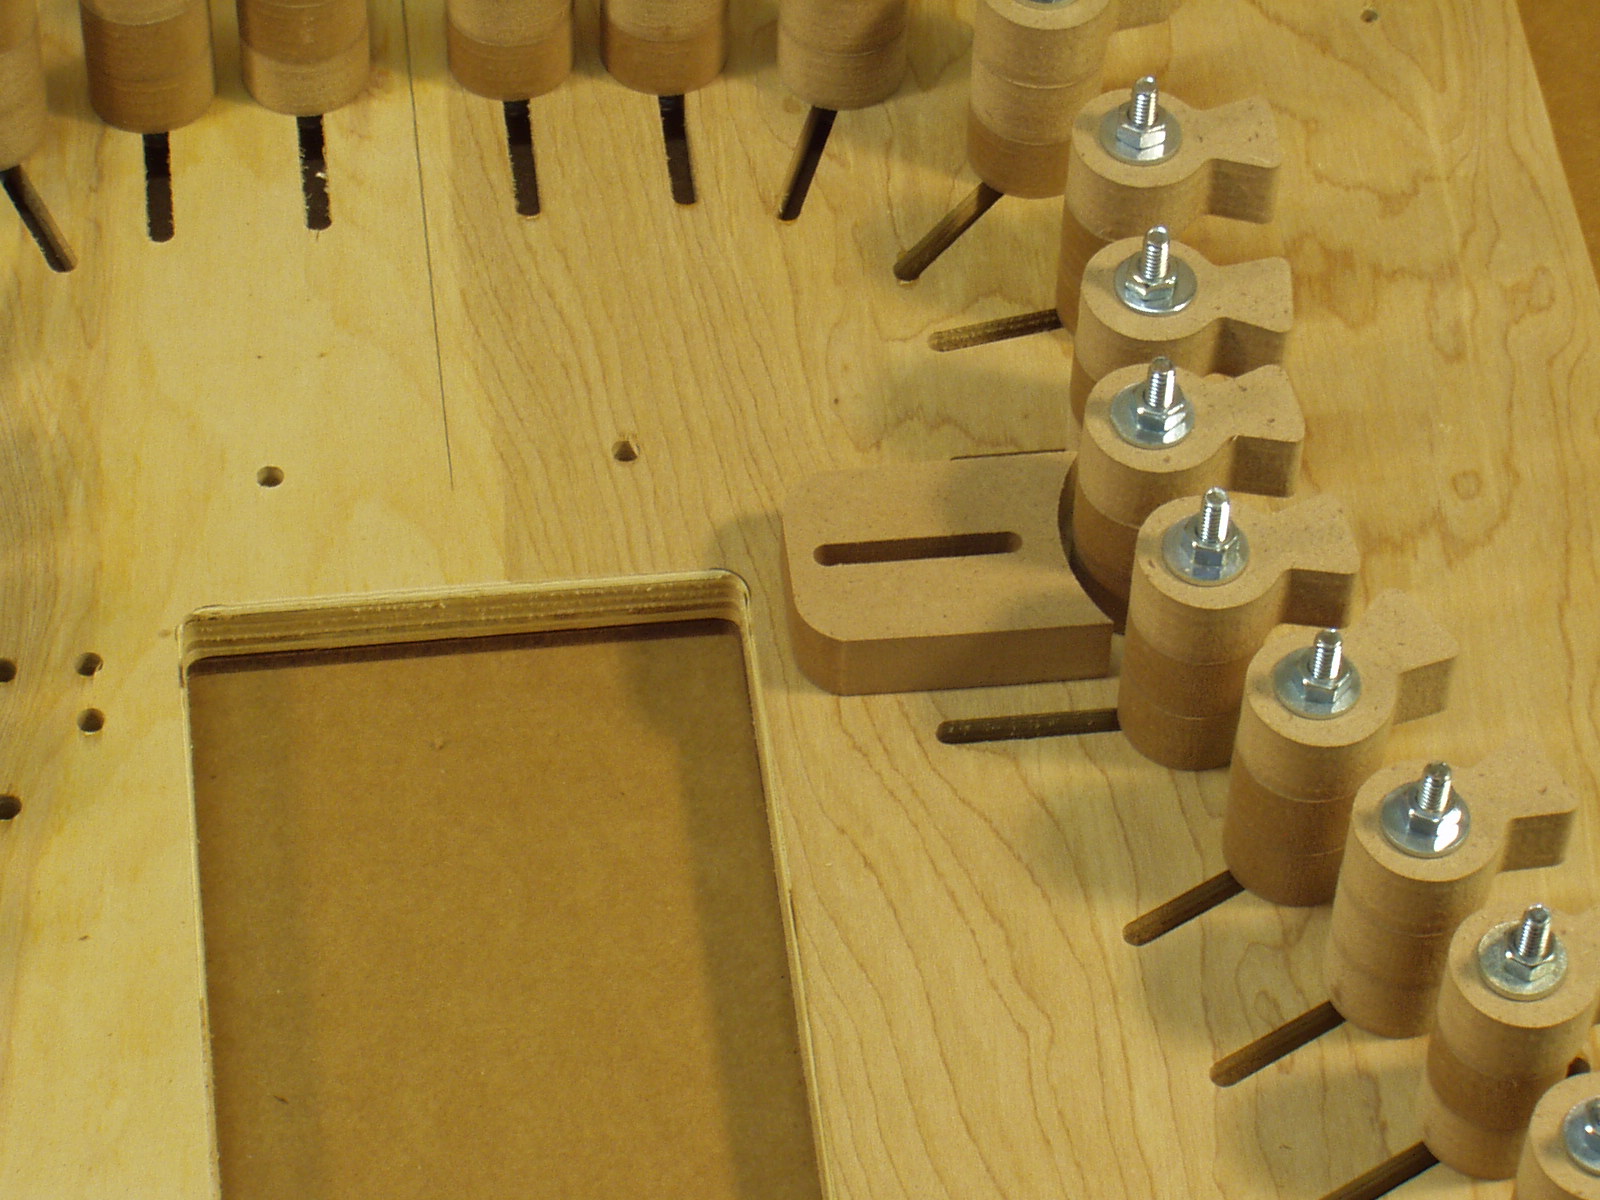
Locate the waist caul and place it on the
mold to determine the best hole position.
mold to determine the best hole position.
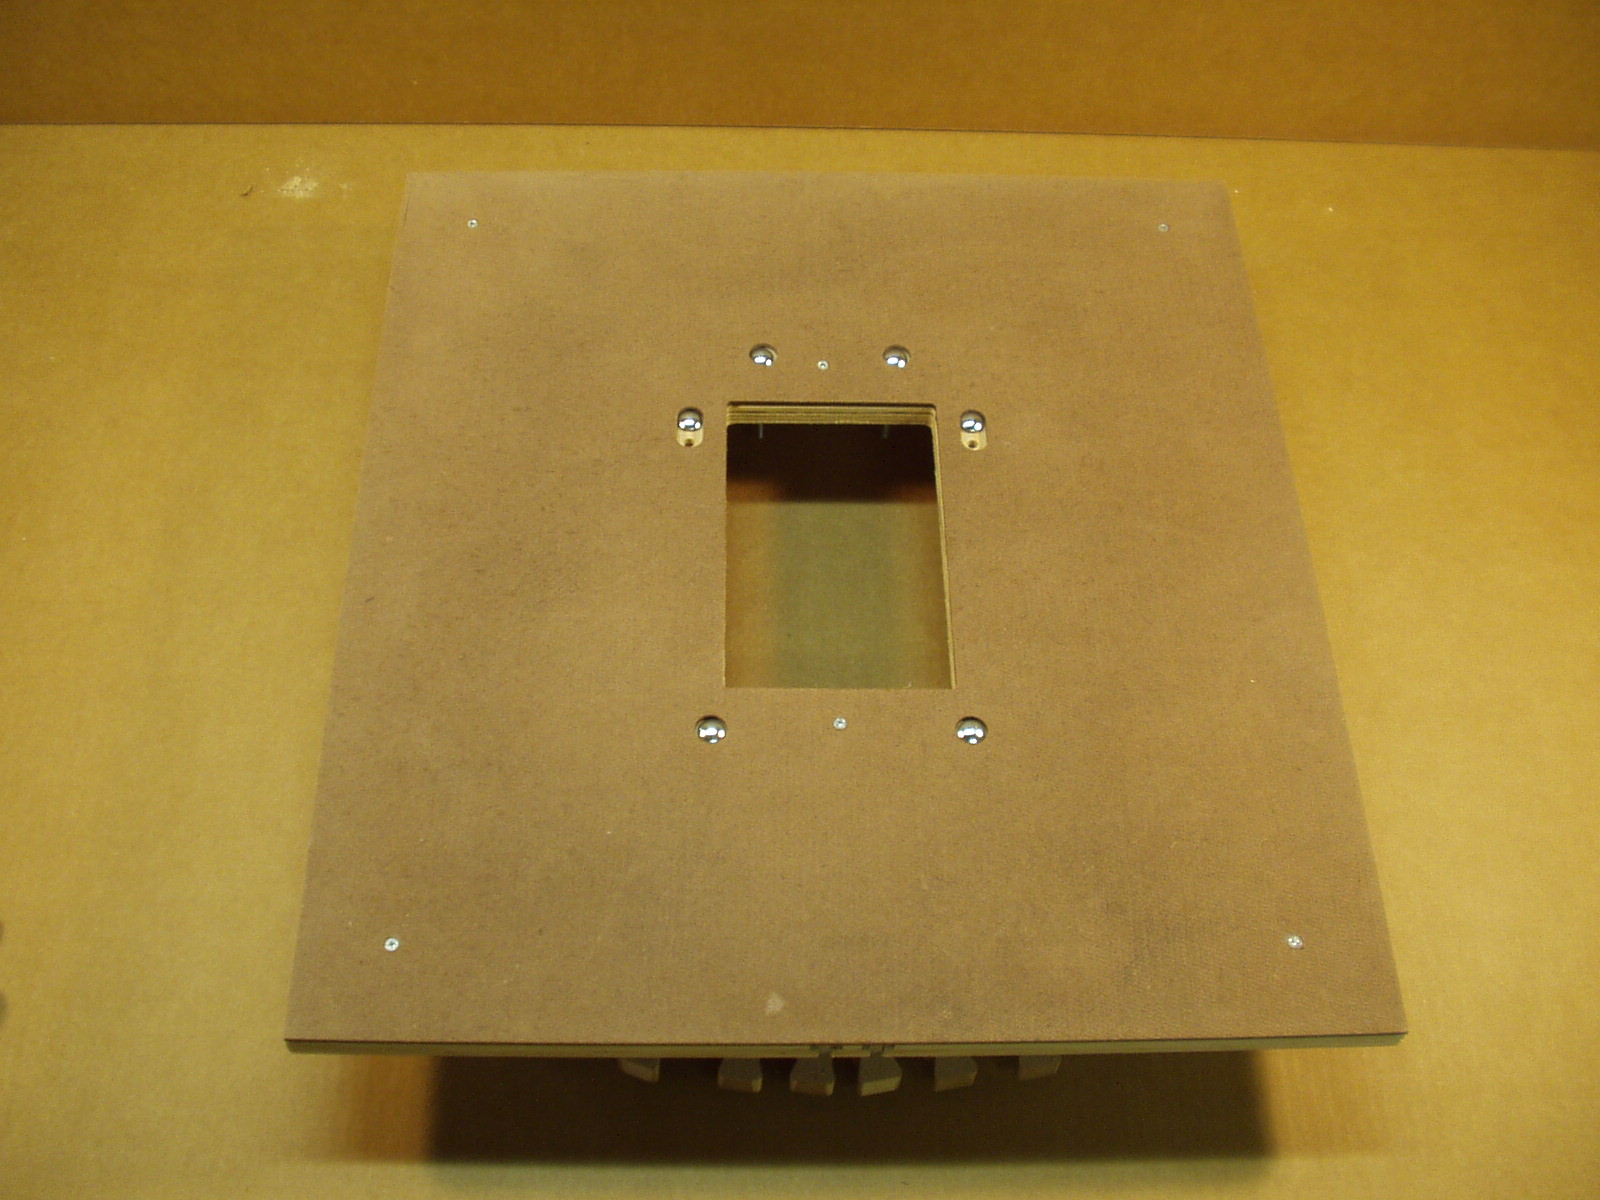
Flip the mold over than place 2-1/2”
carriage bolts in the chosen waist locations
and one in each of the remaining 4 holes.
Use a hammer and punch to seat the bolts.
carriage bolts in the chosen waist locations
and one in each of the remaining 4 holes.
Use a hammer and punch to seat the bolts.
Flip the mold once again. Place a spacer
on each bolt – the wide clamps are for the
lower bout the narrow for the upper.
Secure the clamps with a wing nut and
washer at each location.
on each bolt – the wide clamps are for the
lower bout the narrow for the upper.
Secure the clamps with a wing nut and
washer at each location.