Kenneth Michael Guitars est.1978
| Making a Guitar Nut The “Zero zero fret” method© Ken Cierpilowski |
I have played some guitars with a “Zero fret” installed and indeed they had very low
action. That extra fret makes it a “no brainer” getting the string height at the optimum
position off the frets, problem is, to many players it does not look very good, also to a
certain extent it does complicate the building process. So the next best situation would
be fabricate a custom nut that closely emulates the ideal string height of the “Zero
fret”.
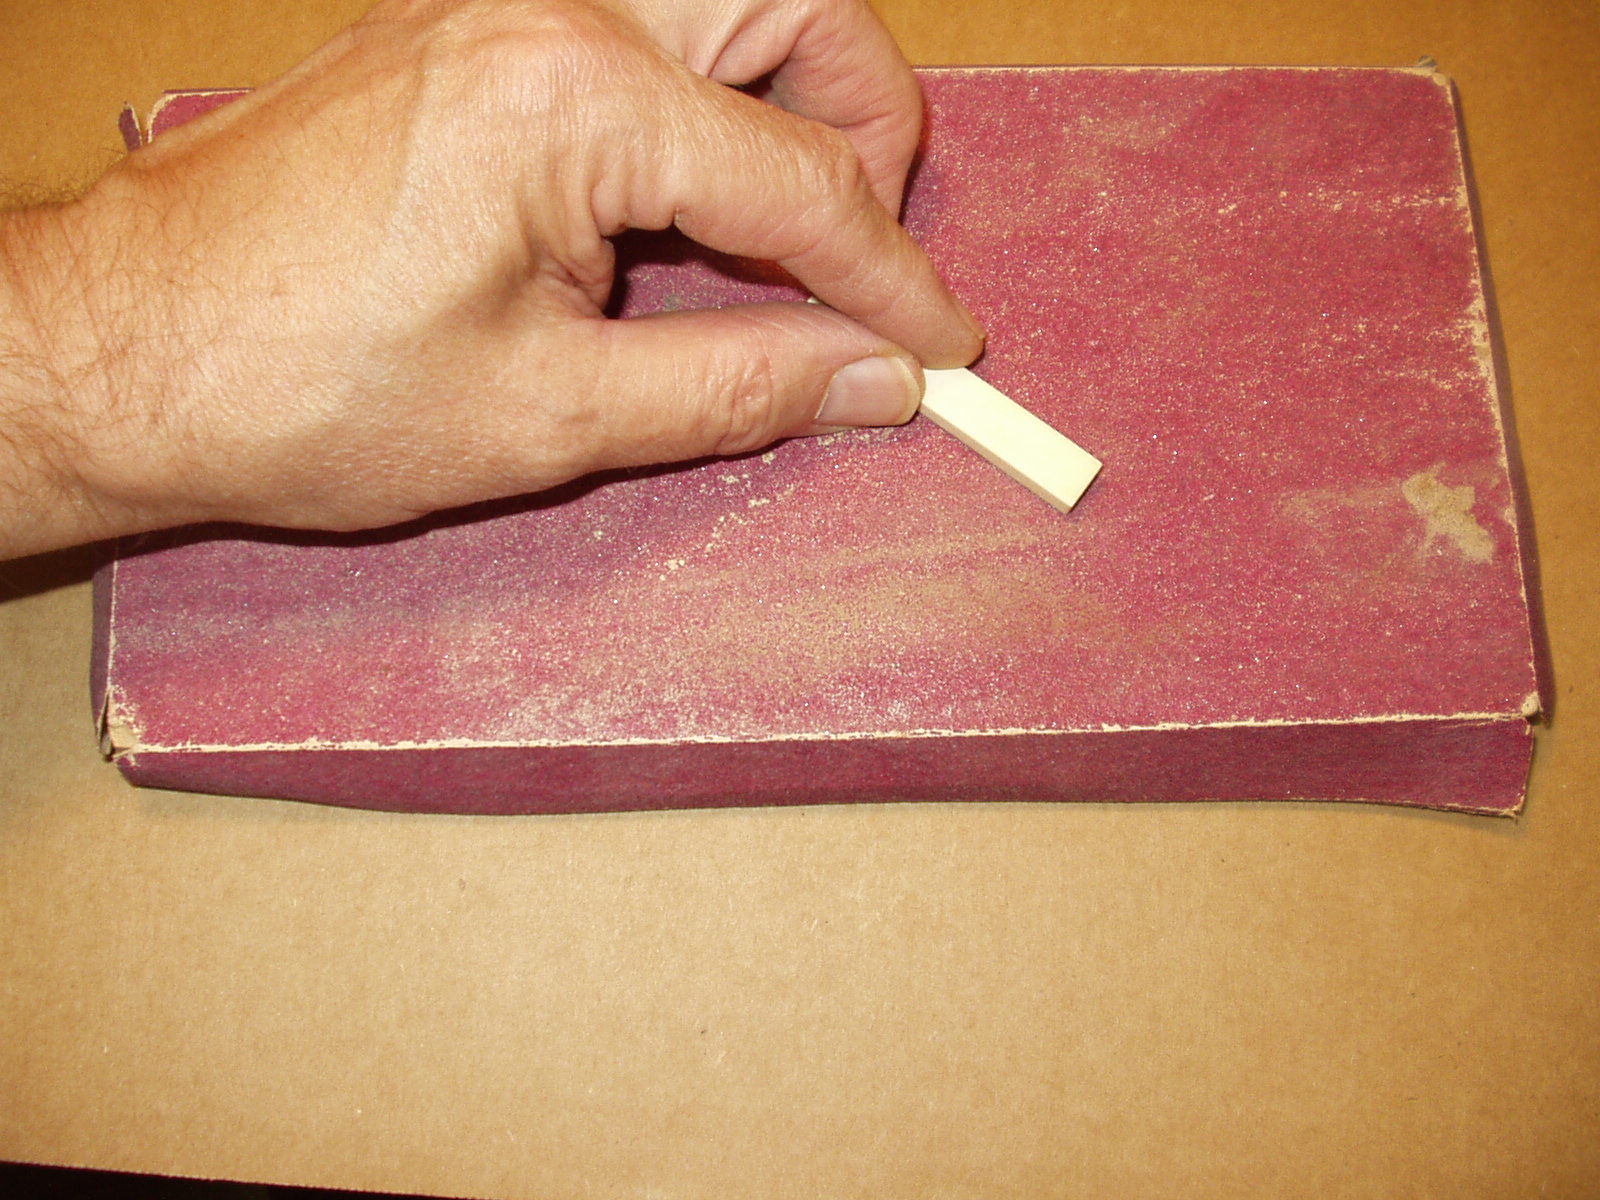
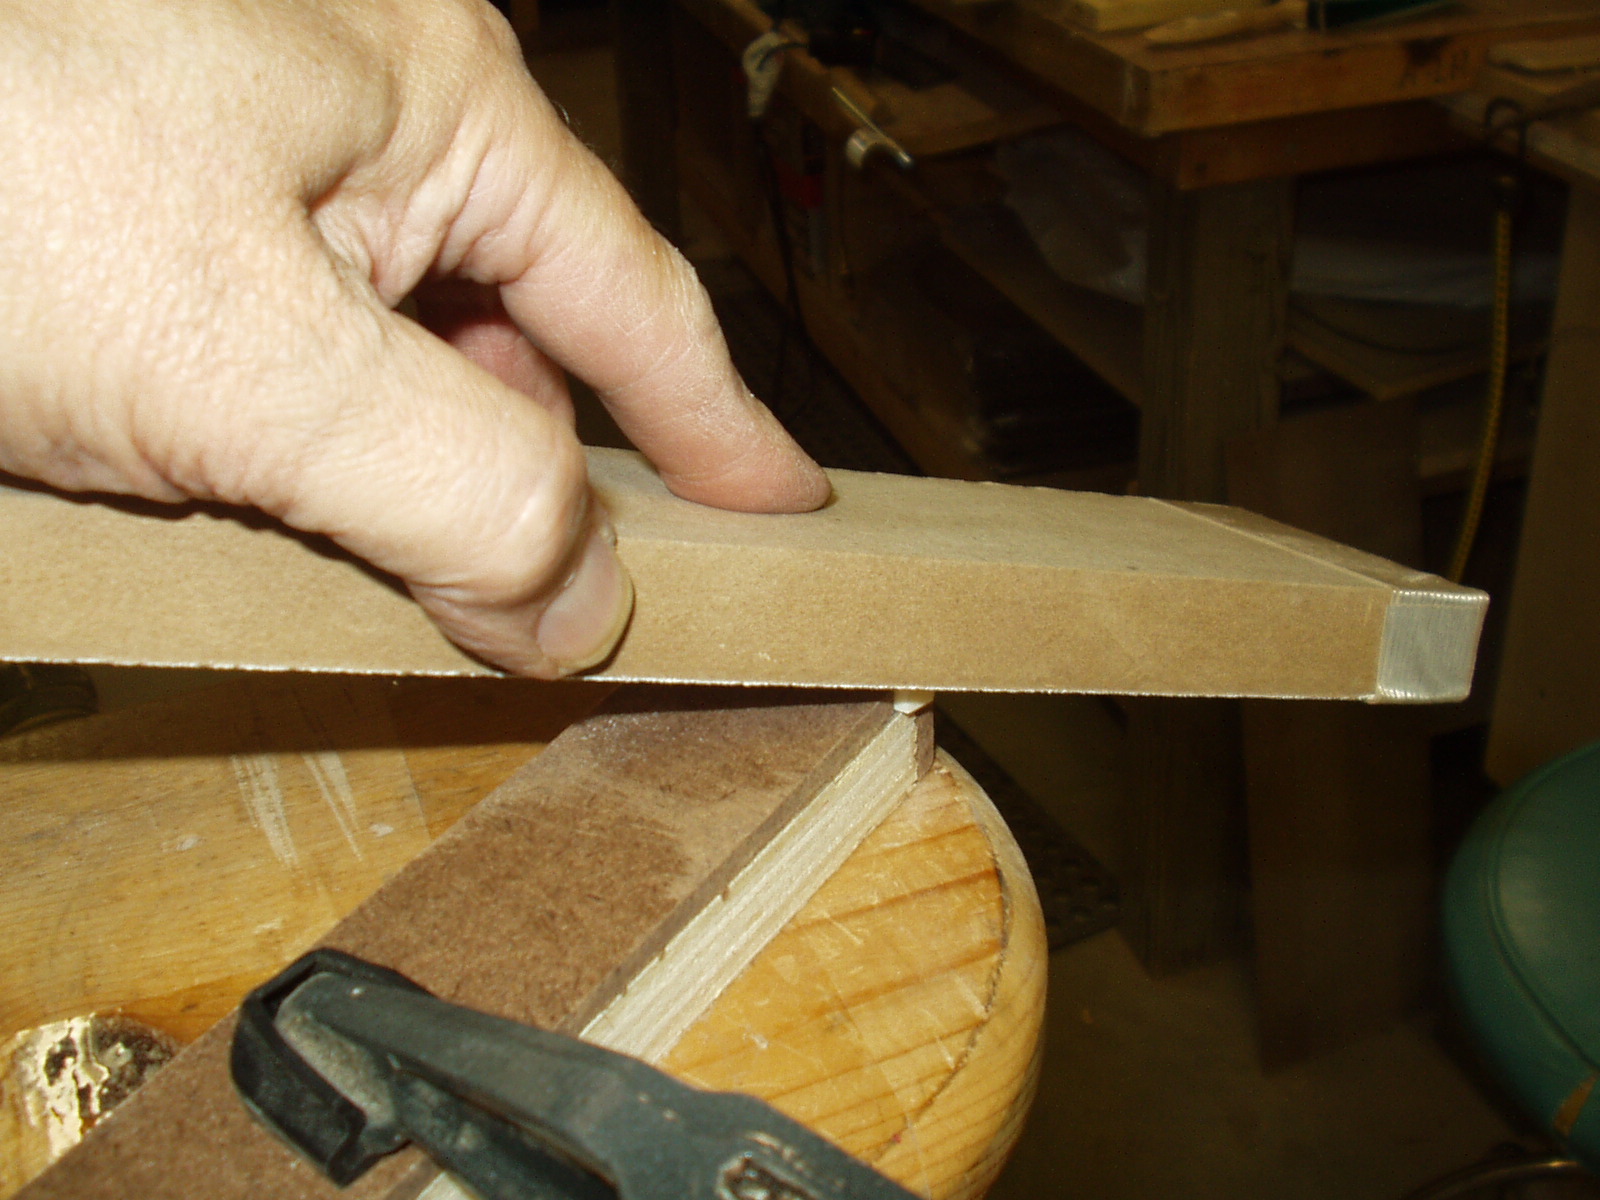
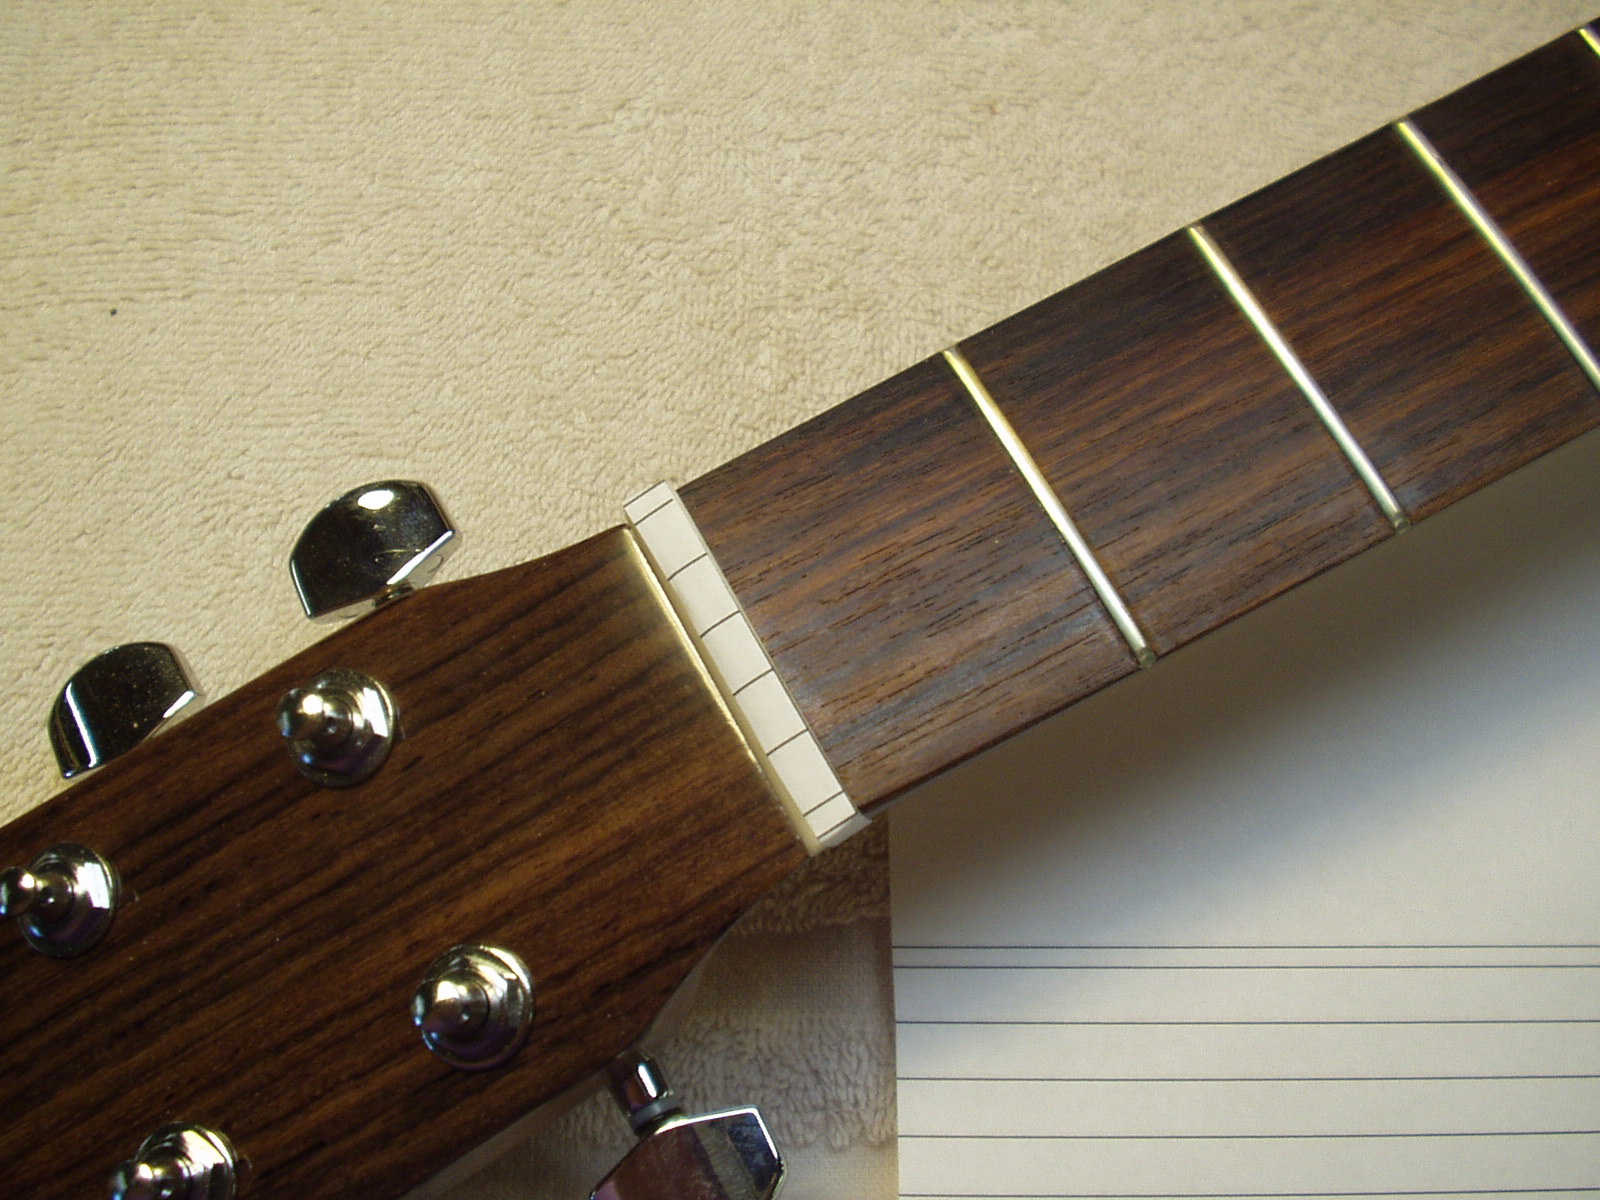
The first step is to make sure our nut blank is square on all edges and
that it fits snug in the slot formed by the fingerboard and head stock
veneer. I use one of my many sanding blocks to accomplish this – 100
grit paper works well.
that it fits snug in the slot formed by the fingerboard and head stock
veneer. I use one of my many sanding blocks to accomplish this – 100
grit paper works well.
Considerable carving is needed to
shape a guitar nut. The key to this
process is having a solid “work
holding” device. The “Super Simple”
nut vise presented here takes about
fifteen minutes to make and works
much better than expensive converted
drill press vises.
shape a guitar nut. The key to this
process is having a solid “work
holding” device. The “Super Simple”
nut vise presented here takes about
fifteen minutes to make and works
much better than expensive converted
drill press vises.
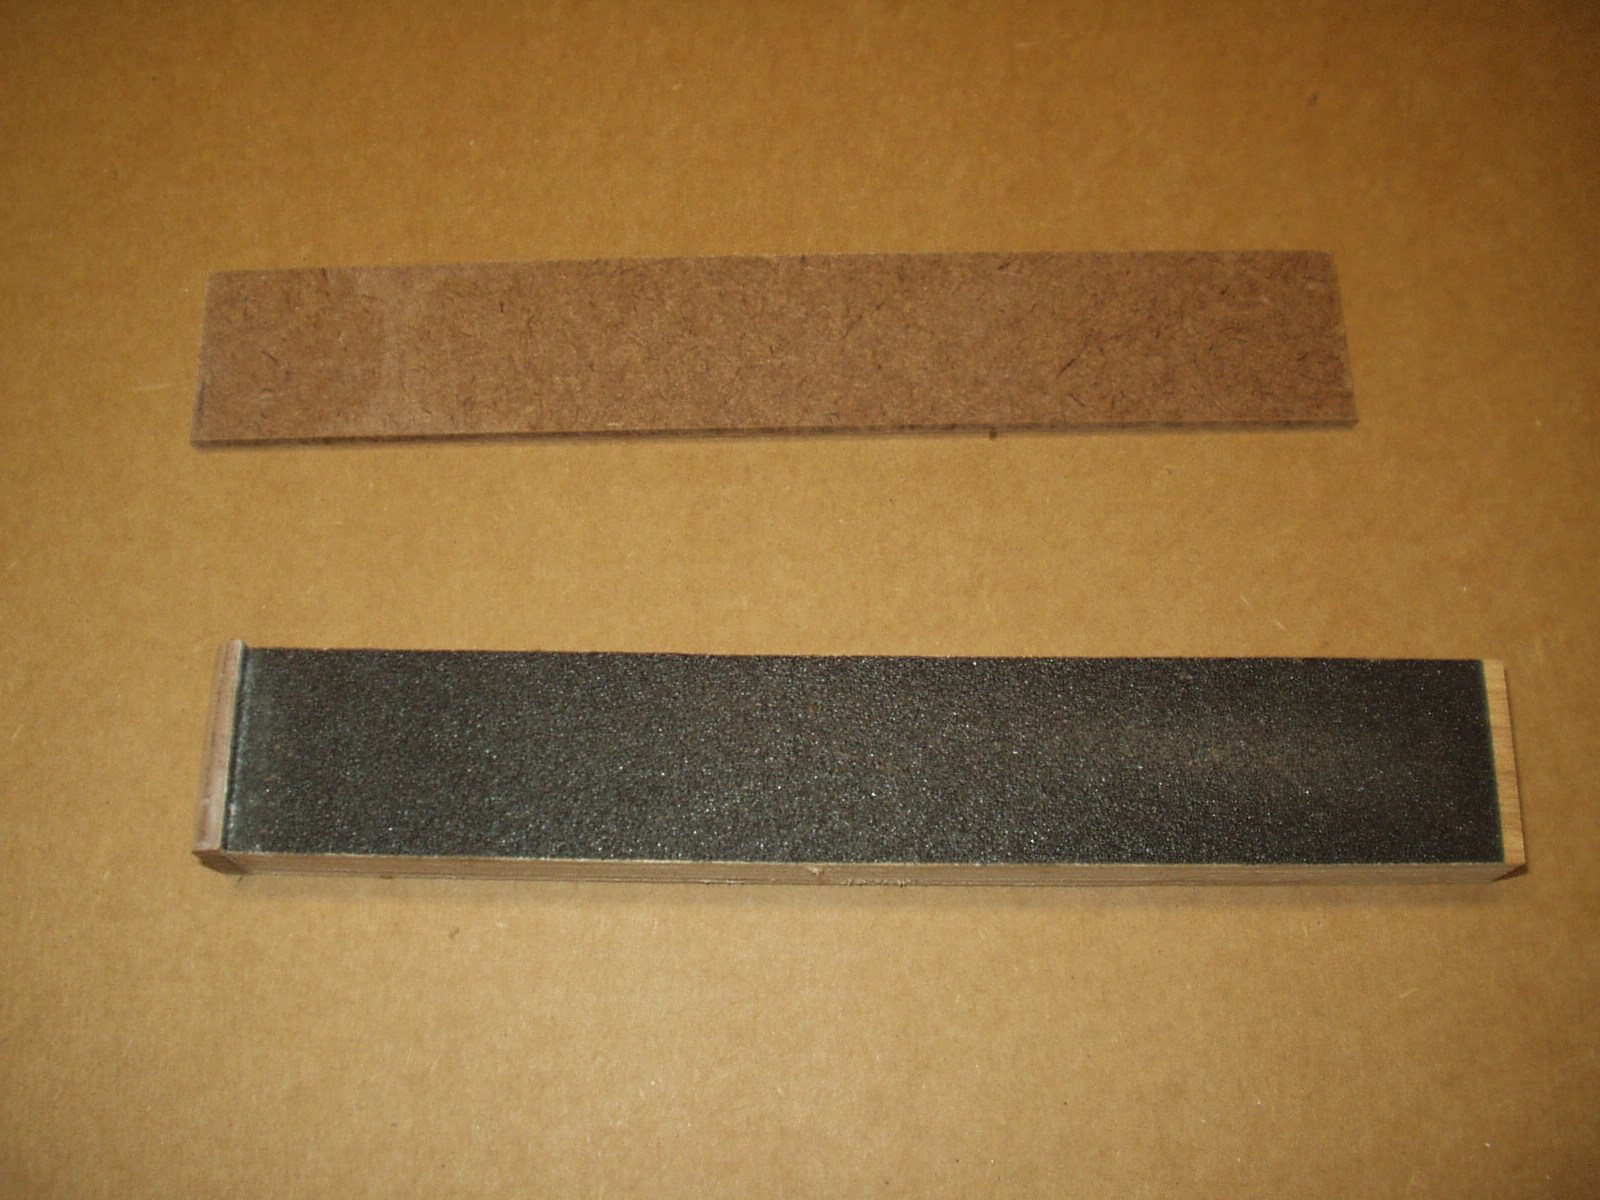
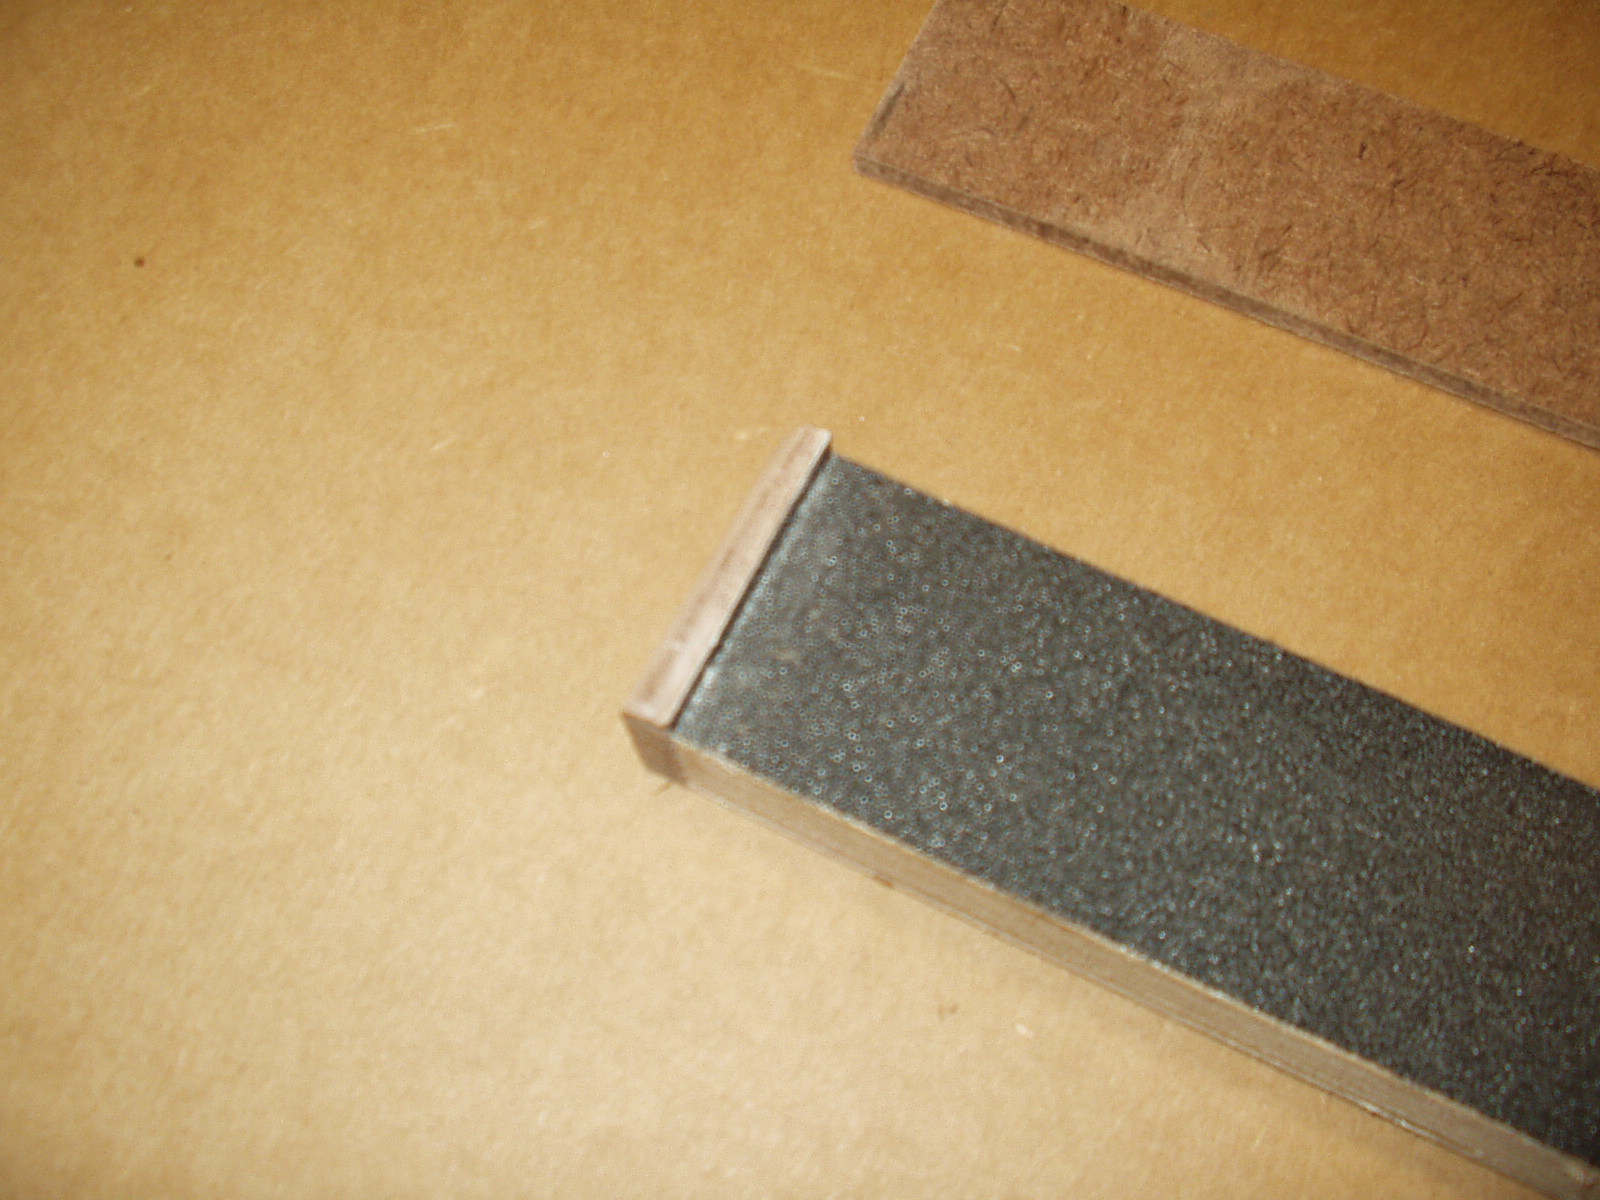
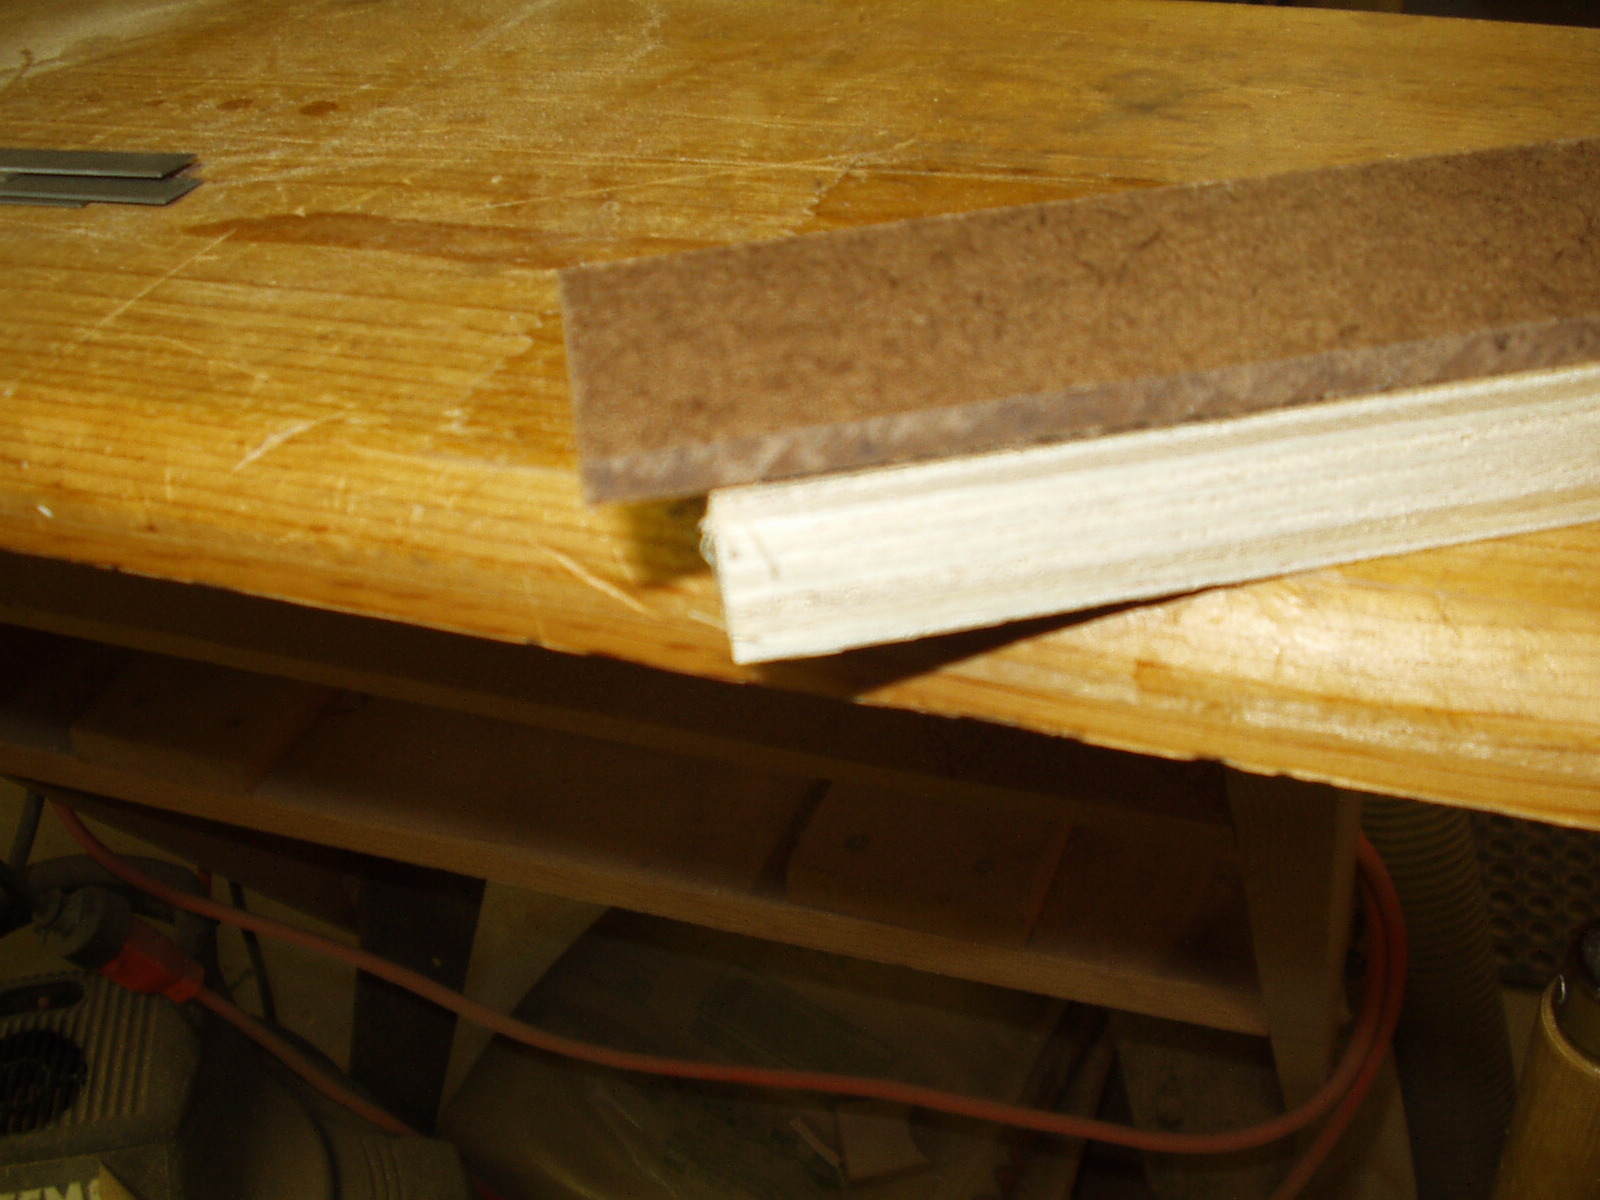
The holding device consists of four components, the base is a piece of ¾" plywood 8” x
1 ½”. An end cap of ¼” Masonite 1 ½” x 7/8” this gets glued and nailed or screwed in
place. The base assembly including the end cap, then gets covered with 80 grit sand
paper. I use 3M “77” adhesive. The final element is a piece of 3/16” Masonite 1 ½” x 8
½”.
1 ½”. An end cap of ¼” Masonite 1 ½” x 7/8” this gets glued and nailed or screwed in
place. The base assembly including the end cap, then gets covered with 80 grit sand
paper. I use 3M “77” adhesive. The final element is a piece of 3/16” Masonite 1 ½” x 8
½”.

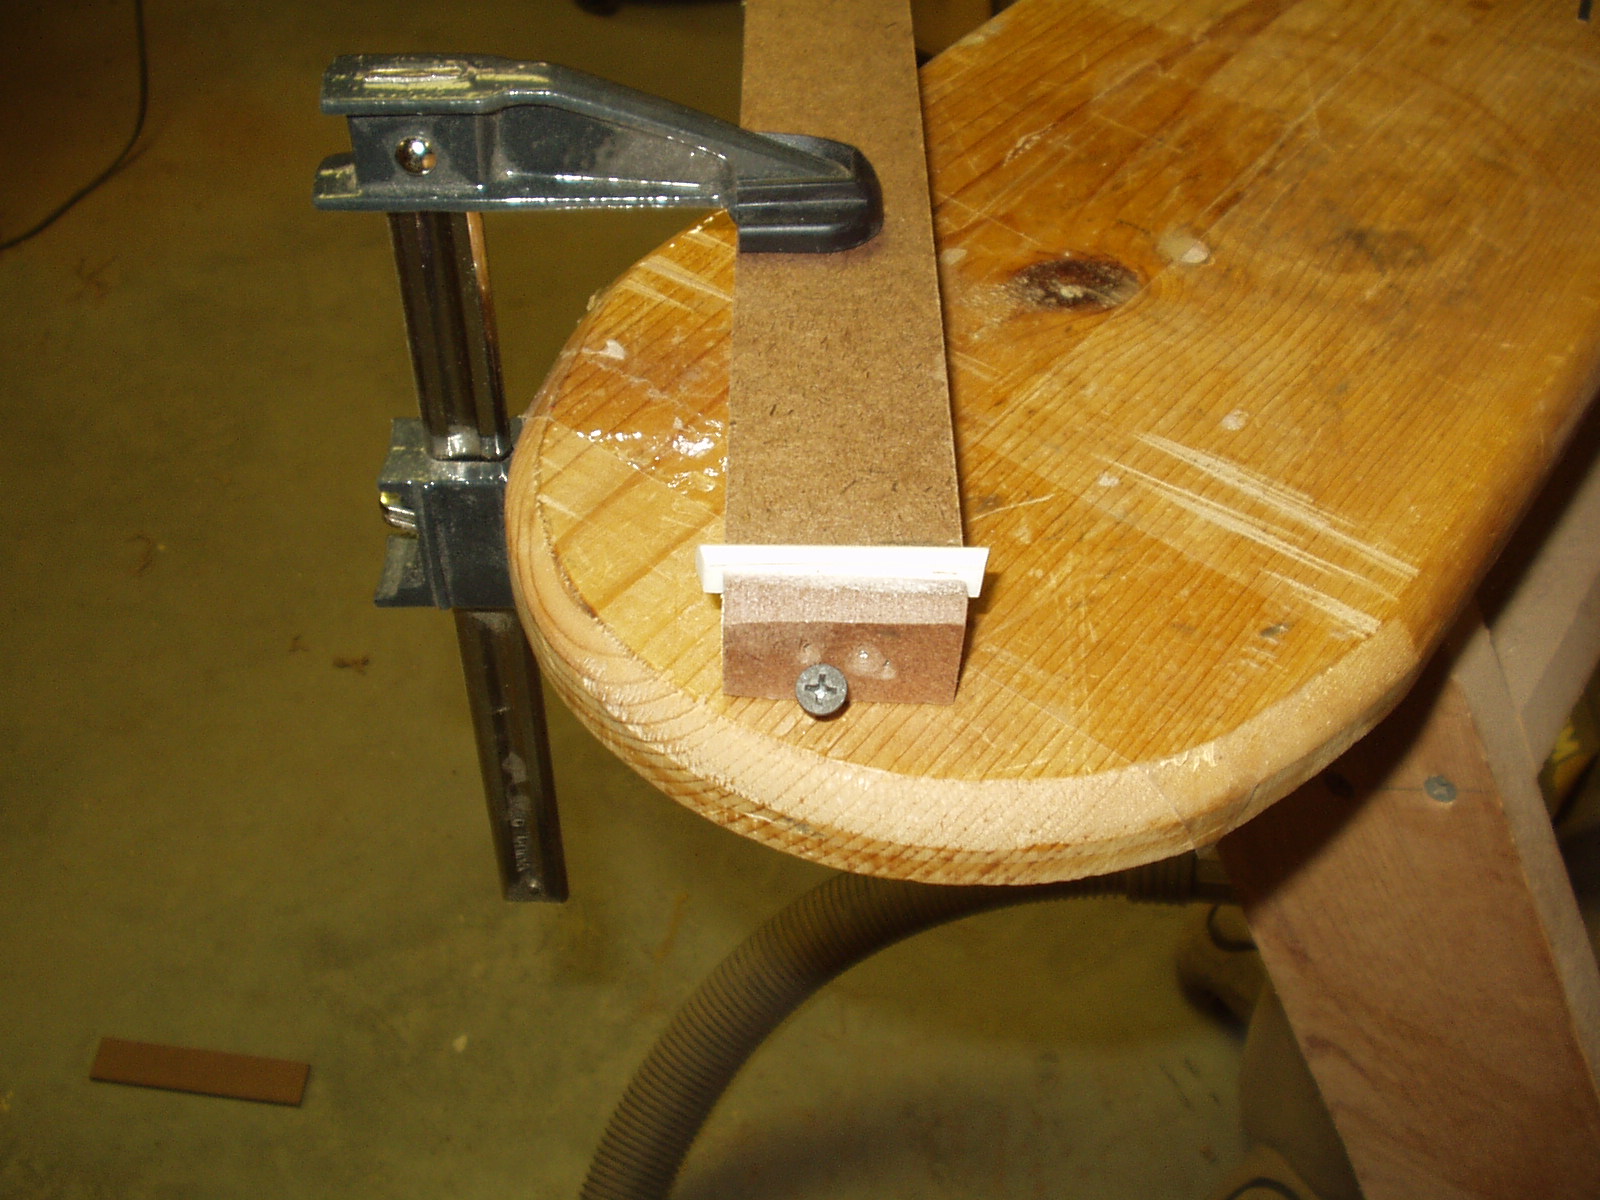
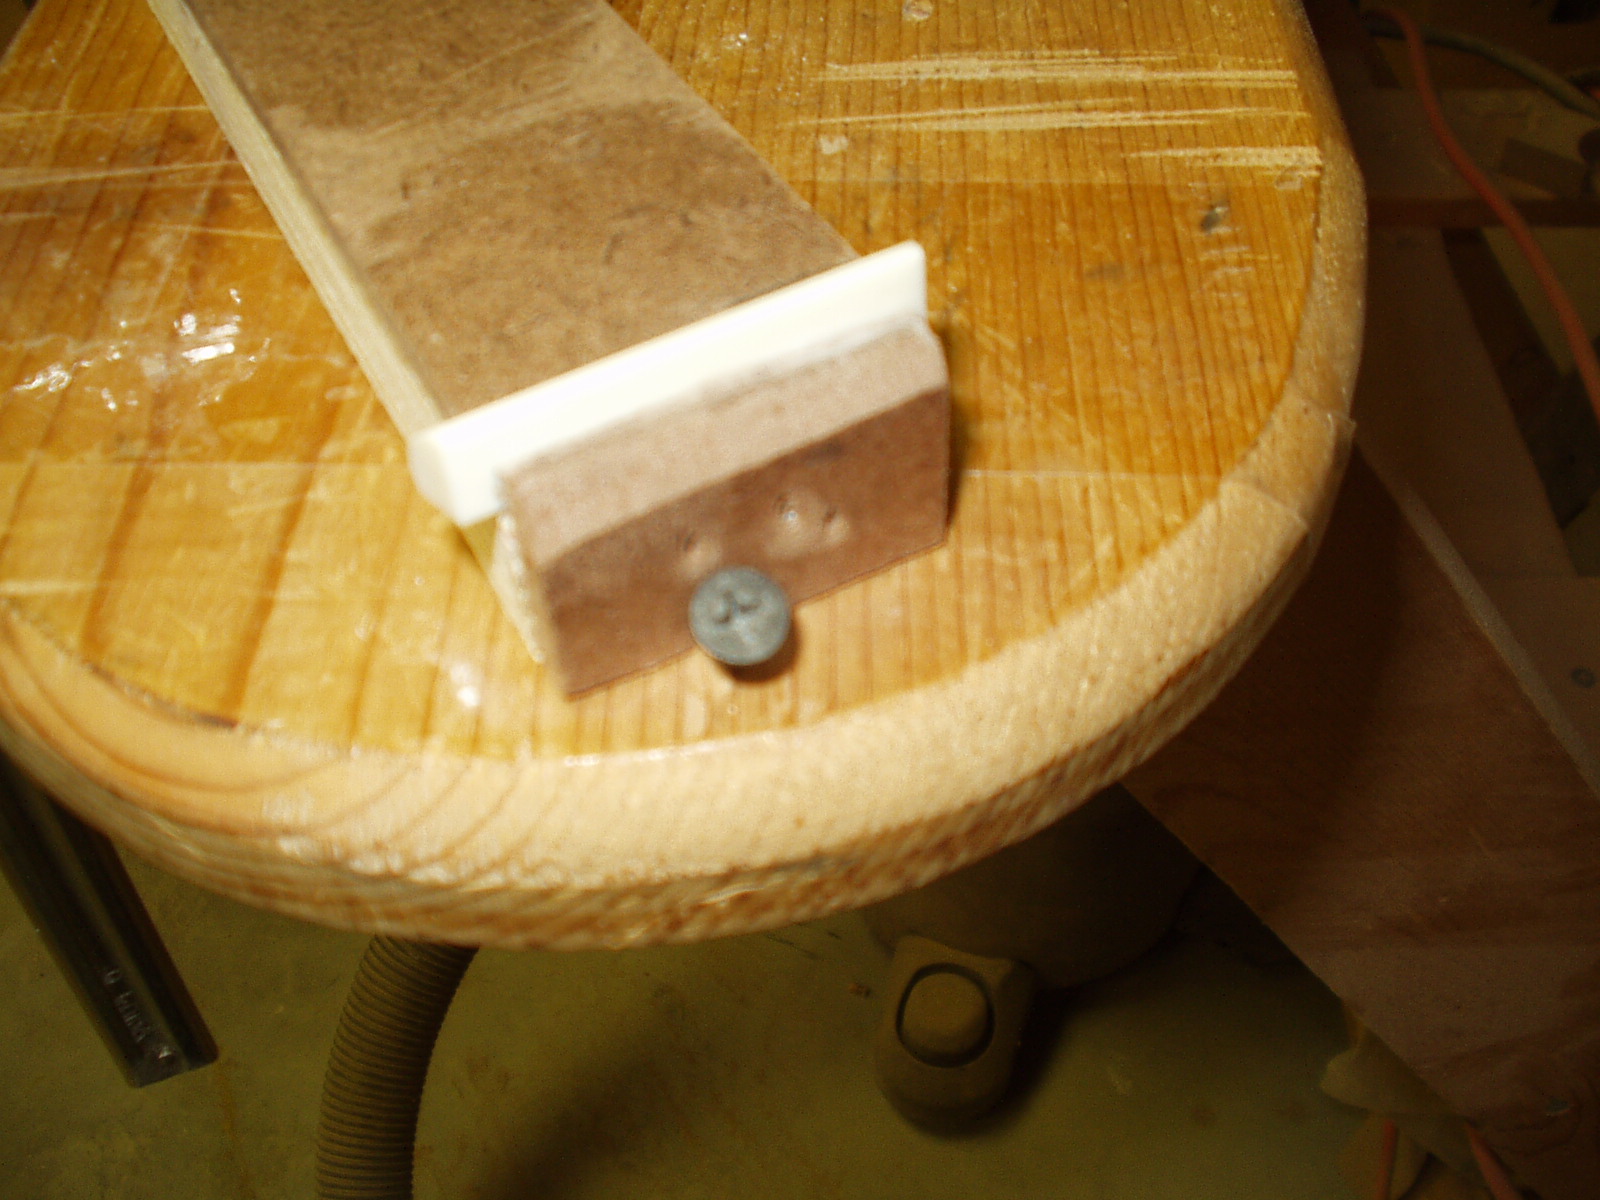
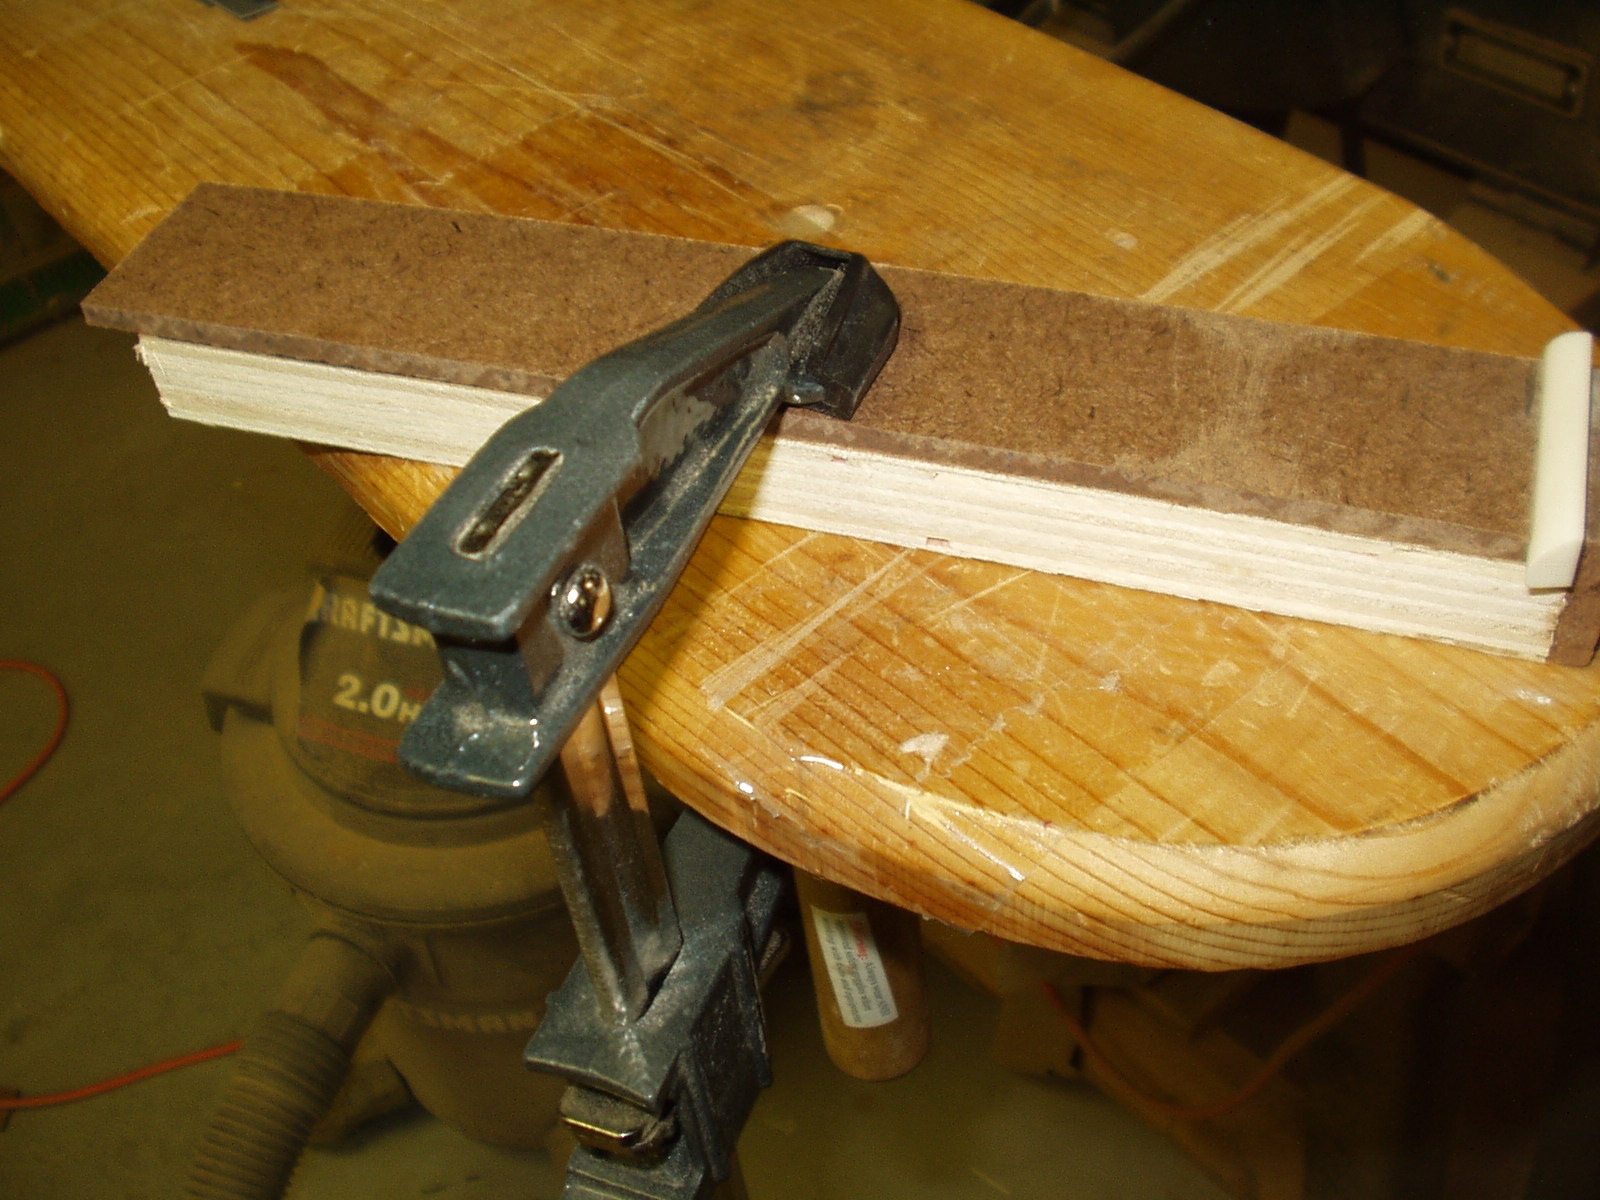
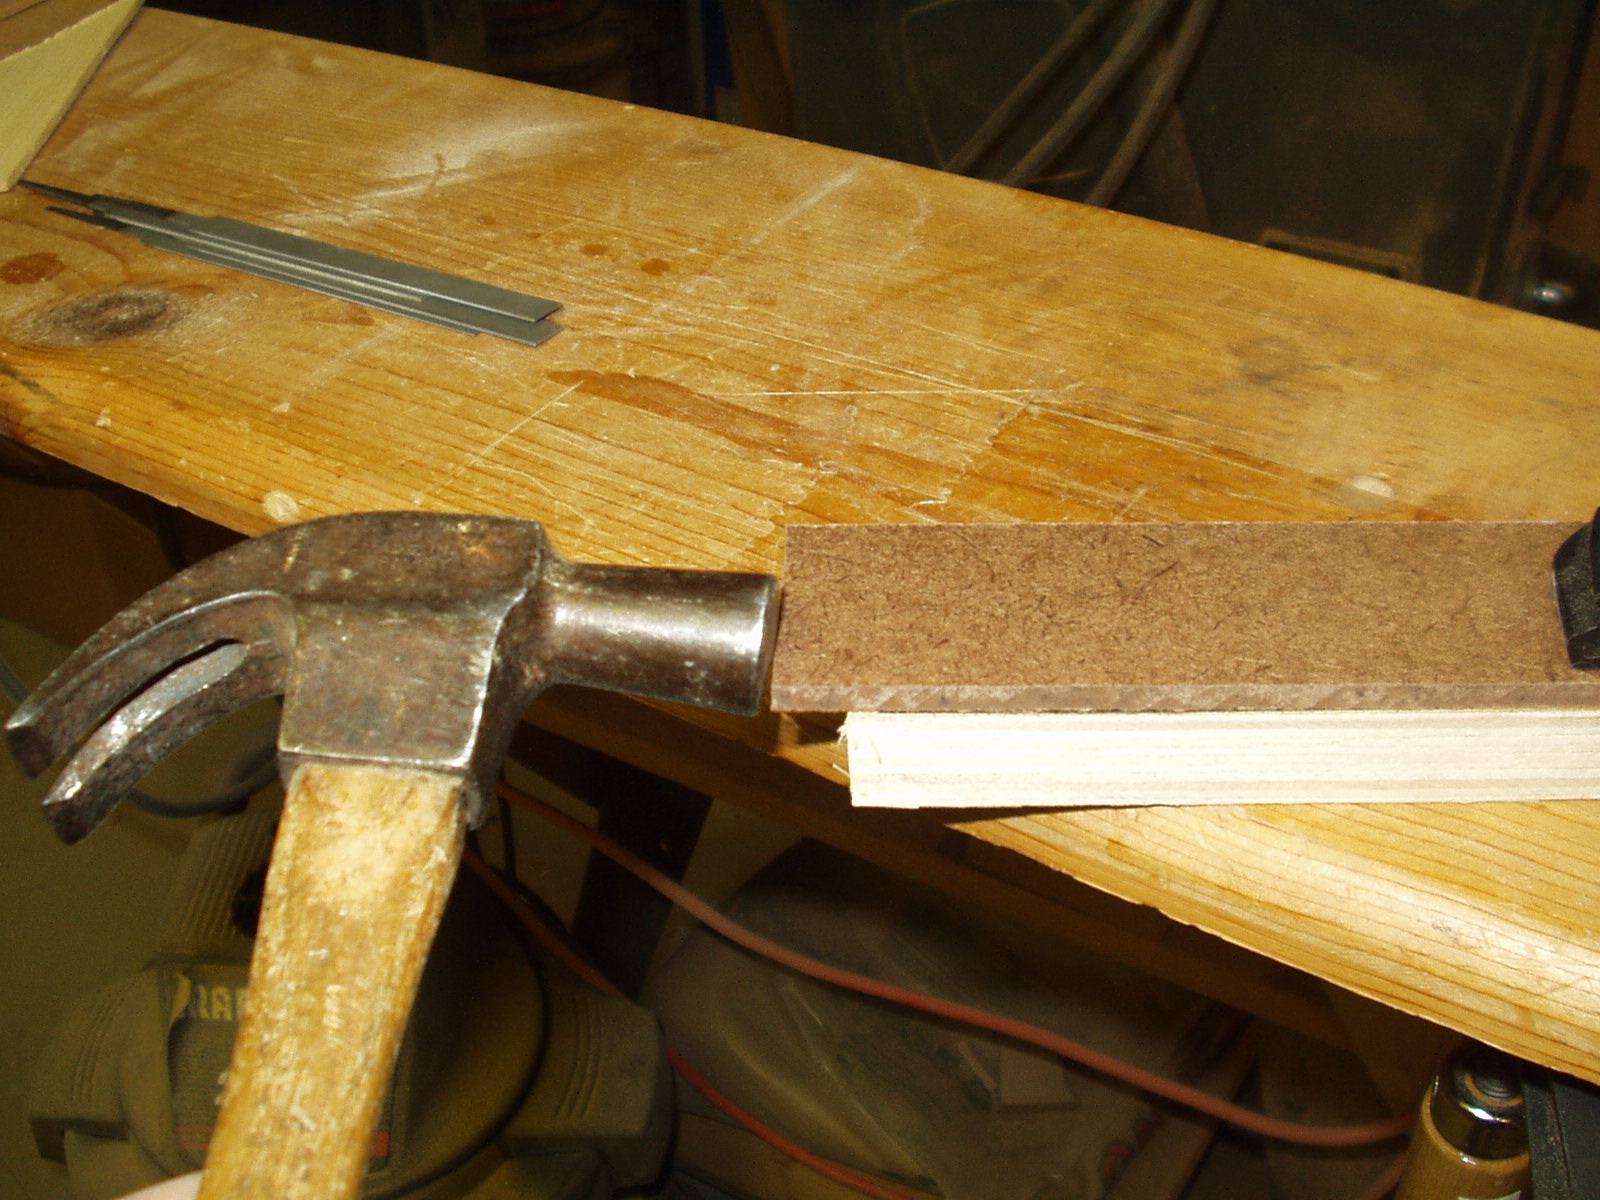
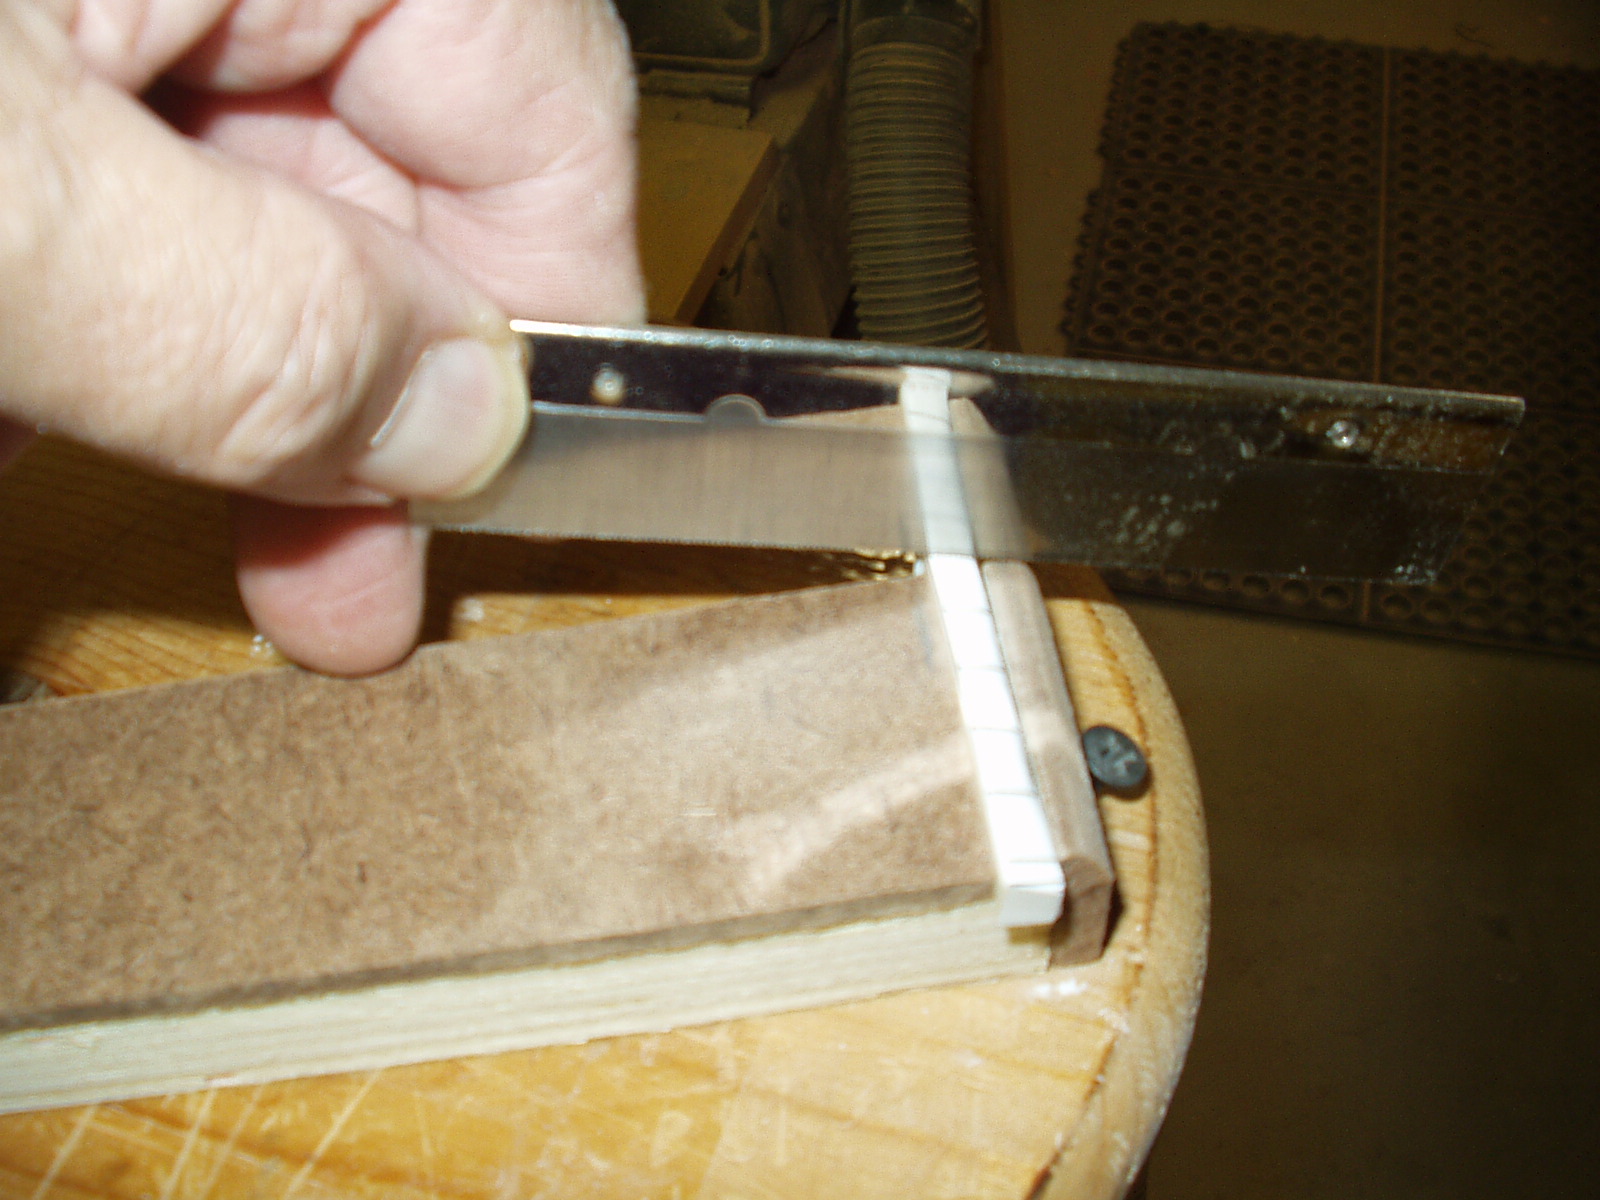
To use the vise, a stop screw is placed at the cap end. The 8 ½” length of
Masonite is placed on top of the base. The nut blank is placed between the
end cap and Masonite. The unit is than clamped to the bench. A light tap with
a mallet on the end of the Masonite wedges the nut securely in place. Note
that the top of end cap has been sanded at an angle.
Masonite is placed on top of the base. The nut blank is placed between the
end cap and Masonite. The unit is than clamped to the bench. A light tap with
a mallet on the end of the Masonite wedges the nut securely in place. Note
that the top of end cap has been sanded at an angle.
The “Zero zero” fret method does not rely on the trial and error procedure for
determining the depth of the nut slots. Instead we are going to precisely mark the slot
depth before carving the blank. A tremendous secondary benefit to this method is the
ability to shave the nut contour, slot angle and overall height size during the same
operation. Also, since the height and angle is set, the slots can be cut to the proper
depth from the start. Note that the slots only need to be ONE HALF THE DIAMETER OF
THE STRING.
A simple stylist must be made to mark the
“Zero fret” height on the nut blank. A 6”
piece of ¼” x ¼” spruce works well. It
must be straight. The end is sanded to a
pointed edge on a shallow angle. The
edge should be as fine as possible.
“Zero fret” height on the nut blank. A 6”
piece of ¼” x ¼” spruce works well. It
must be straight. The end is sanded to a
pointed edge on a shallow angle. The
edge should be as fine as possible.
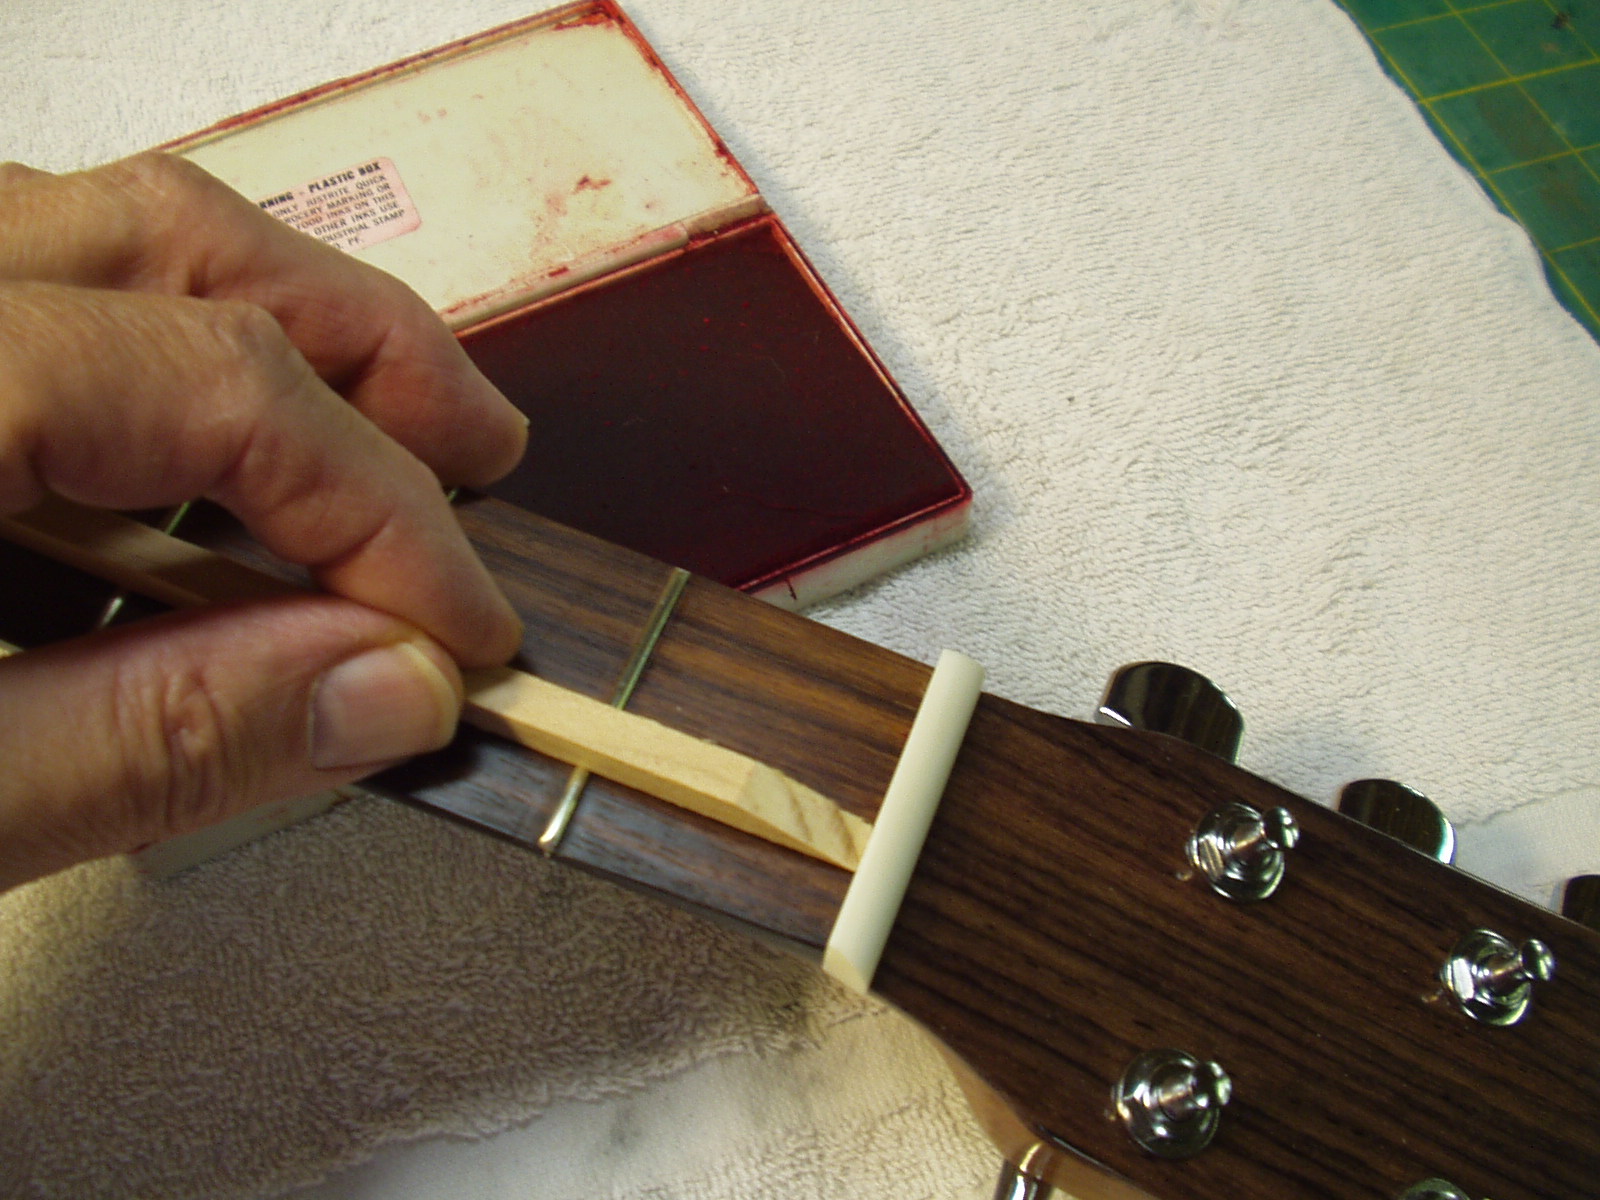
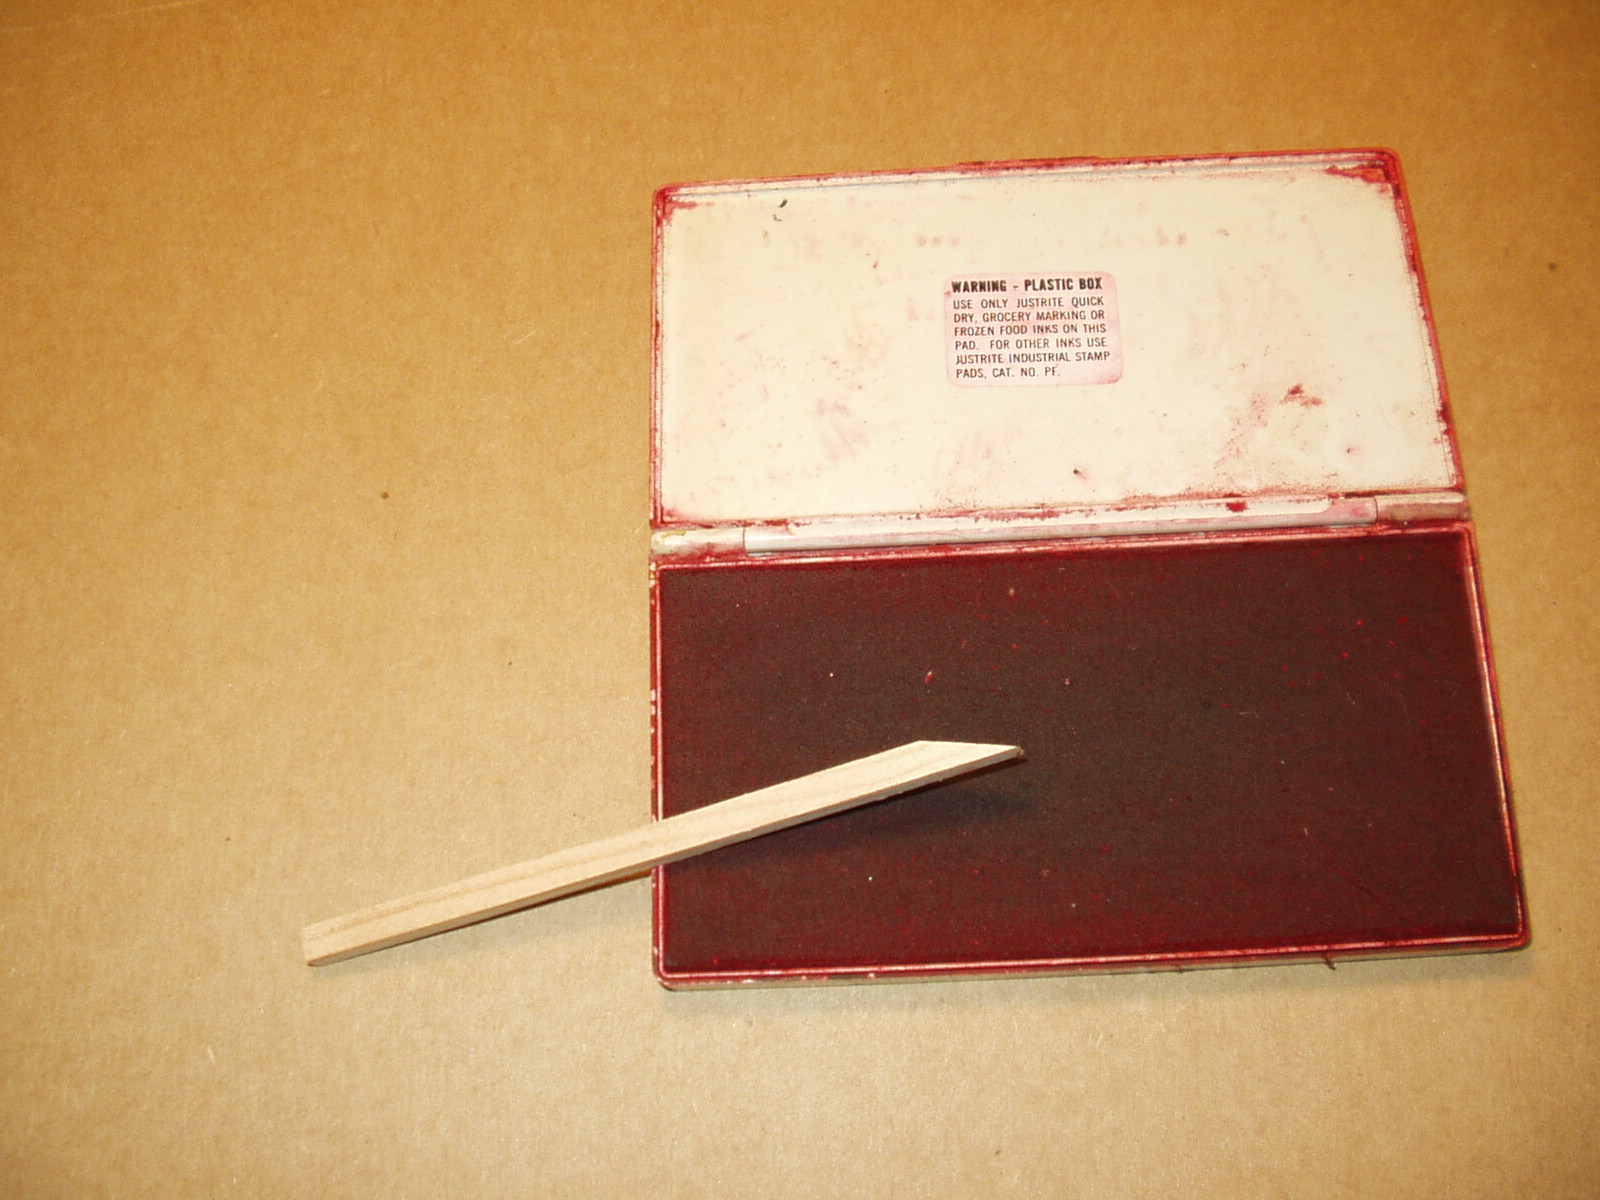
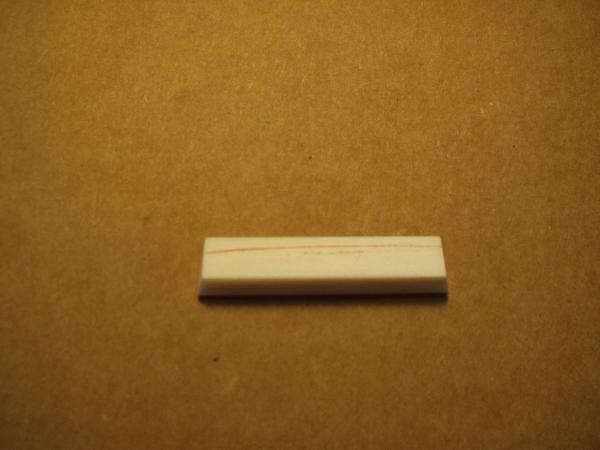
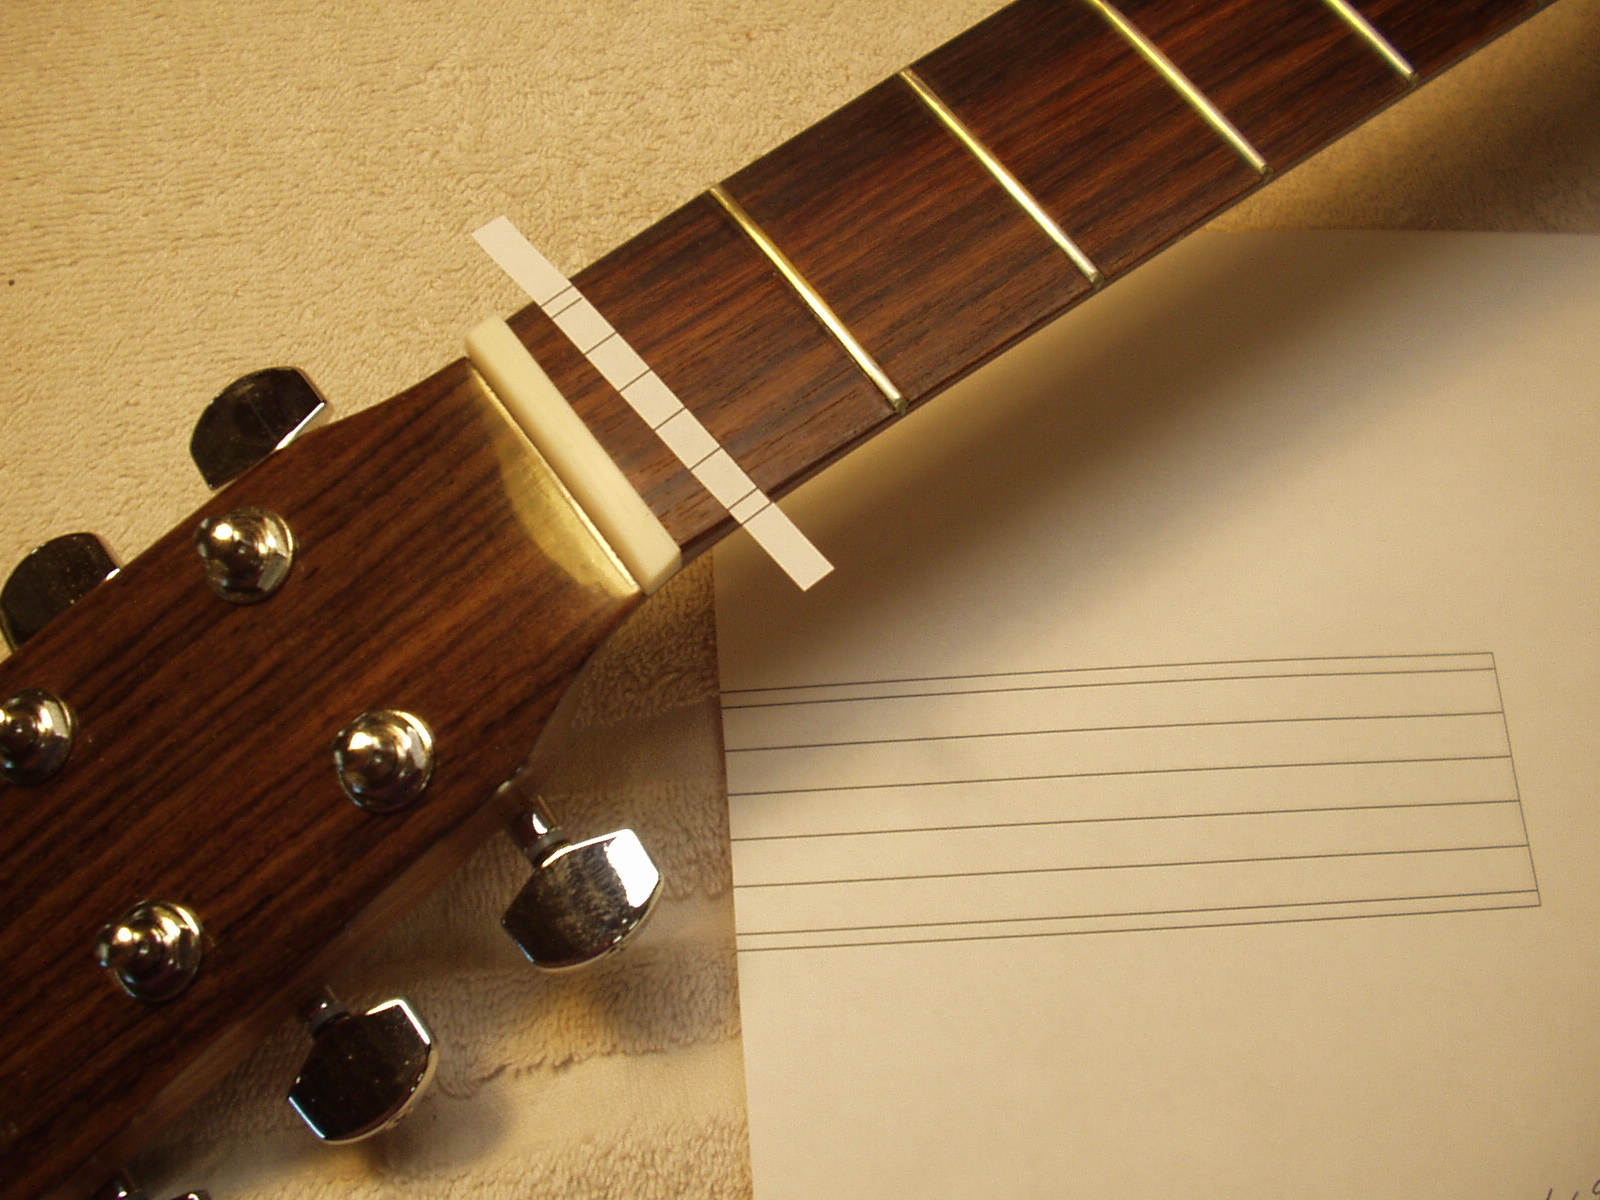
The pointed end of the stick is gently
dabbed on an ink pad, we happen to
have red. Place the stylist pointed side
on the fret board. Slide the point along
the nut blank. The result will be a very
fine line. When done carefully the line will
be in the exact location of the top of a
“Zero fret”.
dabbed on an ink pad, we happen to
have red. Place the stylist pointed side
on the fret board. Slide the point along
the nut blank. The result will be a very
fine line. When done carefully the line will
be in the exact location of the top of a
“Zero fret”.
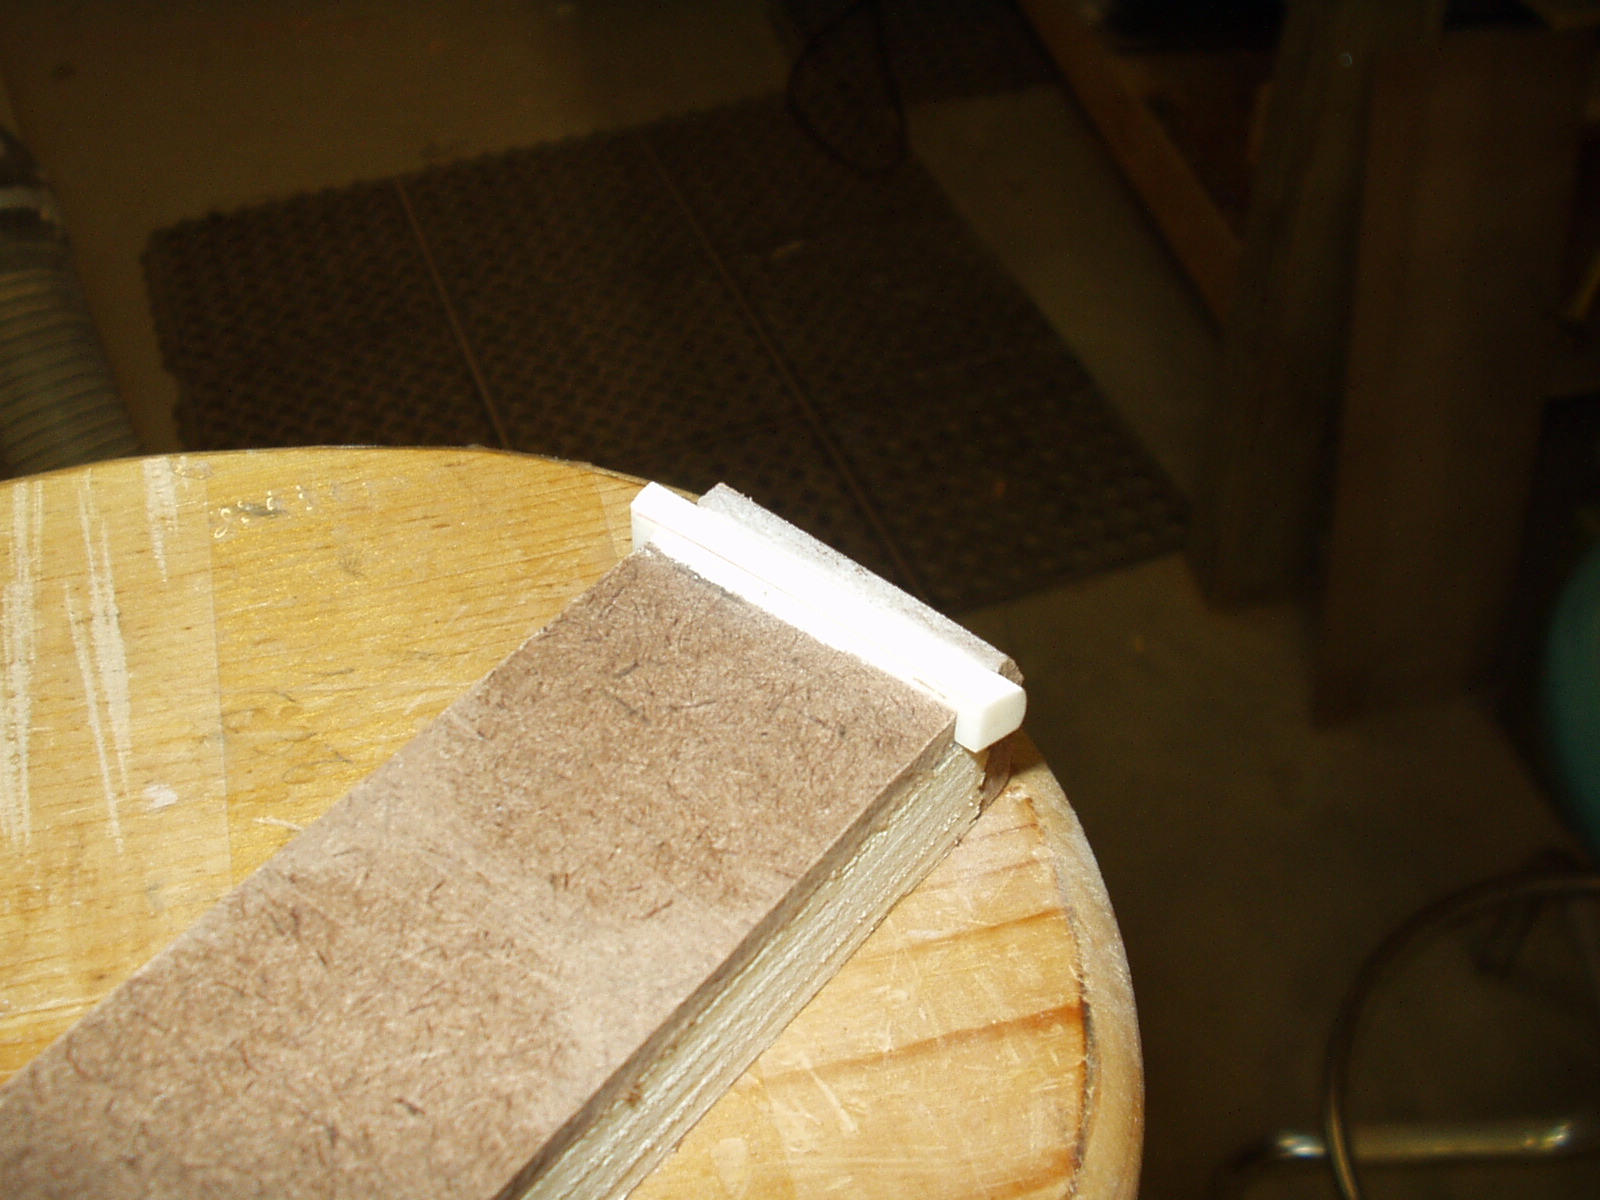
The top of the nut is sanded in two phases. (I use an 80 grit sanding stick) Sand along
the marked line parallel to the vise, this results in a flat surface that has the proper
matching fingerboard contour. Sand to within 1/32” of the line. Remember the slots
only need to be as deep as 1/2 the string diameter. Next, tilt the sanding stick to
approximately a 15-degree angle. Sand a uniform slope from the front edge of the nut
toward the headstock edge. Do not alter the leading edge, it is to be used as your
sanding reference point and remains the same distance from the “Zero fret” line.
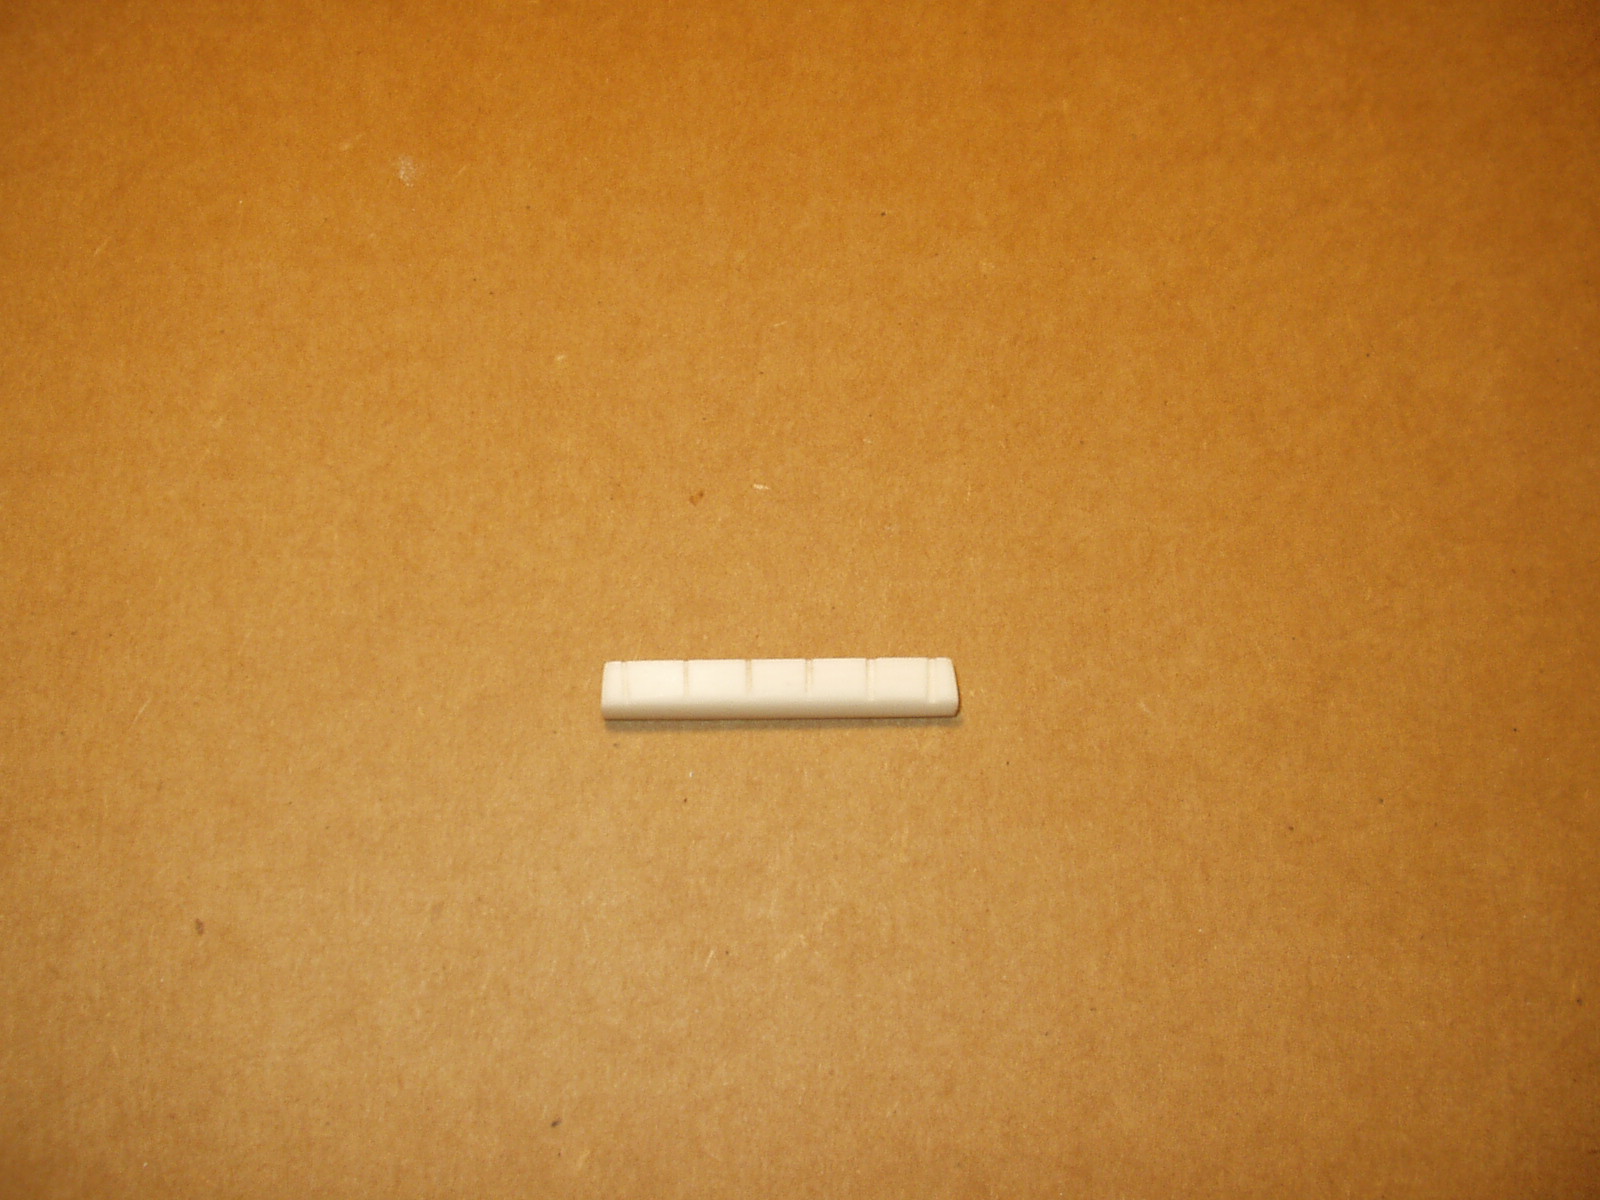
Set the nut in position, using a very sharp pencil mark the over hang on either side.
Carefully trim the nut to size rubbing it on an 80 grit sanding board --- check the fit as
you go. Each side of the nut must fit flush with the neck and have smooth transition
angles.
Carefully trim the nut to size rubbing it on an 80 grit sanding board --- check the fit as
you go. Each side of the nut must fit flush with the neck and have smooth transition
angles.
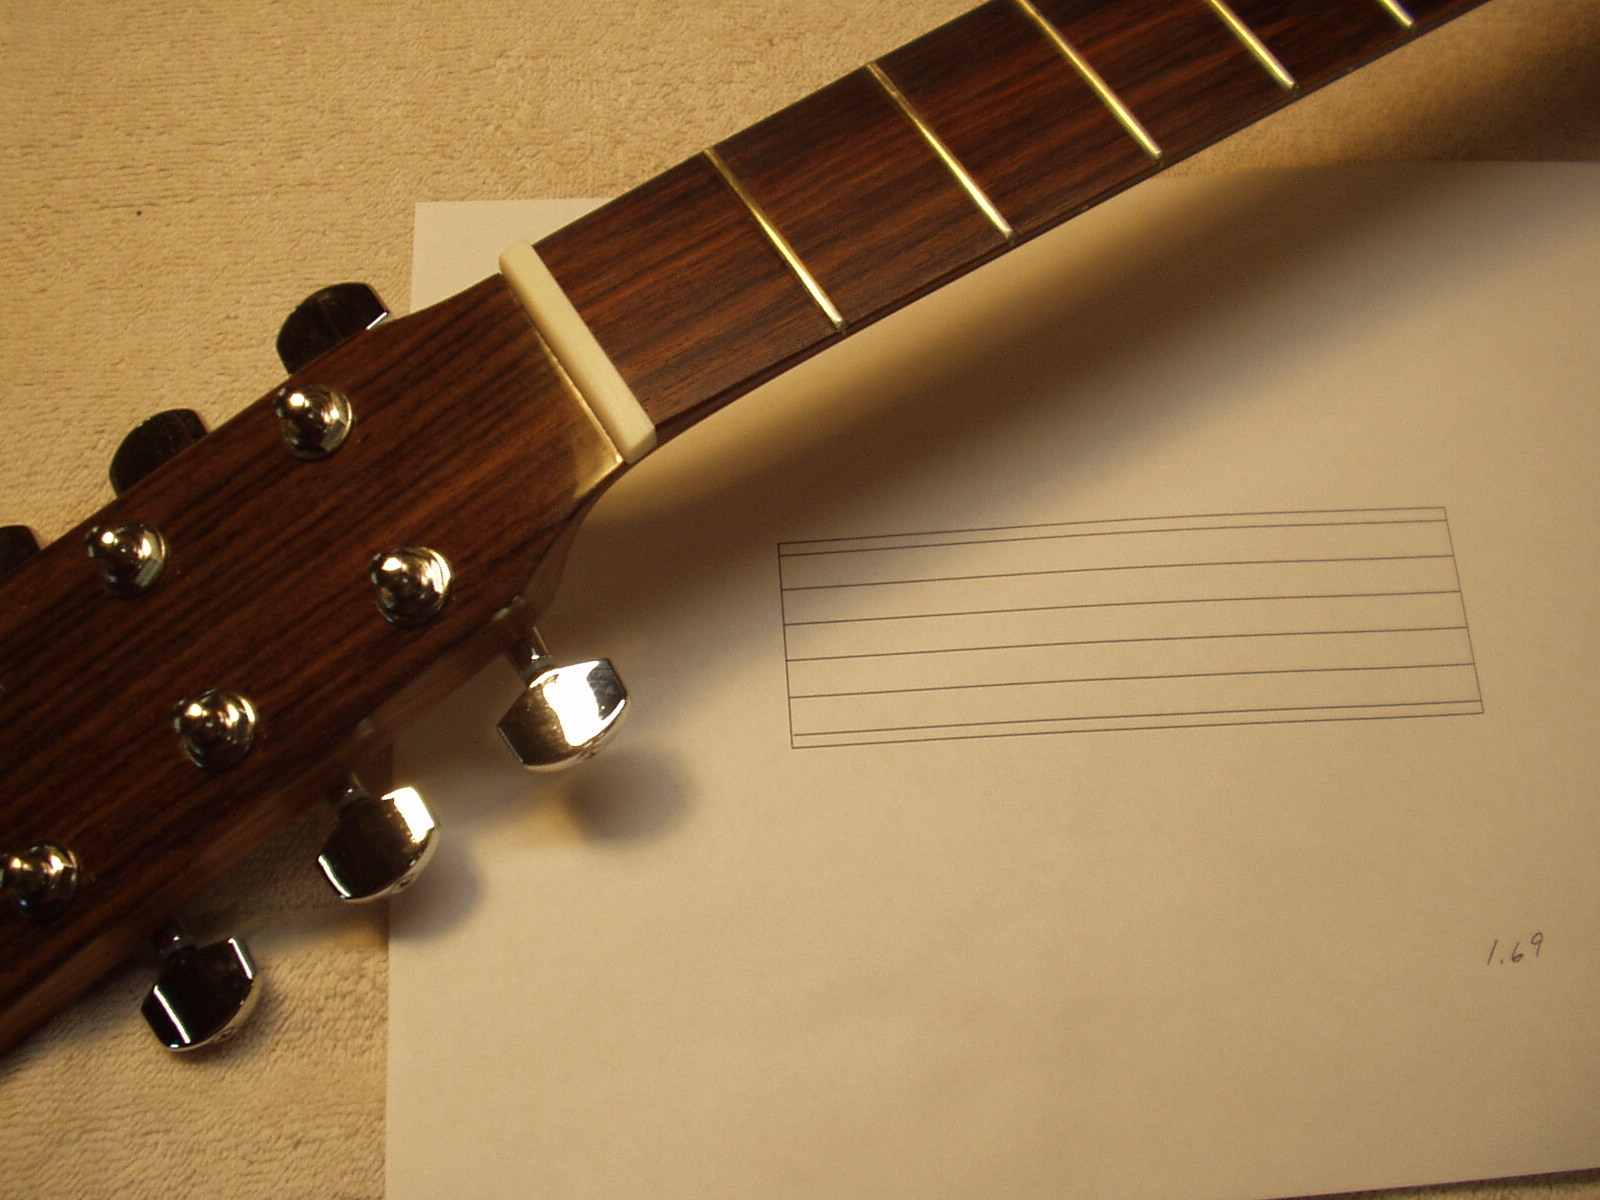
Rather than go through the tedium of marking the slot positions on the nut using
conventional rulers etc. I have devised this method, which takes advantage of the
accuracy of my CAD program. I simply layout a grid of lines with the centers and the
edge strings placed to match the fingerboard width. Since I can print to scale the grid
can be used as a template to mark locations on the nut. A 3/16” strip of the grid is cut
from the sheet. I apply a small amount of “Elmer’s” to the nut blank. The ends of grid
strip are lined up with the edges of the nut and the strip is glued in place. Note that the
high “E” and low”E” are spaced from the edge at different dimensions. Free CAD
software can be found here http://www.freebyte.com/cad/cad.htm#2D3DCADSystems
After the glue dries, place the nut in the vise. Using a fine razor saw cut along the
grid lines. Make the slot just shy of the “Zero fret” line. These slots provide a
positive guide for final slot filing. Round edge joint files (nut files) are the best
choice for this job. However, by preparing the blank in the above manner very little
filing is required. Very shallow cuts need to be made, therefore regular Swiss
hobby files will work nicely.
The top outside edges of the nut should be rounded slightly. Remove the spacing
template with a wet rag. Complete the process progressively sanding with 150
through 320 papers to smooth all the surfaces
template with a wet rag. Complete the process progressively sanding with 150
through 320 papers to smooth all the surfaces