Misconceptions regarding the guitar rim contouring requirements abound. During the
design phase of the KMG kit, a primary concern was our goal to provide a clear
explanation along with a simple process, which will net a professional quality contoured
guitar rim.
I recommend reviewing my article regarding the proper neck set angle. The playability
and musical capabilities of a guitar are not an accident, nor should they be results of ill
advise guess work (most often the case) and/or tedious planned repairs. The
above attributes are designed into the guitar, with an understanding of the
mathematical/geometric requirements, along with the proper tools and processes the
“KMG Kit” builder will have a distinct advantage over the hit and miss approach to guitar
construction.
Kenneth Michael Guitars est.1978
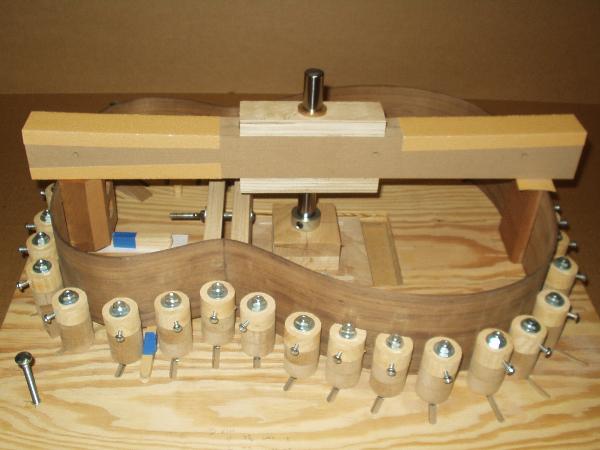
| Rim Preparation Top edge contouring Professional Process using the KMG "Mega Mold" |
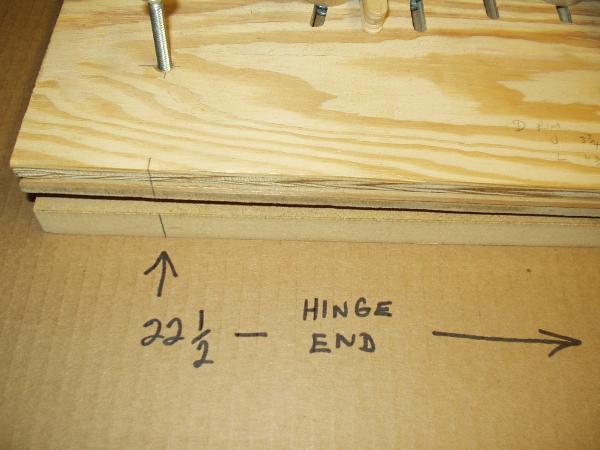


To create a gauge point mark a perpendicular line 22.5 inch from the hinge end of
the Mega Mold. This location represents the center of a circle, by spreading the
upper and lower sections of the Mega Mold a specified distance we can now
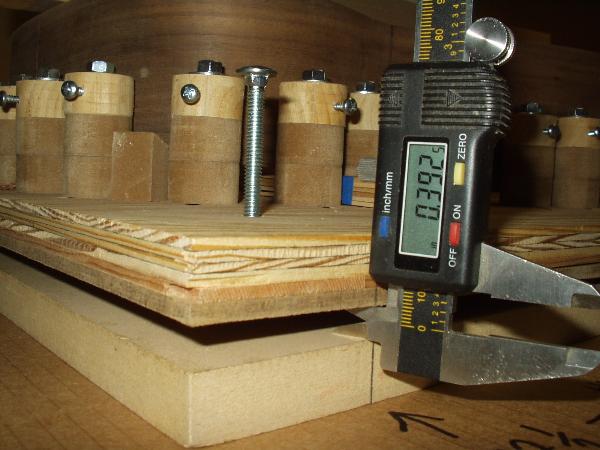
calculate the exact angle of slope that is created. In the case of a 22.5”radius
circle .392” in spread equals one degree of slope.
the Mega Mold. This location represents the center of a circle, by spreading the
upper and lower sections of the Mega Mold a specified distance we can now
calculate the exact angle of slope that is created. In the case of a 22.5”radius
circle .392” in spread equals one degree of slope.
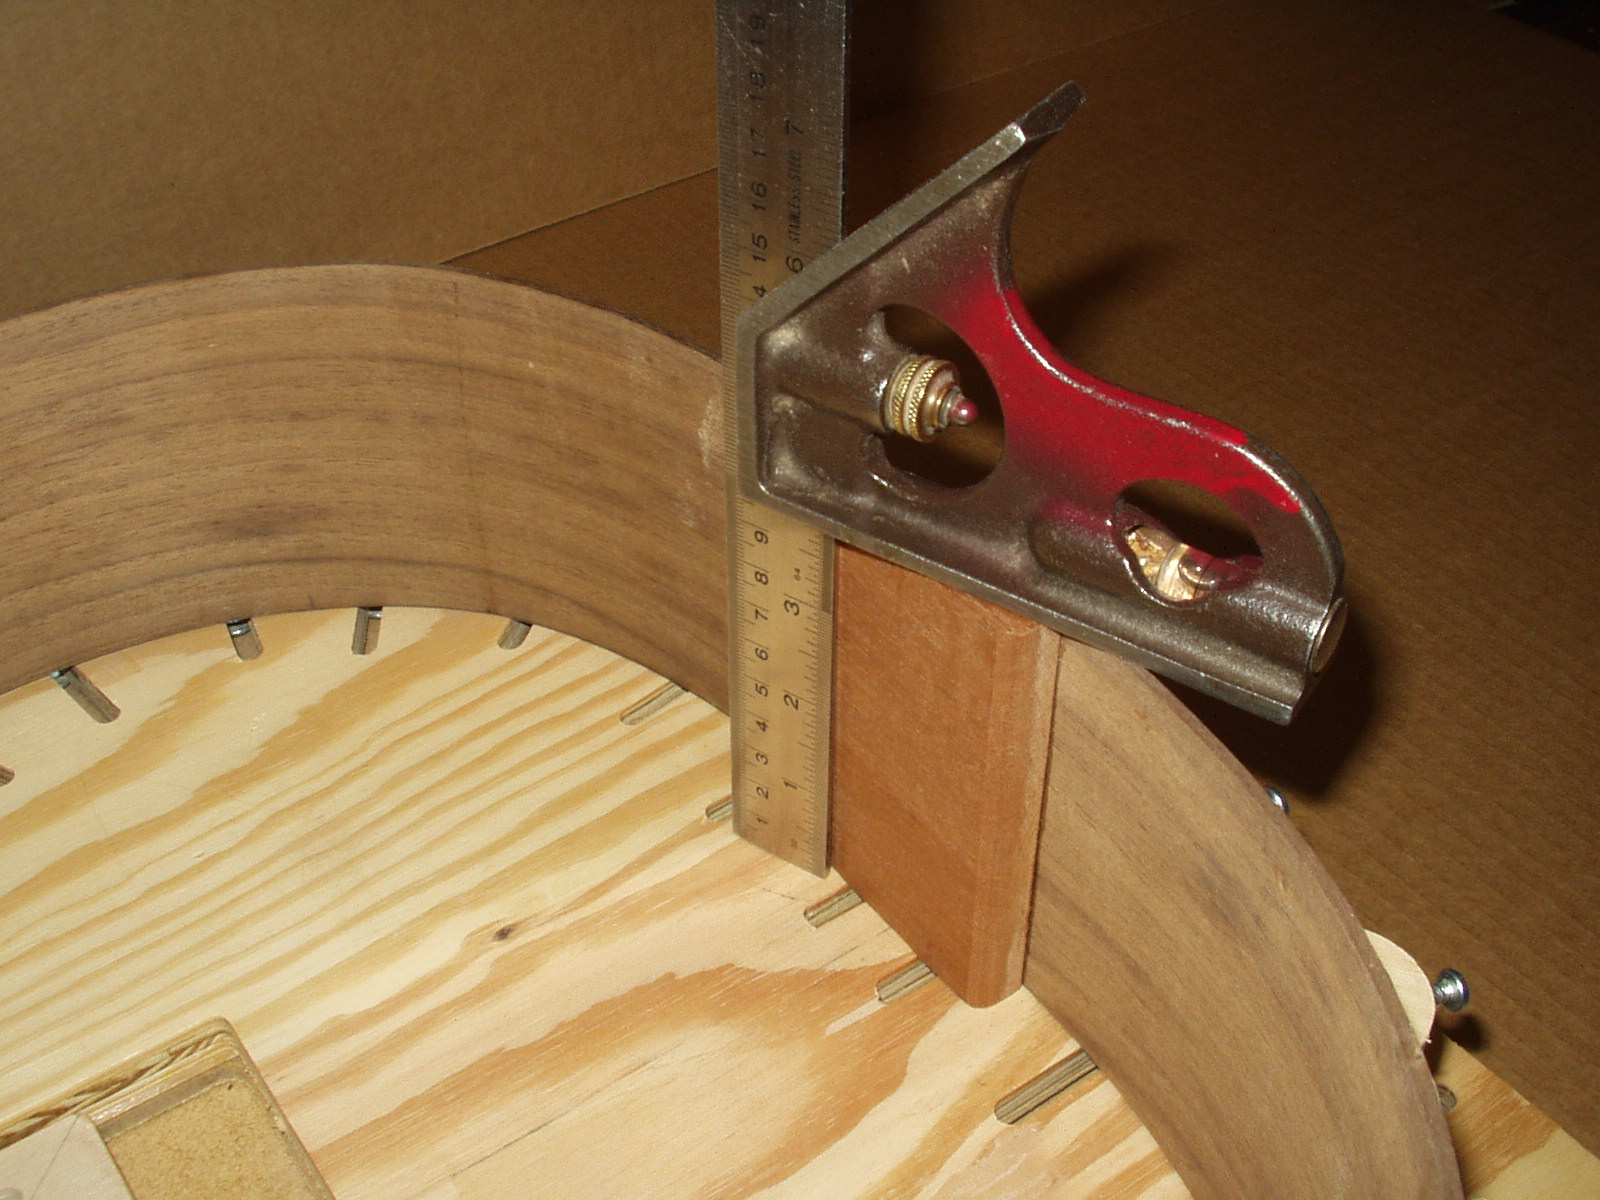
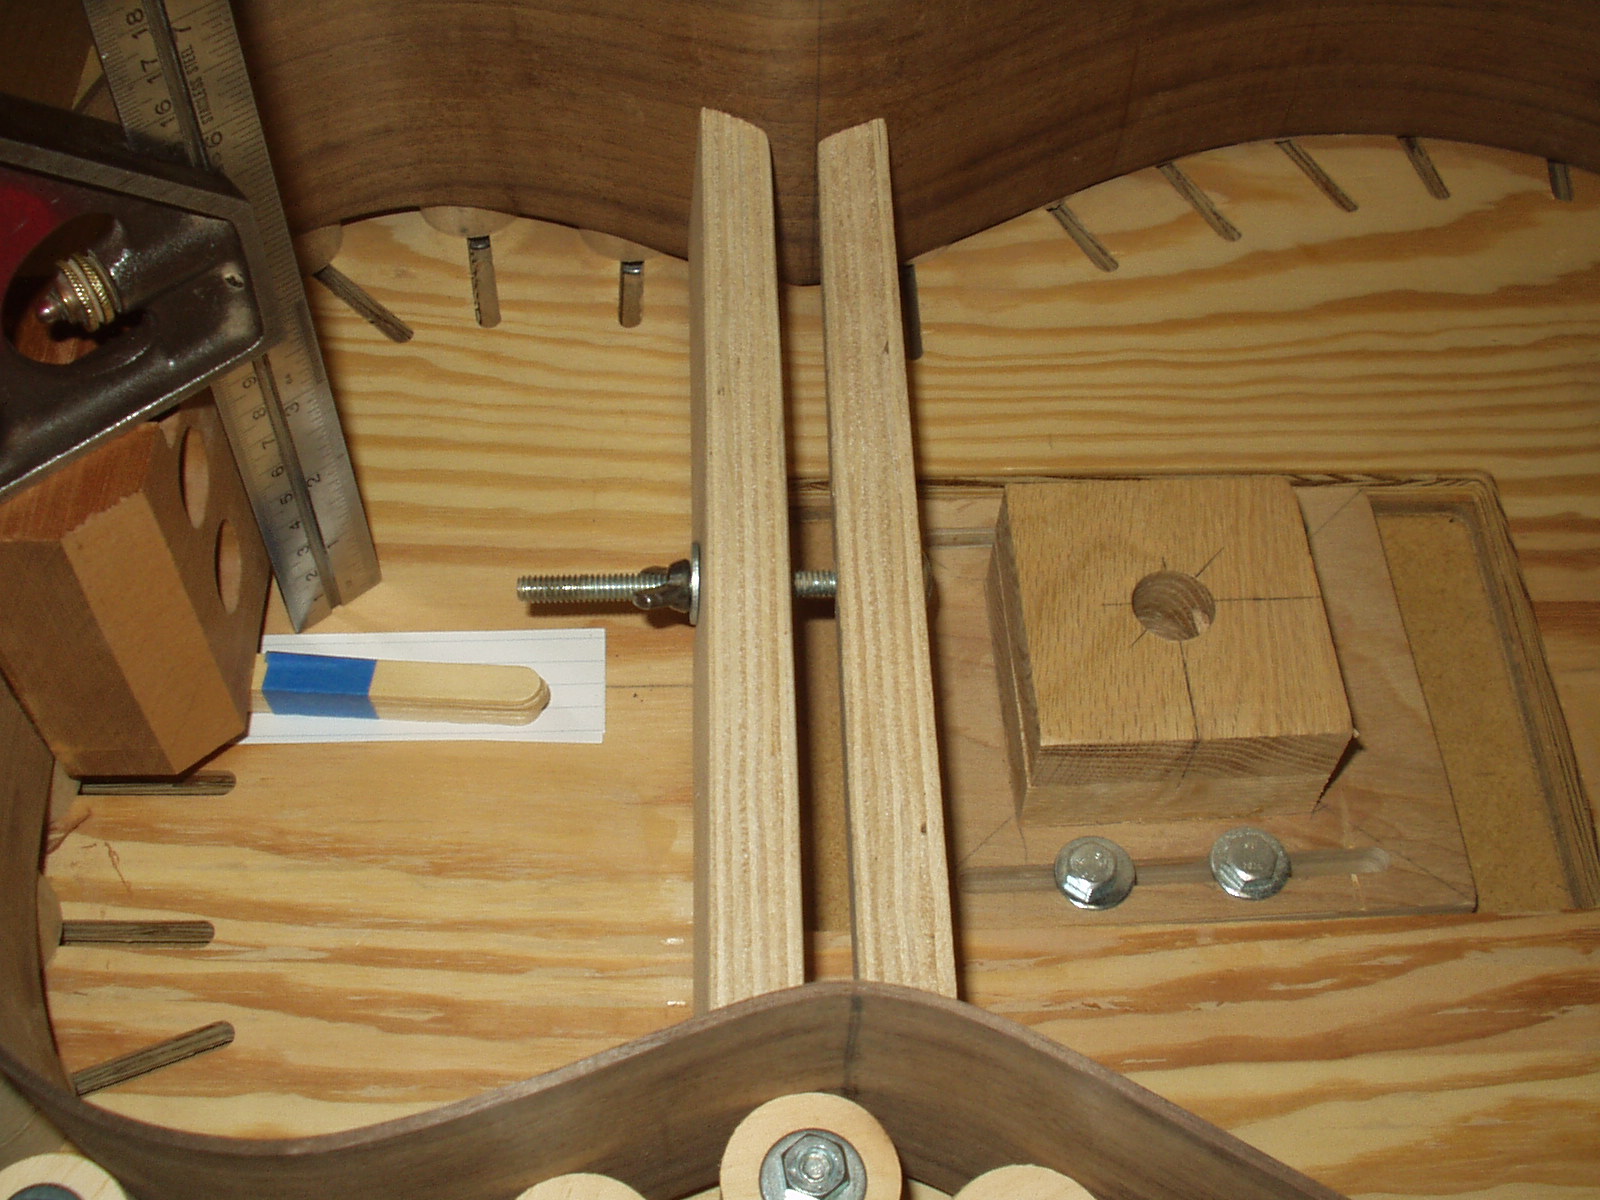
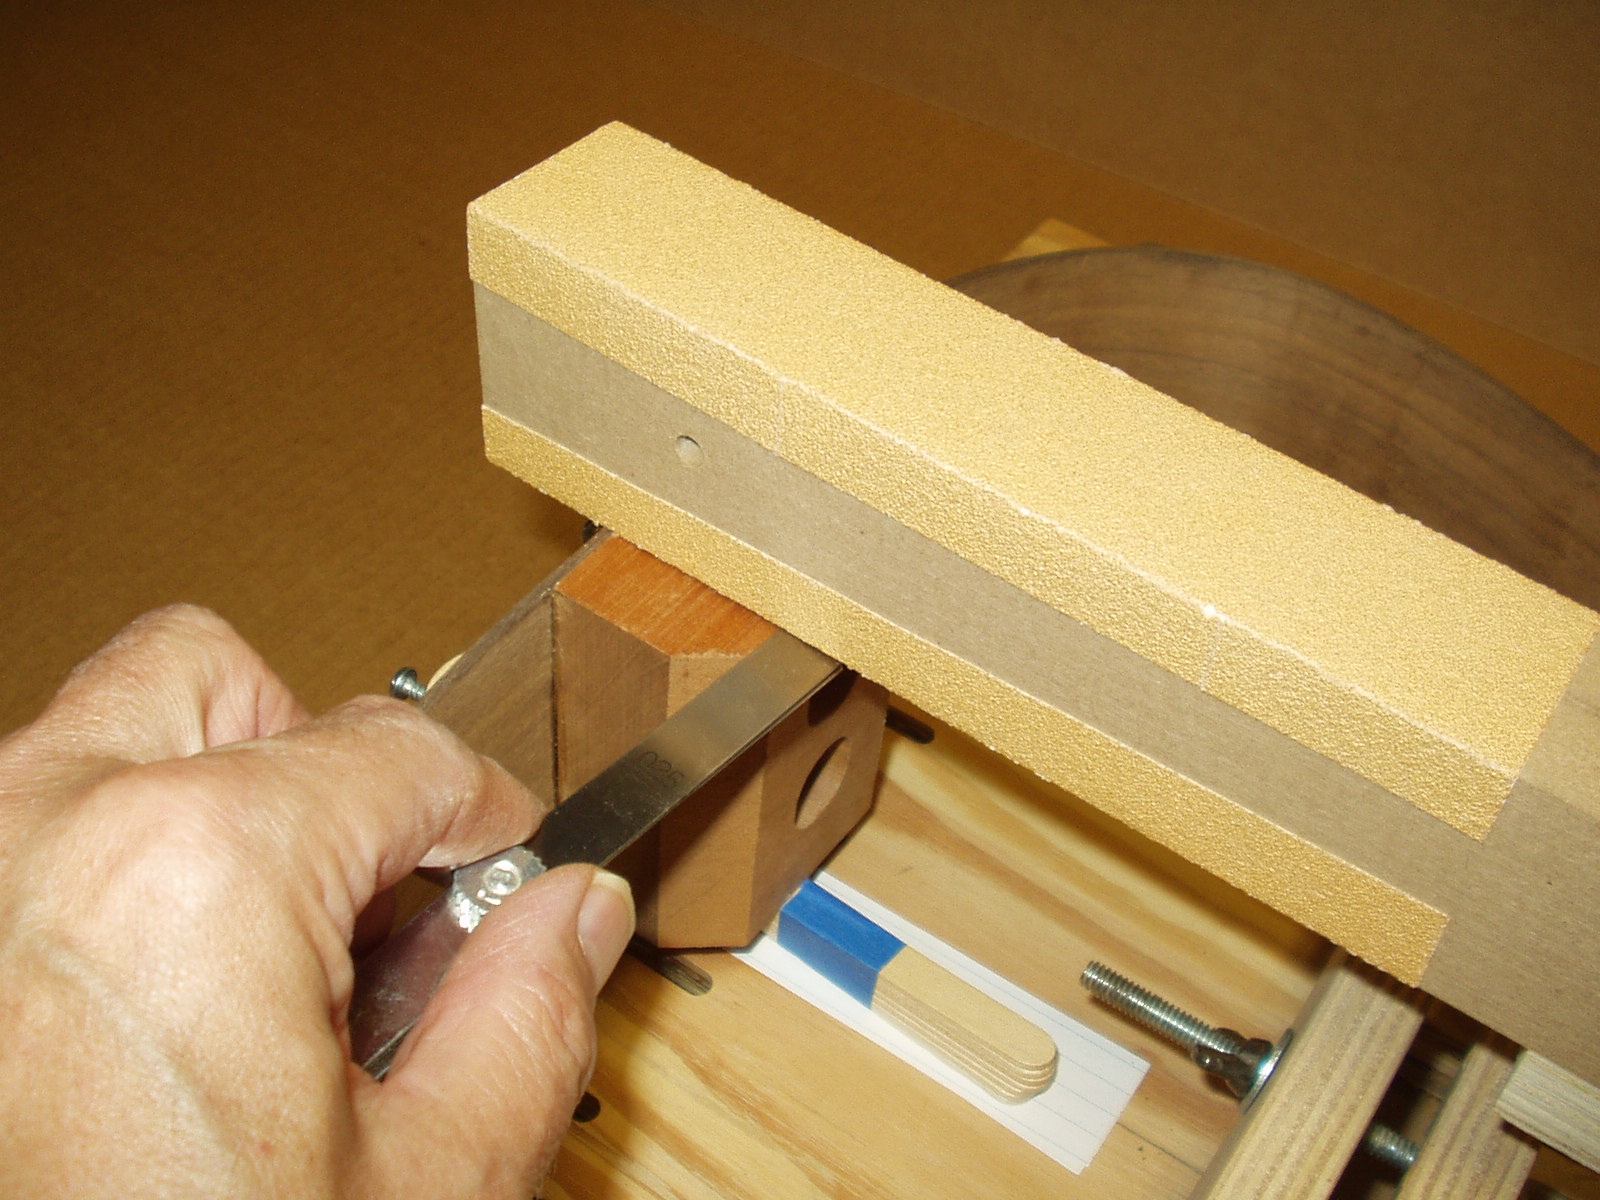
The top edge of the rim is leveled with the
base of the mold. Use an adjustable square
to pick off the high point from the tail block.
Note that at this point in construction the top
edge of the rim should have been uniformly
leveled with a flat sanding stick do not use
the rotating bar. You are doing no more
then smoothing the surface of the rim
edge and kerfing, the plane of this edge is
already established and you do not want to
change it.
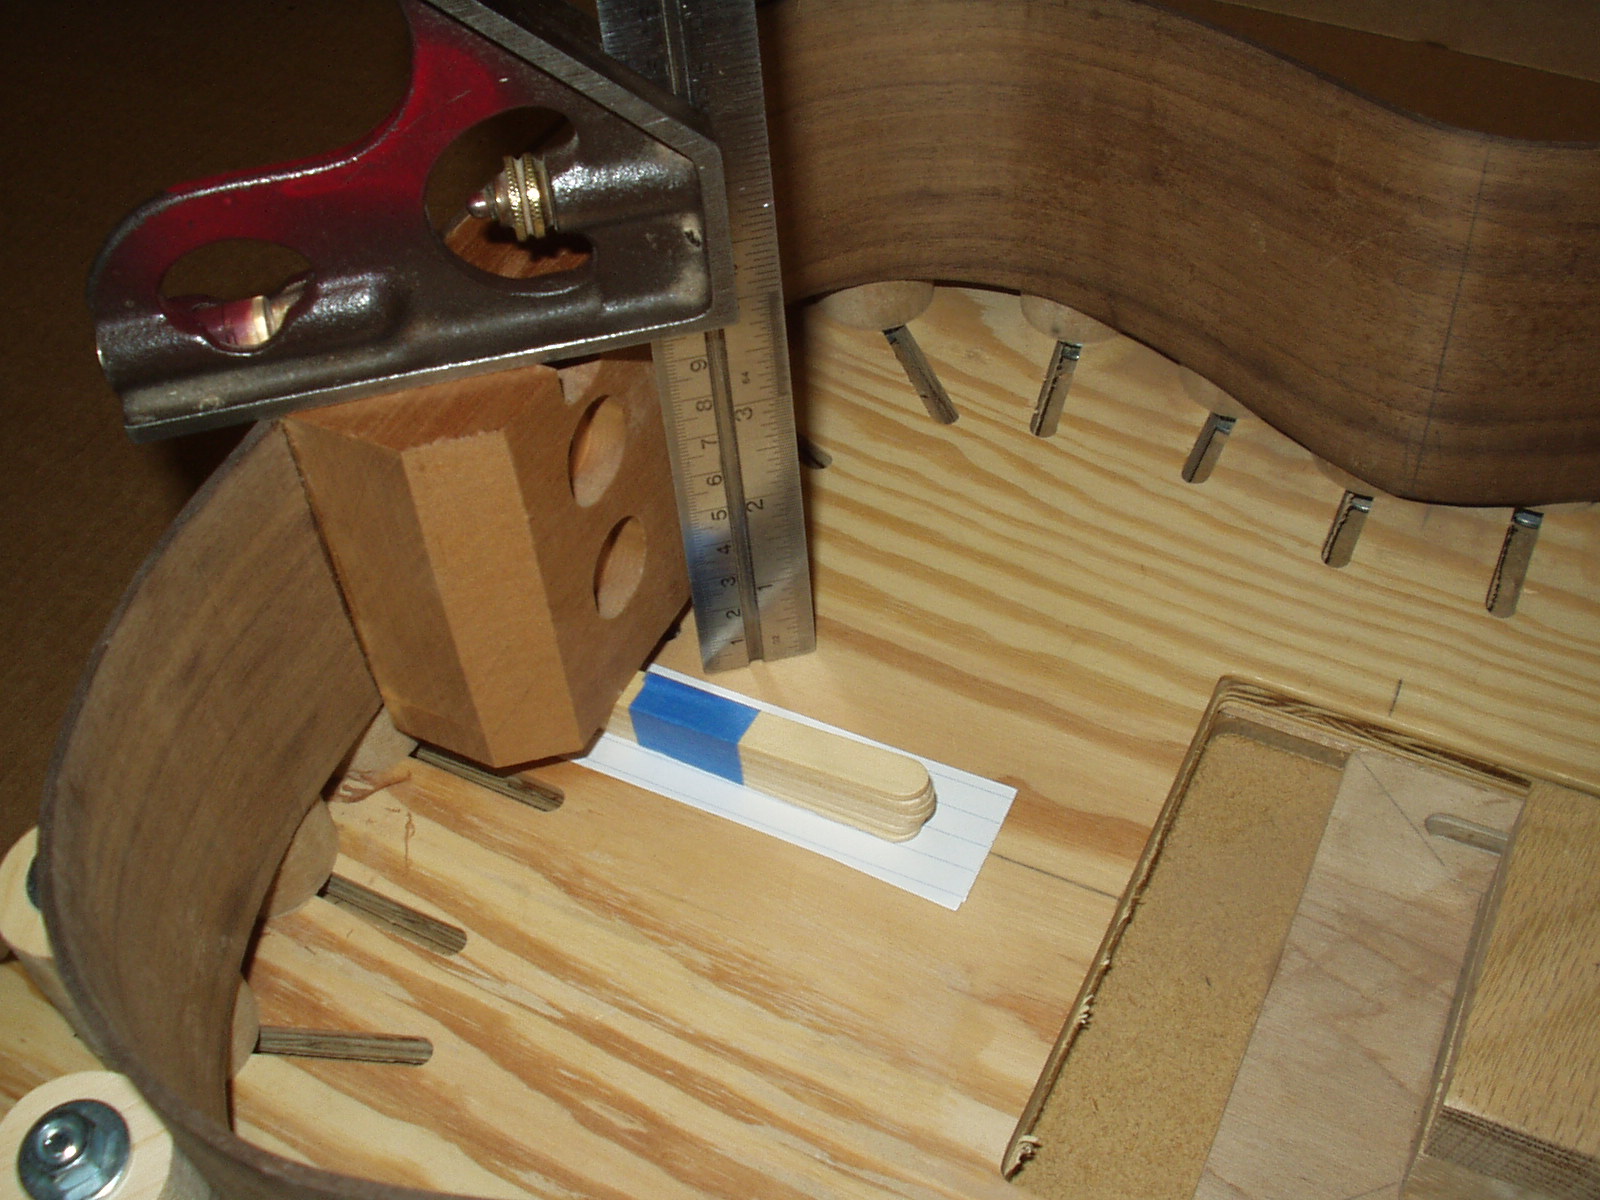
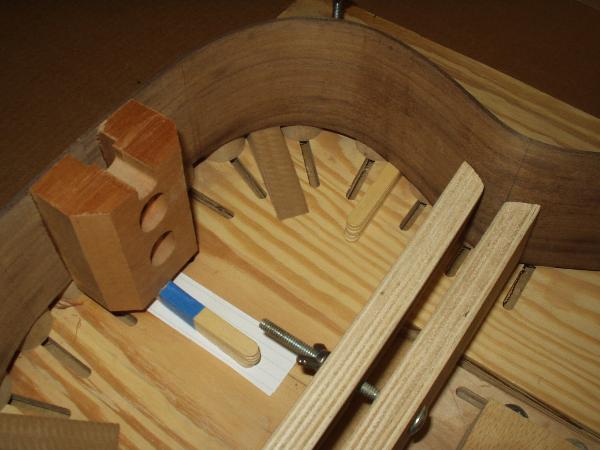
Using the adjustable square, raise the
neck block to the exact height as the
tail block. Insert a shim to maintain that
elevation. Here we used a stack of
Popsicle sticks and a piece veneer.
neck block to the exact height as the
tail block. Insert a shim to maintain that
elevation. Here we used a stack of
Popsicle sticks and a piece veneer.
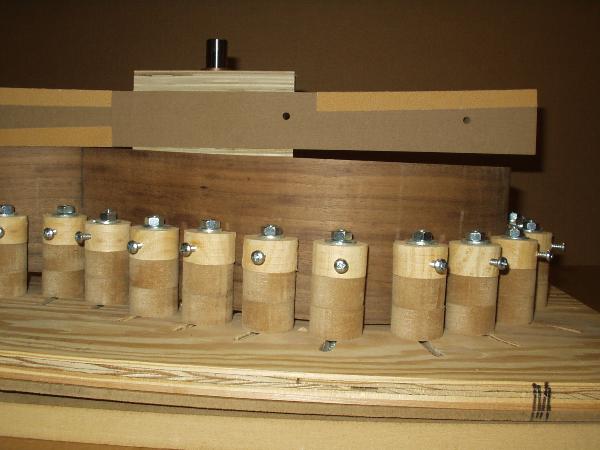
Secure the rim to the mold with the
internal clamp system or a “SS Waist
Clamp”
internal clamp system or a “SS Waist
Clamp”
Add several more shims under the upper bout. Stacks of Popsicle sticks or tapered
wedges will work fine. We are going to apply downward pressure so the rim needs
to be stable.
wedges will work fine. We are going to apply downward pressure so the rim needs
to be stable.
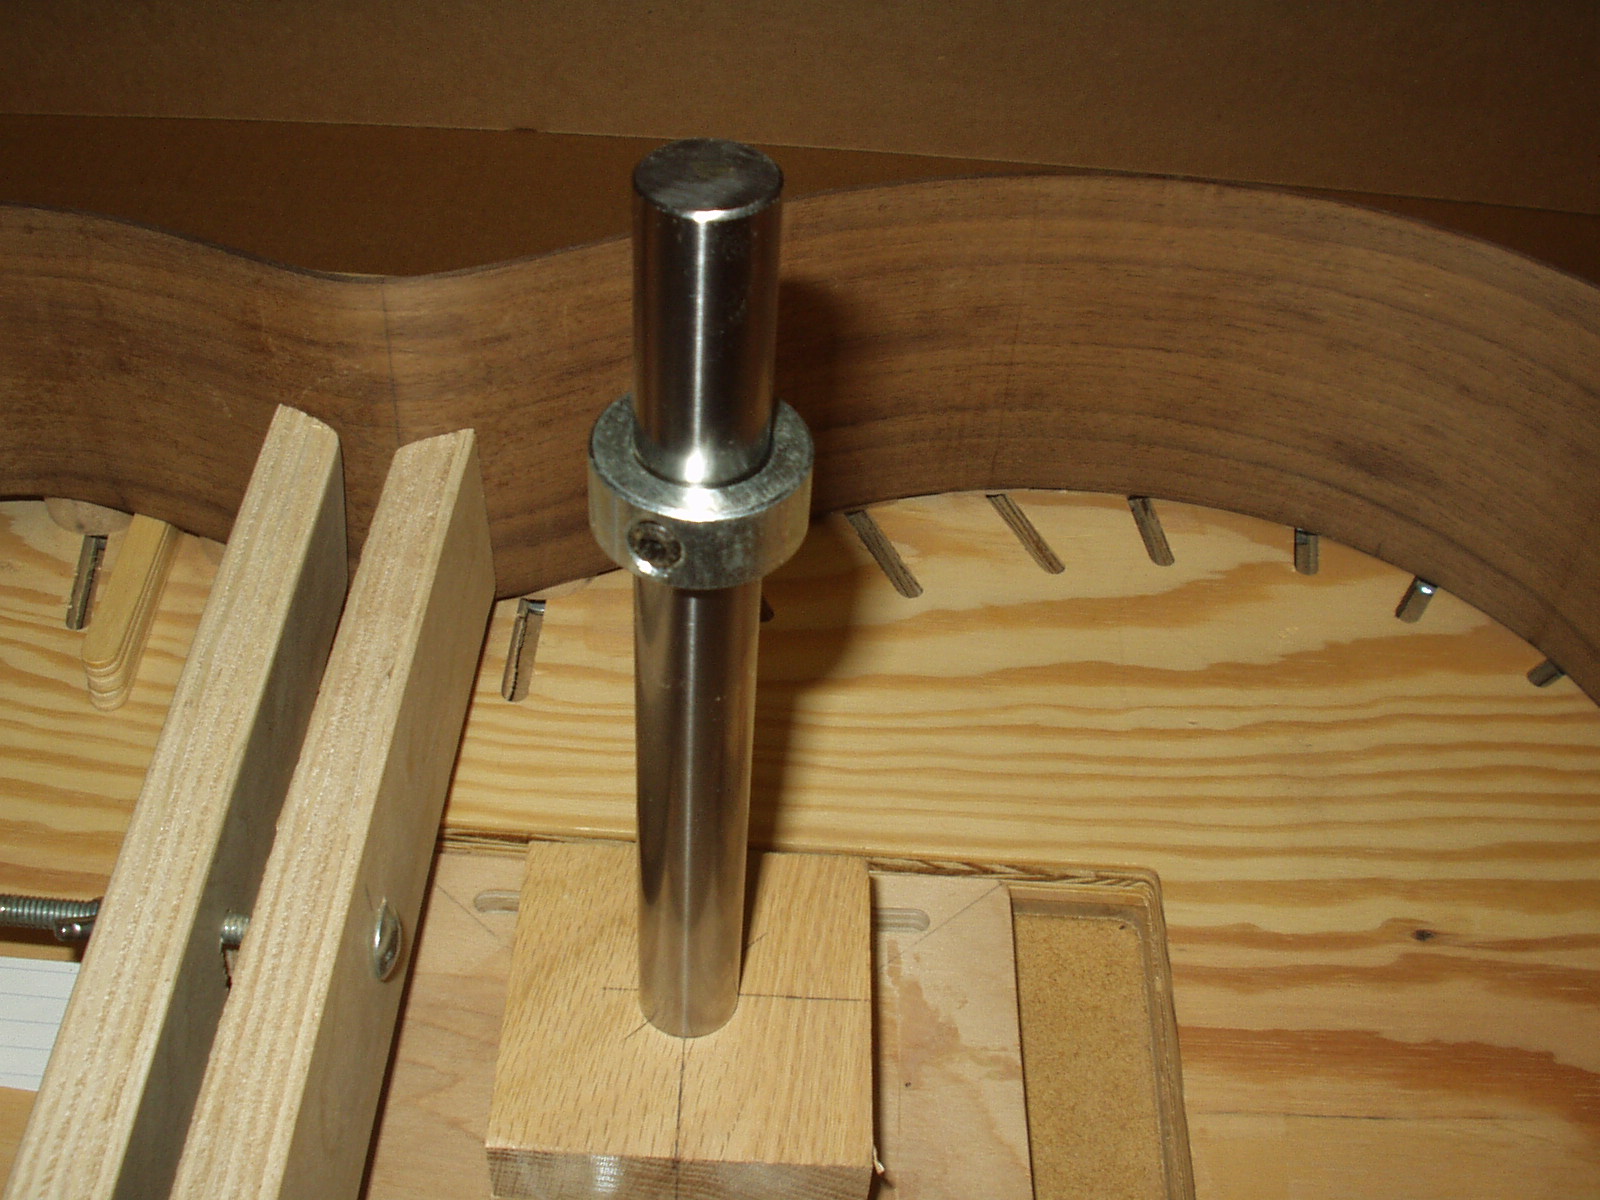
Slide a ¾” stop collar on the MM
spindle.
spindle.
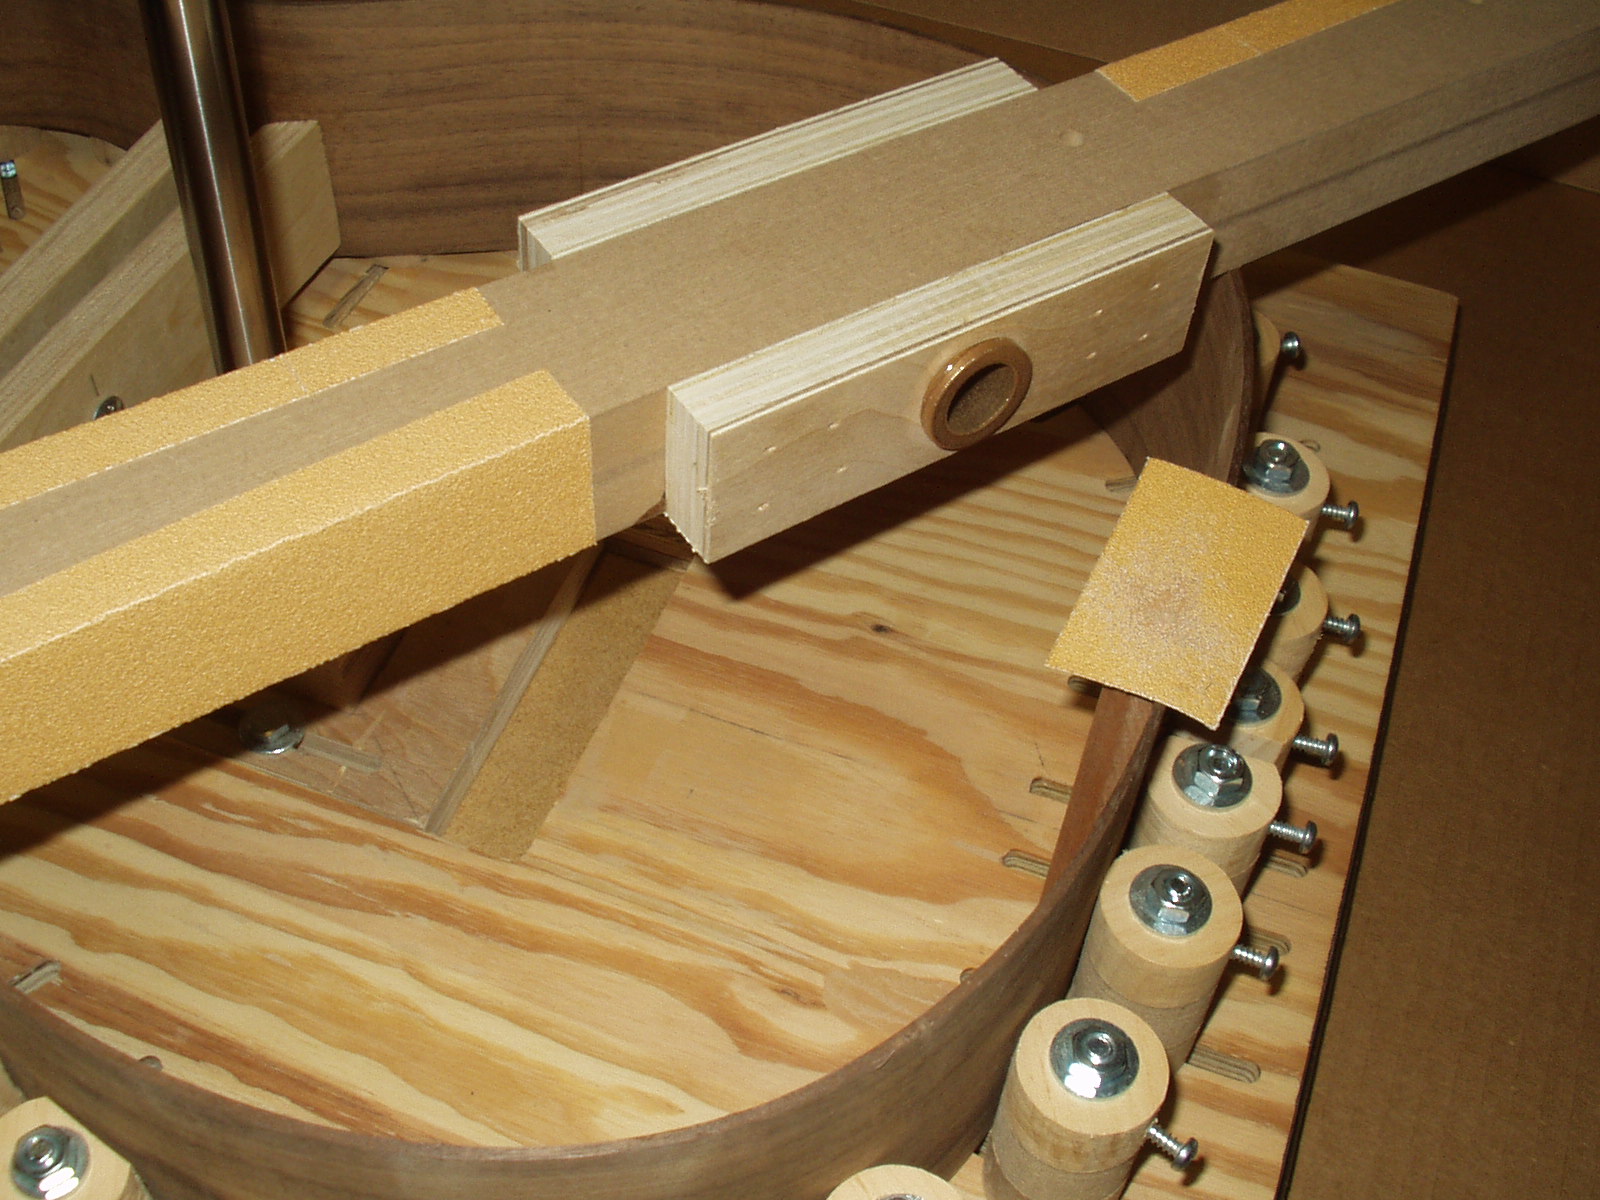
One end of the flat side of the MM
abrasive bar should be covered with
80 grit sand paper. A small piece of
the same paper is used a shim to test
for level.
abrasive bar should be covered with
80 grit sand paper. A small piece of
the same paper is used a shim to test
for level.
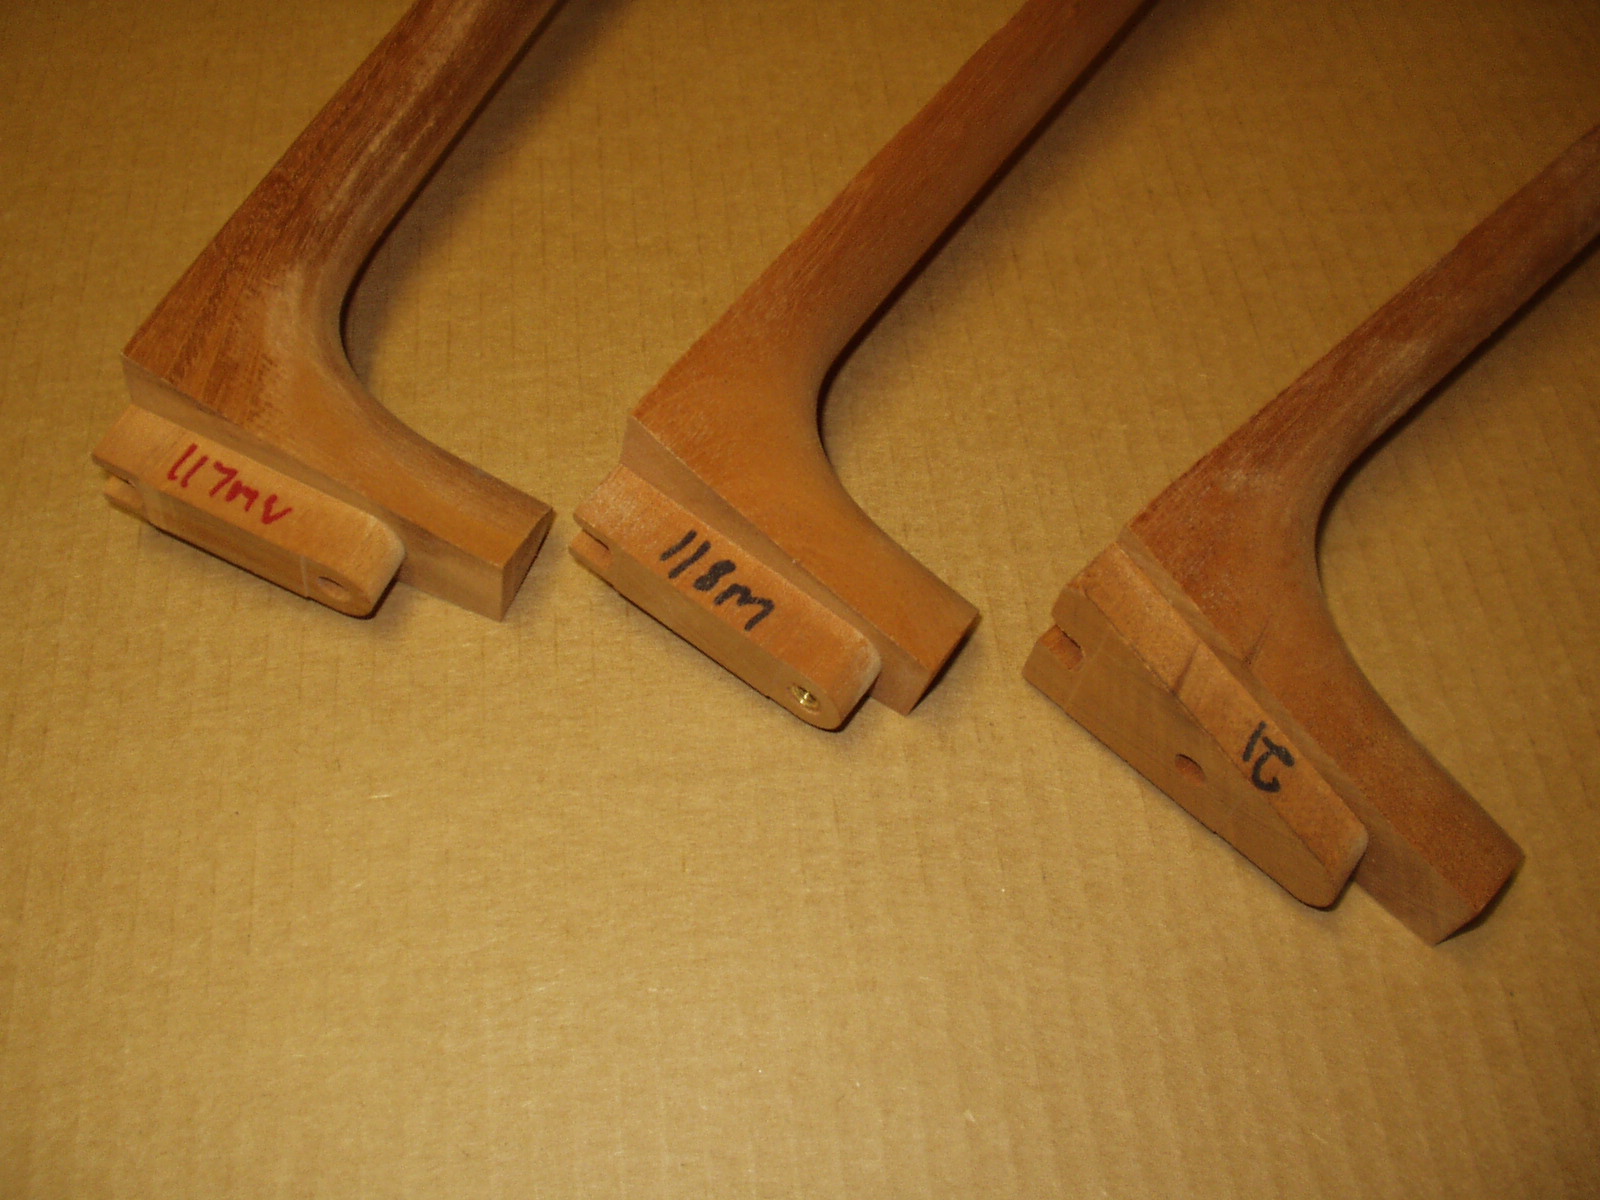
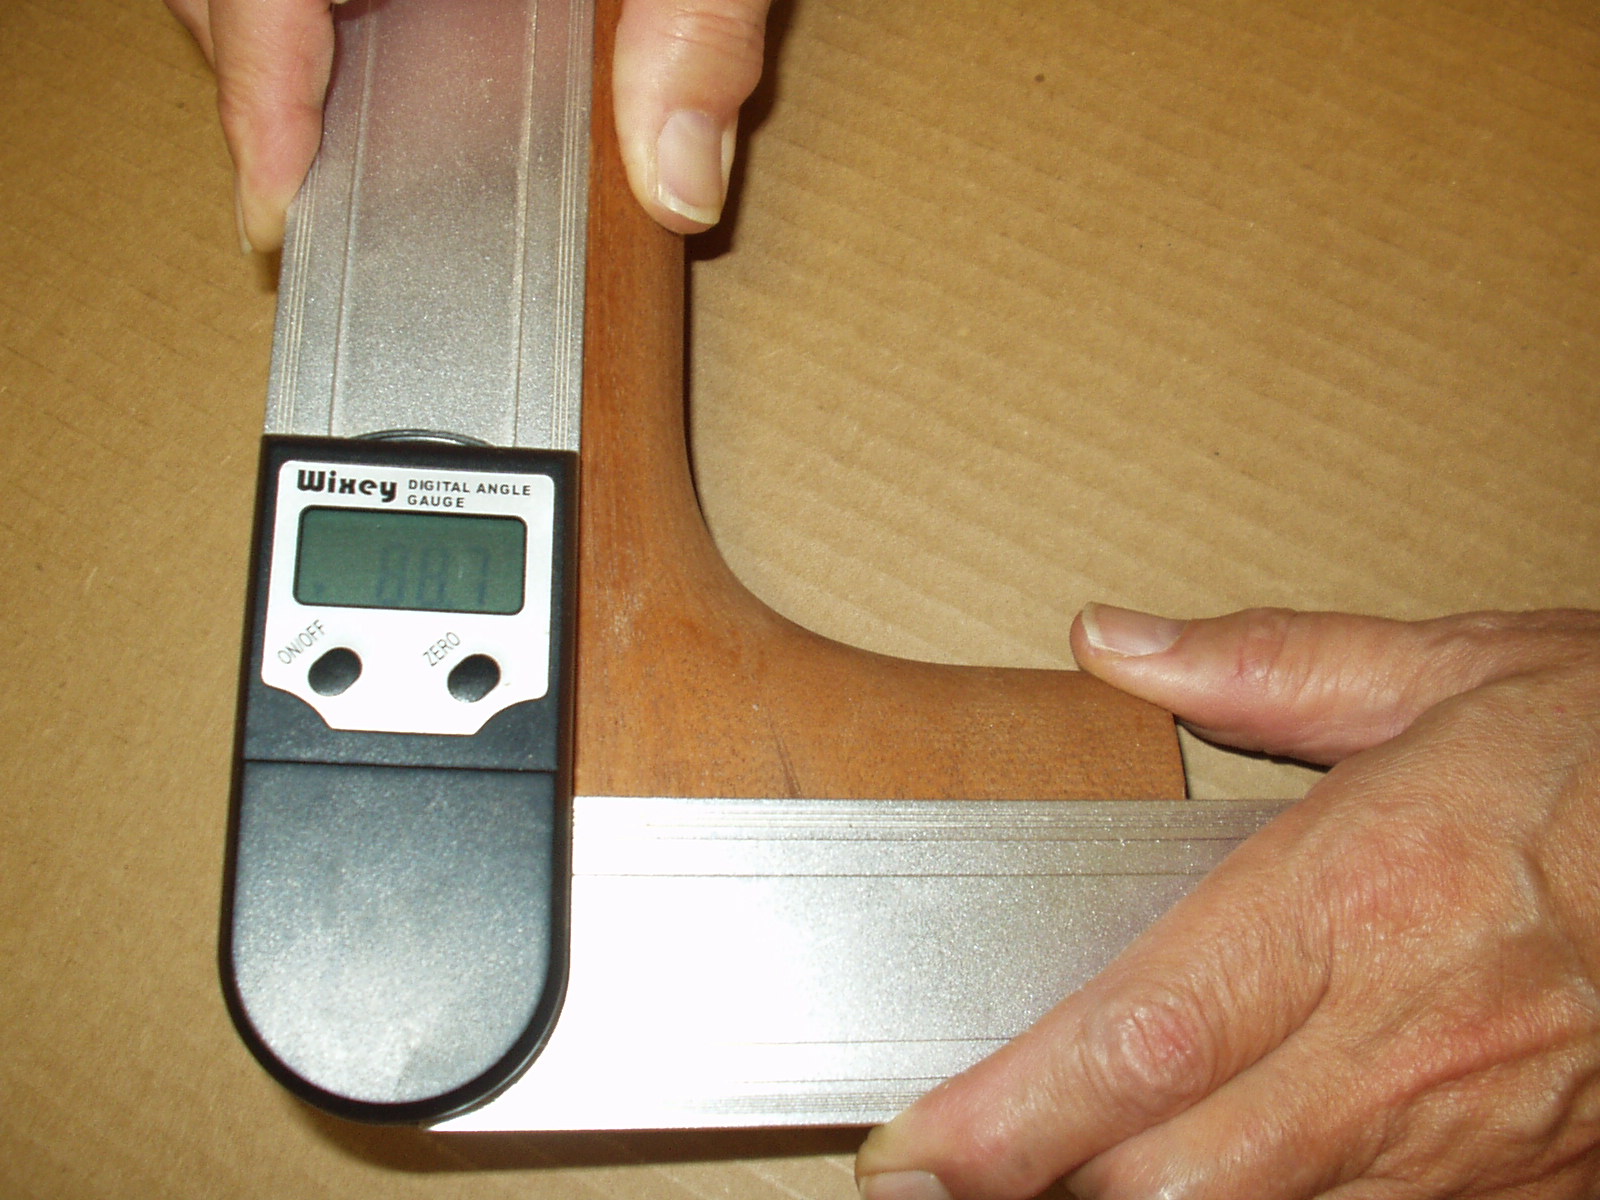
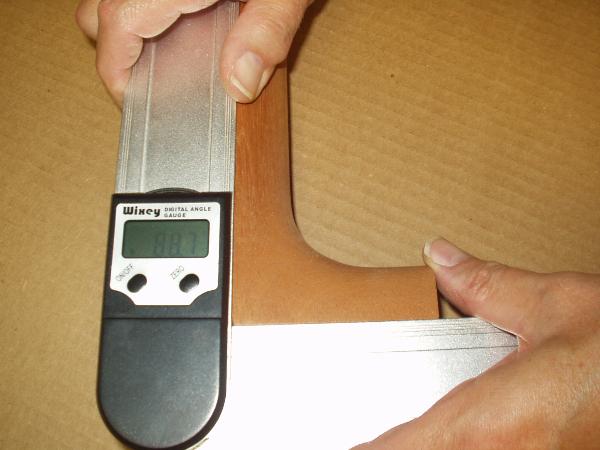
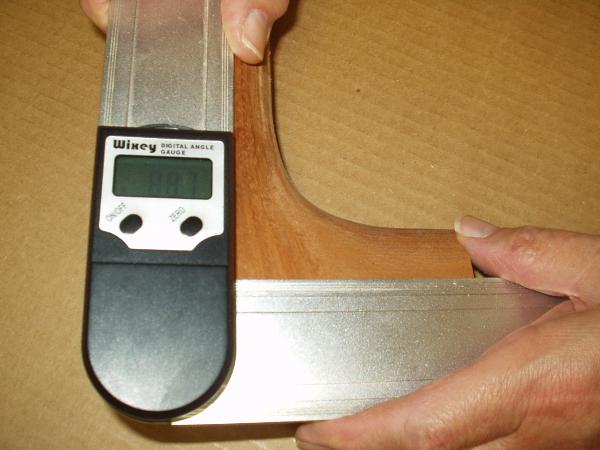
At KMG we have measured many dozens of Martin Factory necks. Dove tail, M&T, “D’
size, OM/000 etc. All gage out with a heel cheek to fingerboard surface angle of 88.7
degrees. KMG necks are machined to this spec as well.
size, OM/000 etc. All gage out with a heel cheek to fingerboard surface angle of 88.7
degrees. KMG necks are machined to this spec as well.
I will not go into the explanation of the neck set angle here, if you are not familiar
with the straight line requirements please review this information: neck set
angle. We know the heel cheek angle is 88.7 degrees therefore to create our 180
straight line the neck block and the upper bout sound board area must be a
complimentary slope of 91.3 degrees.
with the straight line requirements please review this information: neck set
angle. We know the heel cheek angle is 88.7 degrees therefore to create our 180
straight line the neck block and the upper bout sound board area must be a
complimentary slope of 91.3 degrees.
To calculate the 1.3 degree slope we
use our multiplier for one degree .392”
times 1.3 equals .510” Now carefully
use the jack screws on both sides of
the MM to separate the upper and
lower sections the specified distance of
.510
use our multiplier for one degree .392”
times 1.3 equals .510” Now carefully
use the jack screws on both sides of
the MM to separate the upper and
lower sections the specified distance of
.510
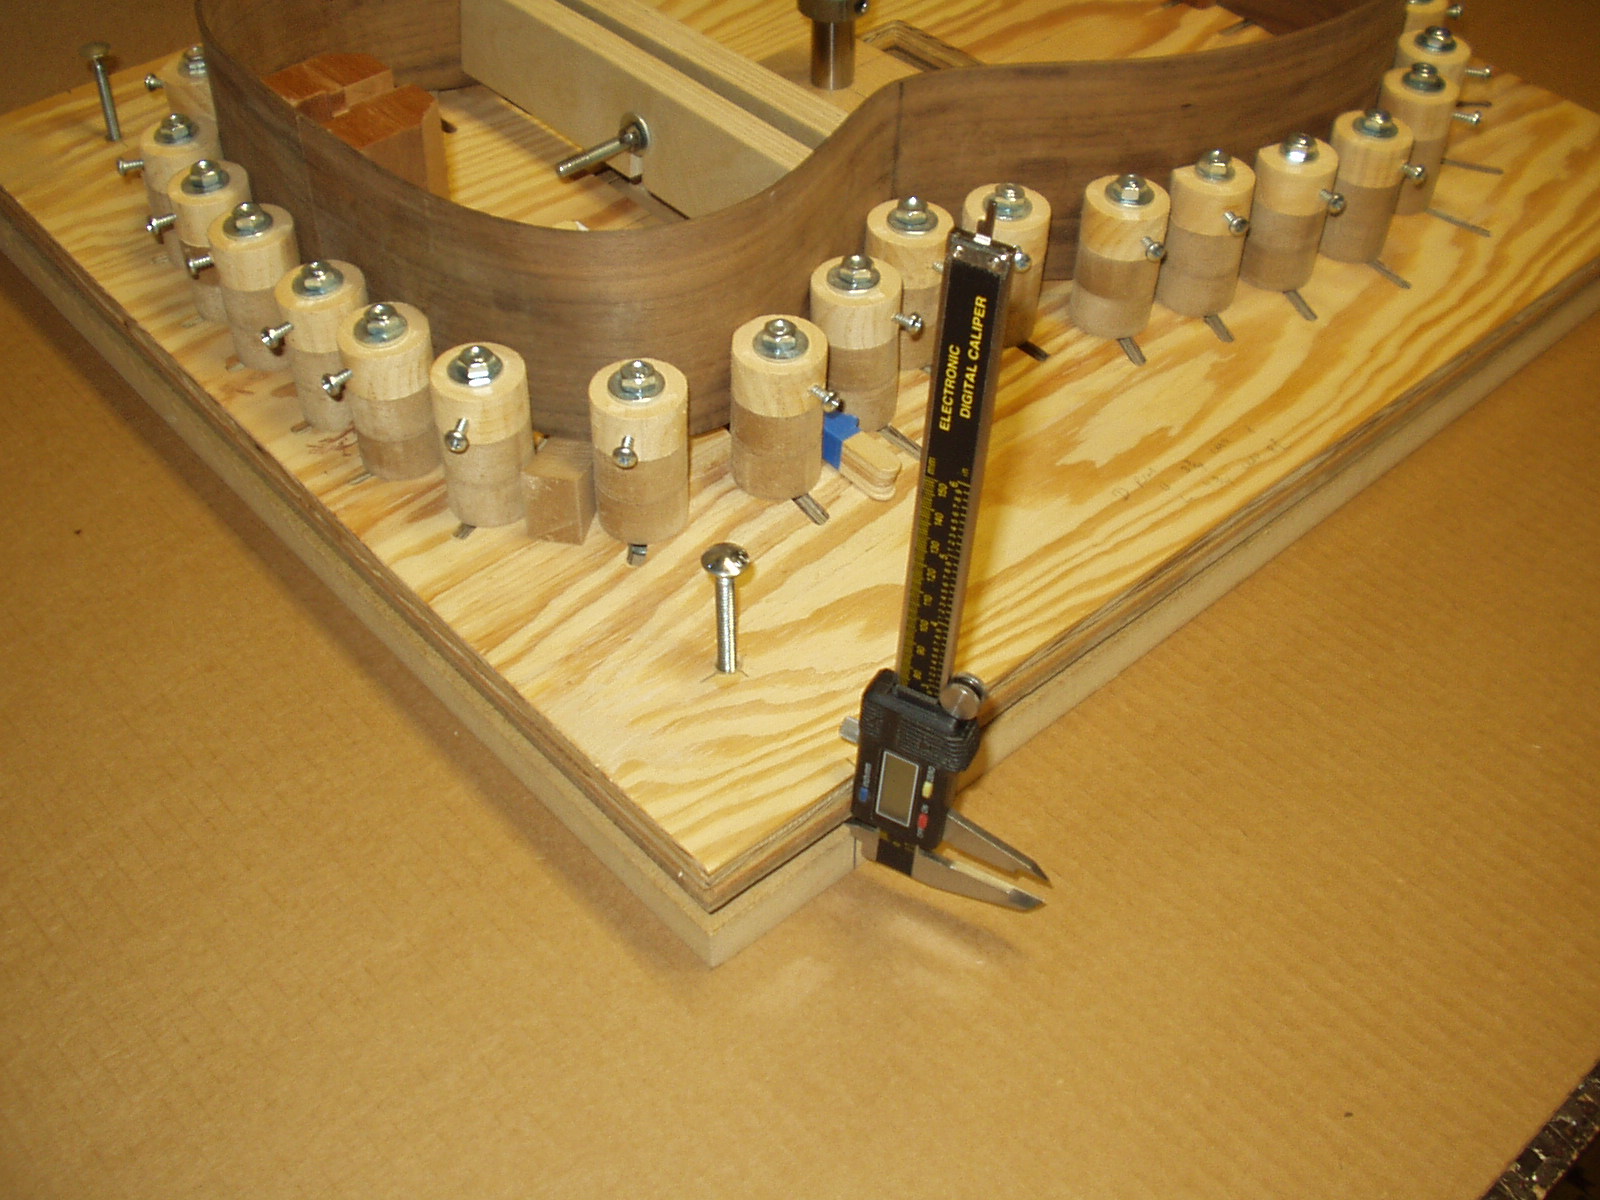
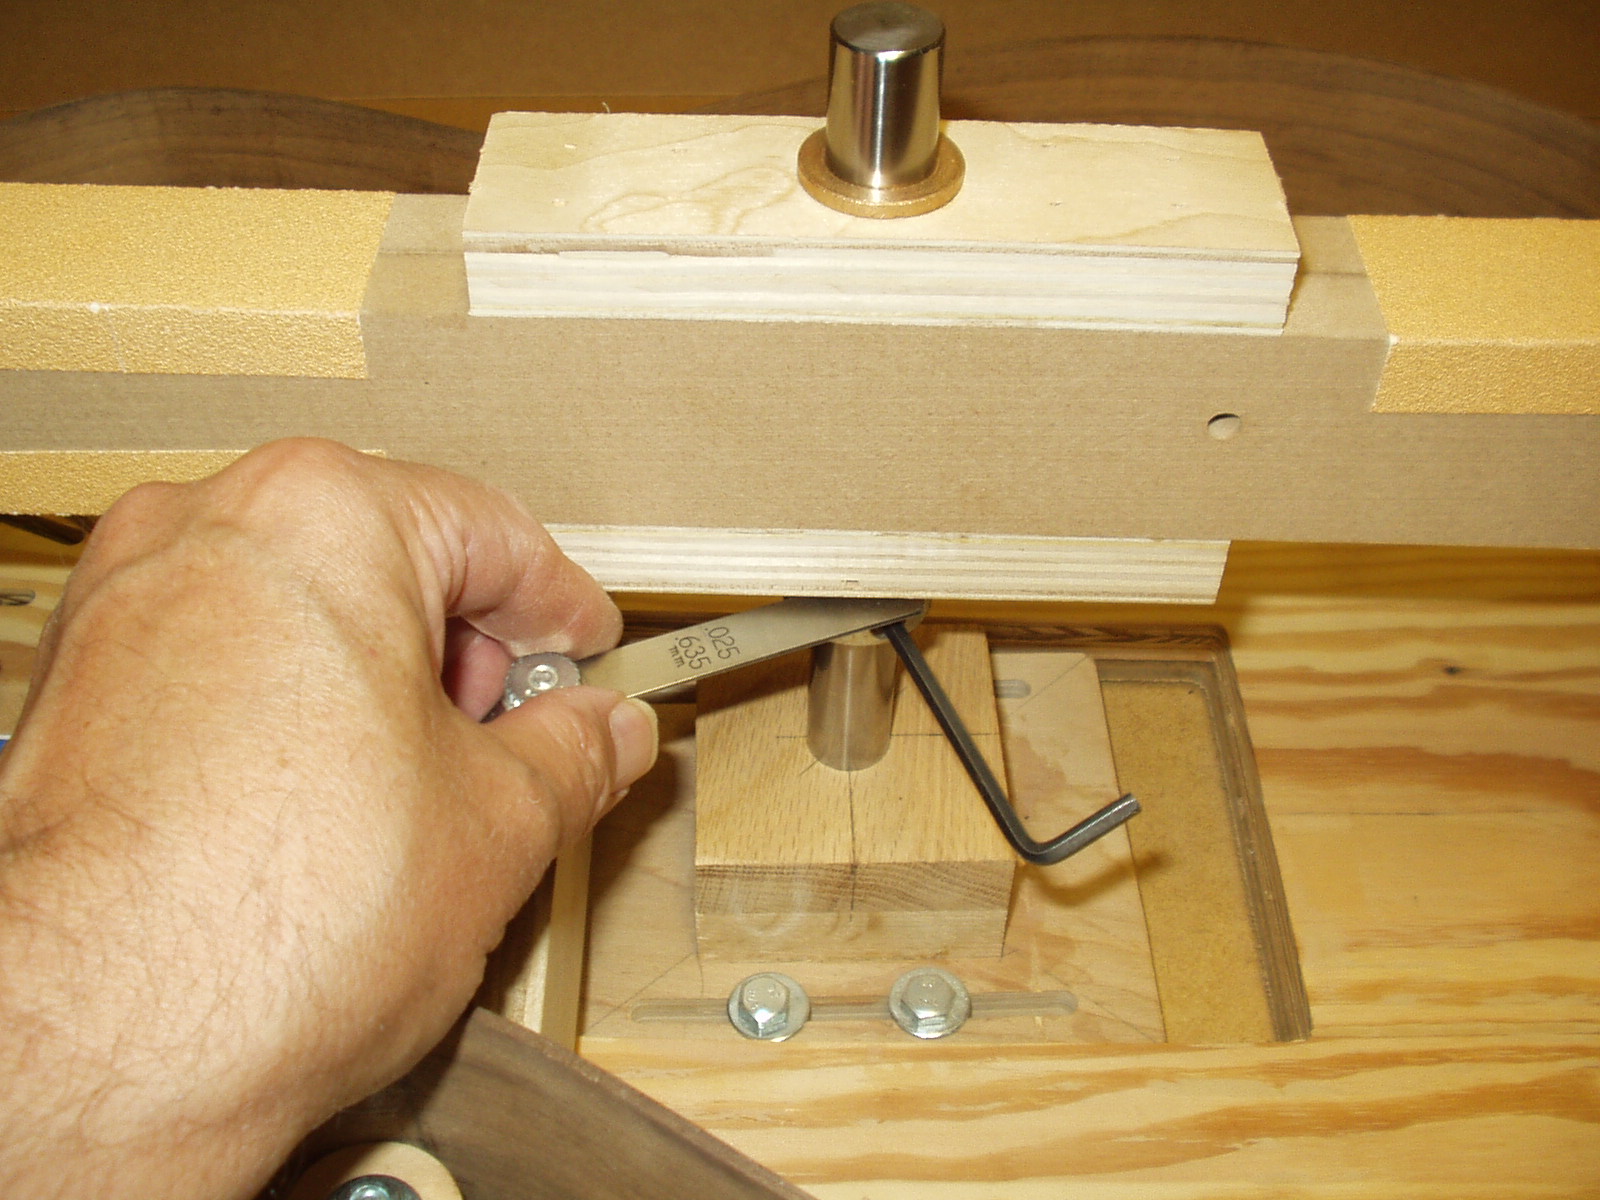
As a safety precaution to prevent over sanding, the stop collar is set at the same
level as gap measured at the inside edge of the neck block. Use feeler gages or a
stack of 3x5 cards to transfer the gap. Place the gauge on the edge of the
abrasive bar bearing then pinch it with the collar and tighten the setscrew.
level as gap measured at the inside edge of the neck block. Use feeler gages or a
stack of 3x5 cards to transfer the gap. Place the gauge on the edge of the
abrasive bar bearing then pinch it with the collar and tighten the setscrew.
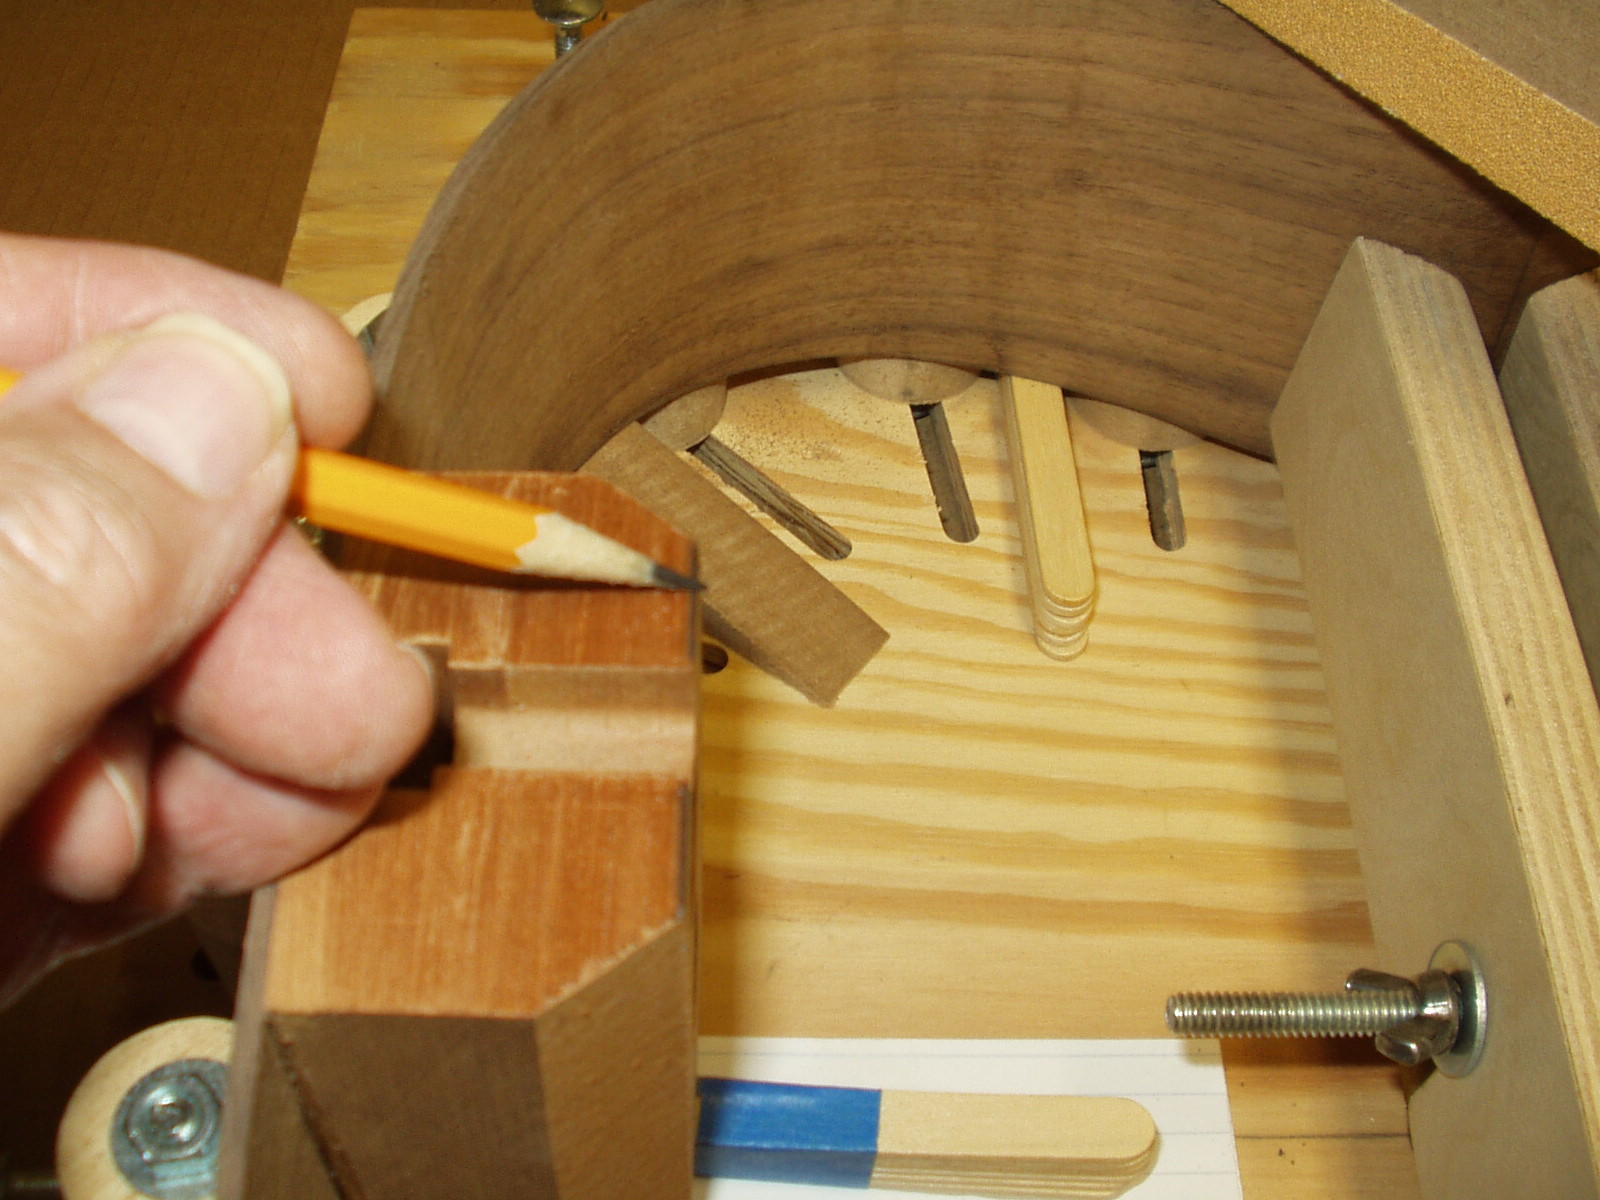
Mark the inside edge of the neck block
with a dark line – this helps to easily
gauge sanding progress.
with a dark line – this helps to easily
gauge sanding progress.
Creating the actual slope is simply a matter of swinging the bar back and forth
over the neck block and upper bout rim until the neck block has been sanded
up to the line marked earlier and the bar bearing hits the stop collar.
over the neck block and upper bout rim until the neck block has been sanded
up to the line marked earlier and the bar bearing hits the stop collar.
THAT’S IT!! Looking at the rim and bar from the side will give a very good
visualization of how this very subtle sloping operation creates the angle necessary to
allow proper bridge and saddle clearance and the associated action set-up.
visualization of how this very subtle sloping operation creates the angle necessary to
allow proper bridge and saddle clearance and the associated action set-up.