Kenneth Michael Guitars est.1978
KMG "Success Kit"
| The Compensated Saddle |
There is really no reason to get all tense and confused when the conversation regarding the
“compensated saddle” or “intonation” is in the forefront. Compensating the saddle and for that
matter the saddle location and angle to the frets is an adjustment that is necessary because
the fretting action increases tension, raises the pitch slightly. Actually, the sounding side of the
string is too short to work with the purely mathematical spacing of the frets and saddle. So we
COMPENSATE by moving the bridge/saddle back away from the 12th fret. In a perfect world
the 12th fret defines the center of the scale length, if we could disregard the physical
characteristics of the string material and flexing action, the saddle would be placed at the same
distance from the 12th fret as the front edge of the nut to the 12th fret ----- but we can’t so
here is how we address the issue.
The “KMG Bridge setter” that came with your complete “Success Kit Package” will automatically
place the saddle and bridge in a location that is a very good starting position when it is time to
“tweak” the individual string lengths for optimal musical accuracy. – INTONATION.
The truth is – the time to set the intonation on a newly built instrument is not the day the
strings are installed for the first time. The guitar needs time to acclimate to the stress from the
strings and it’s environment. Final, truss rod adjustment, action and maybe most importantly
the preferred string type, gage and brand need to be determined. Note that the full potential of
a guitar cannot be found if you simply install a popular brand of strings, experimentation will
often be well rewarded.
What we do know about any given set of strings is that compensation requirements are not
based on the overall diameter of the string but rather the diameter of the “core”. Again, in that
perfect world scenario one would think that since the 1st string is the highest pitch and the 6th
sting is the lowest we should be able to move the saddle back from the 12th fret at an angle
and bingo – we could take into account the various string gages. But the real world issue of
“core diameter” dictates that we COMPENSATE for the disproportionate core diameter
sequence.
In other words the 2nd string is thicker than the “core” of 3rd string and in many sets also
thicker than the “core” of the 4th, so just using a slanted saddle will not get the job done.
Prepare the saddle blank by cutting it to length, take care not to make it too short. Use a
sanding stick to gently round the edges of both ends.
sanding stick to gently round the edges of both ends.
The saddle needs to fit snug in the slot --- most likely the blank provided will be a tad too
thick for the bridge slot. Carefully thin the blank by sliding it on a flat sanding block or stick.
Many find wearing rubber gloves, a rubber finger or wrapping tape around the fingers
provides a little traction to help move the saddle against the abrasive surface.
thick for the bridge slot. Carefully thin the blank by sliding it on a flat sanding block or stick.
Many find wearing rubber gloves, a rubber finger or wrapping tape around the fingers
provides a little traction to help move the saddle against the abrasive surface.
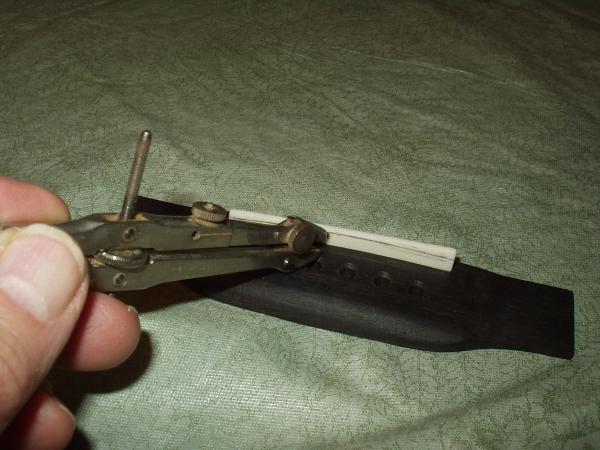
Next use a compass to define the top of the saddle and establish the radius to match the
fingerboard.
fingerboard.
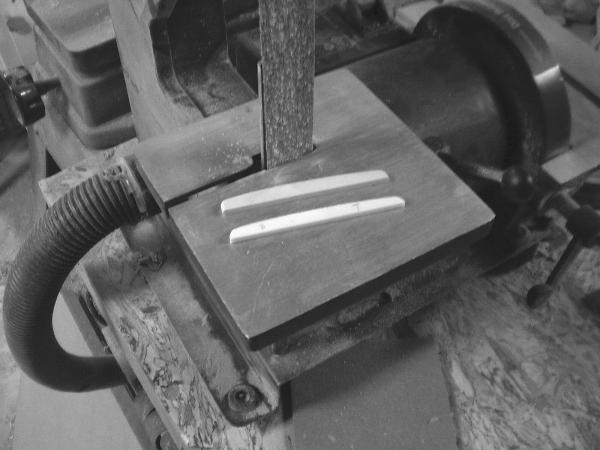
The tool of choice for shaping the saddle would be some sort of belt sander. Files and
sanding sticks can also be used and yield good results
sanding sticks can also be used and yield good results
For the preliminary set-up its not necessary to
be extremely precise. As mentioned early on,
the guitar needs to "settle in" before the micro
measurements will really matter. For now
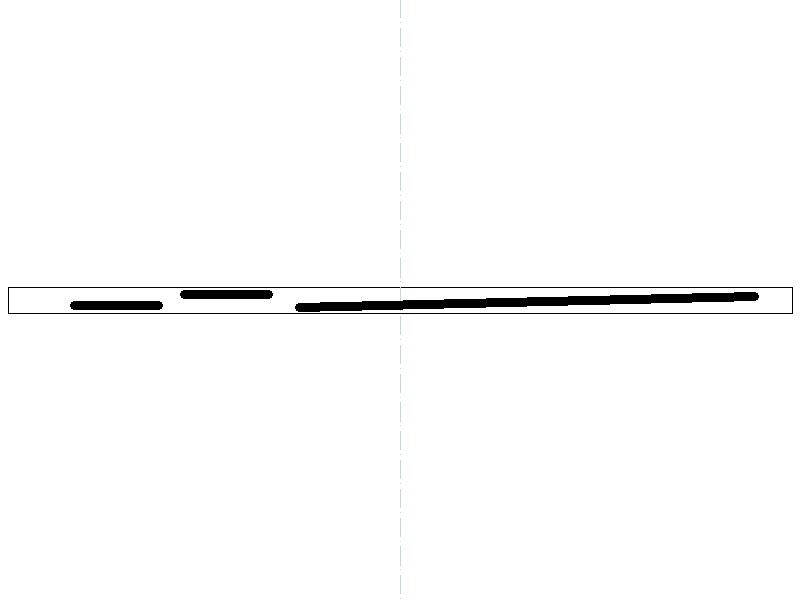
shape the top of the saddle as illustrated. Note
the top edge at the 1st sting contact point is
well to the front (toward the nut) the 2nd string
is well toward the back, and the remaining four
string contact points are simply angled from
front to back the remaining length of the
saddle.
be extremely precise. As mentioned early on,
the guitar needs to "settle in" before the micro
measurements will really matter. For now
shape the top of the saddle as illustrated. Note
the top edge at the 1st sting contact point is
well to the front (toward the nut) the 2nd string
is well toward the back, and the remaining four
string contact points are simply angled from
front to back the remaining length of the
saddle.
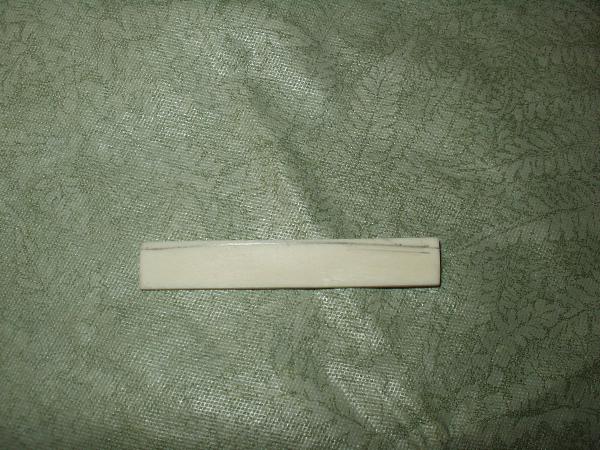
The string contact surface should be smooth and slightly rounded --- we need to prevent
binding or the chance of breakage due to a sharp edge
binding or the chance of breakage due to a sharp edge
Now you can finally install the strings ---- no doubt the action will be very high. Set the truss
rod adjustment nut so that there is just a tiny bit of tension, then bring the tuning up to pitch.
It is best if you allow the string tension to exert force on the neck for awhile before
proceeding. After a few hours look down the neck from the nut end to see if the fingerboard
straight. Adjust the truss rod if necessary to take out any bow. Loosen the strings turn the
nut a small amount (no more than a 1/4 turn) -- bring the tuning up to pitch once again.
Repeat as necessary to get the neck straight as possible.
Take a measurement at the 12th fret 1st and 6th strings. Feeler gages work well for this
purpose. Ideally we want to end up with a measurement of .070" from the top of the fret to
the bottom of the high "E" 1st string and .085" from the top of the fret to the bottom of the
low "E" 6th string. In all probability the bottom of the saddle will need to be shaved to get the
height/action correct.

Now loosen the strings and remove the saddle, in some instances removing the bridge pins
may also be necessary. If that is the case I found it is helpful to tape the strings to an index
card this procedure keeps the strings under control. One of those big "snack bag clips" works
too.
may also be necessary. If that is the case I found it is helpful to tape the strings to an index
card this procedure keeps the strings under control. One of those big "snack bag clips" works
too.
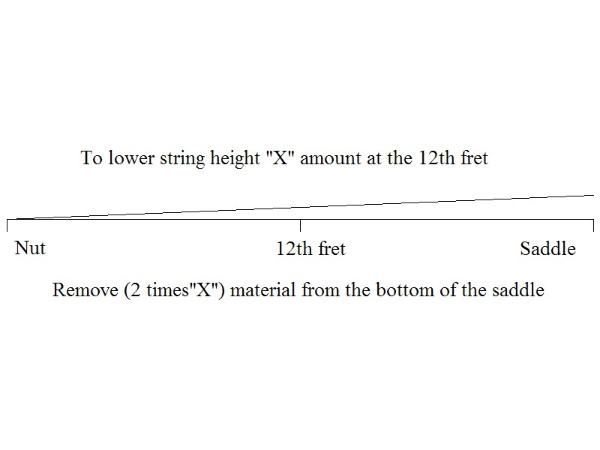
The math calculation for establishing the saddle height is straight forward, as illustrated
below
below
Since the 12th fret essentially falls in the center of the triangle formed by the fingerboard and
saddle. The simple 2 to 1 ratio works out almost perfect and is precise enough for our purpose.
saddle. The simple 2 to 1 ratio works out almost perfect and is precise enough for our purpose.
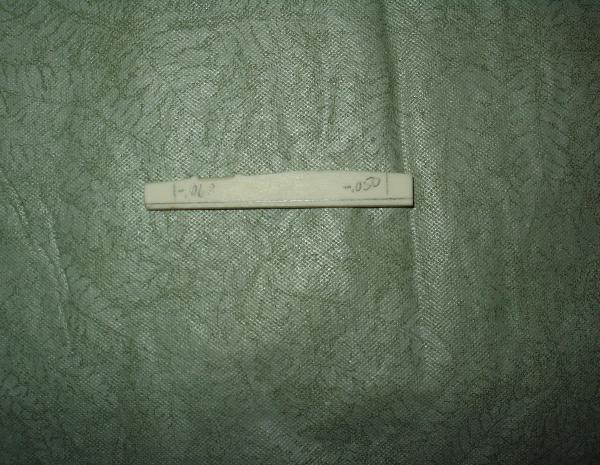
As an example -- the measurement taken from the 1st sting is .100" (.100" -.070") .03" too
high so we need to remove .060" ( 2 x .03") from the bottom of the saddle at the 1st string
cross over location. The measurement from the 6th string is .110" (.110 - .085") .025" too
high. Again we need to remove .050" (2 x .025") from the bottom of the saddle at the 6th
string cross over location.
high so we need to remove .060" ( 2 x .03") from the bottom of the saddle at the 1st string
cross over location. The measurement from the 6th string is .110" (.110 - .085") .025" too
high. Again we need to remove .050" (2 x .025") from the bottom of the saddle at the 6th
string cross over location.
Plot the cut off line on the blank. A belt sander can be used to remove the bulk of material.
However, this surface "must be" perfectly flat with the bottom perpendicular to the sides.
Make no mistake -- a sloppy job -- will no doubt have a huge effect on sound quality. This is
it "where the rubber hits the road" so to speak. We want to establish the best possible link
between the strings, saddle, bridge and soundboard.
When you are satisfied replace the saddle, string up, tune up and check out the action and
playability of the instrument. If you followed the "Zero - Zero Fret nut making guide" and now
have the saddle at a good height, action and intonation should be at respectable levels.
After a period of time the action may get a little high again -- check the neck for bowing an if
necessary tweak the truss rod nut to adjust. One last thing at this point --- for the lowest
possible action it is necessary to have "relief" in the neck --- or more simply put -- allow the
neck to bow a very tiny bit. Since the strings vibrate in a 360 degree pattern the slight bow in
the neck provides some additional clearance for the movement of the pluck string.
Intonation and fine tuning the set up will be covered elsewhere.