Kenneth Michael Guitars est.1978
Fitting the neck to the body --- KMG Neck set --- PART #1
Although we are using a mortise and tenon joint (MT) in this example the principles
covered also apply to the dovetail joint (DT). Specifics for dovetail trimming, shimming,
etc. will not be covered at this site. Long ago, I was converted to the MT bolt-on method
after being convinced and convincing myself that the hassles involved with the DT
yielded nothing but the satisfaction of being able to do it. Others are sure to disagree.
Installing / assembling the neck to the body is certainly one of the most important
aspects of construction. I believe most have the tendency to begin the fitting process
while the body and the neck are in the rough finish stages. The logic seems to be that
we have to reconcile ourselves to the fact that the parts must be trimmed to get them to
fit each other. So do it all at the same time.
What is often over looked is the need to establish our dimensional and geometric base
lines. In other words the neck and body must be prepared in such a way that we know,
for example, that the top is 90 degrees to the rim at the neck location. If I learned
anything over the years as a problem solving Engineer. It is the importance of “root
cause analysis” and the discipline required to change only one variable at a time and to
measure the result after changing something. To a large degree, fitting the neck to the
guitar body falls into a similar realm of problem solving.
The following details the things I have found to be crucial for an accurate expeditious
neck to body fit operation.
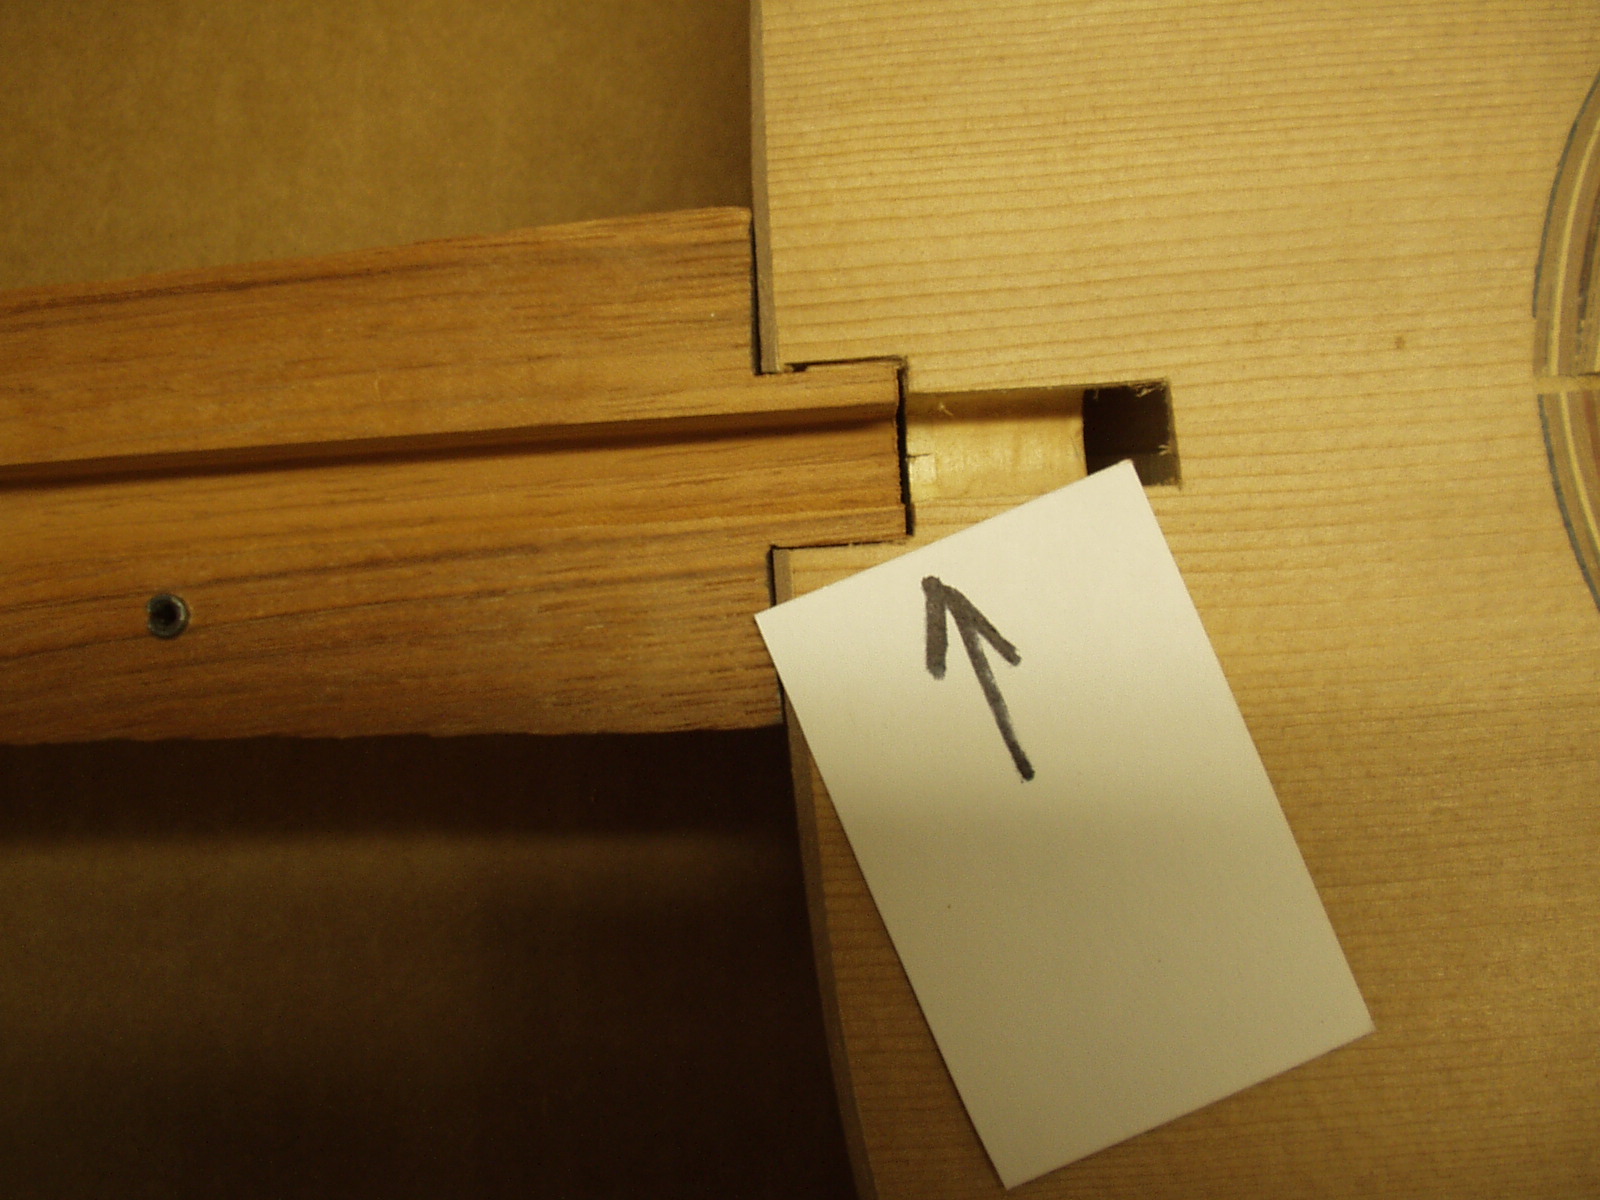
Make sure there is clearance at the
end of the tenon. The tenon does not
bottom against the neck block --- this
space is used for adjustment. Also, if
the neck is glued in place, the gap
provides a space to inject steam to
loosen the glue if a neck re-set is
necessary. (A different article).
end of the tenon. The tenon does not
bottom against the neck block --- this
space is used for adjustment. Also, if
the neck is glued in place, the gap
provides a space to inject steam to
loosen the glue if a neck re-set is
necessary. (A different article).
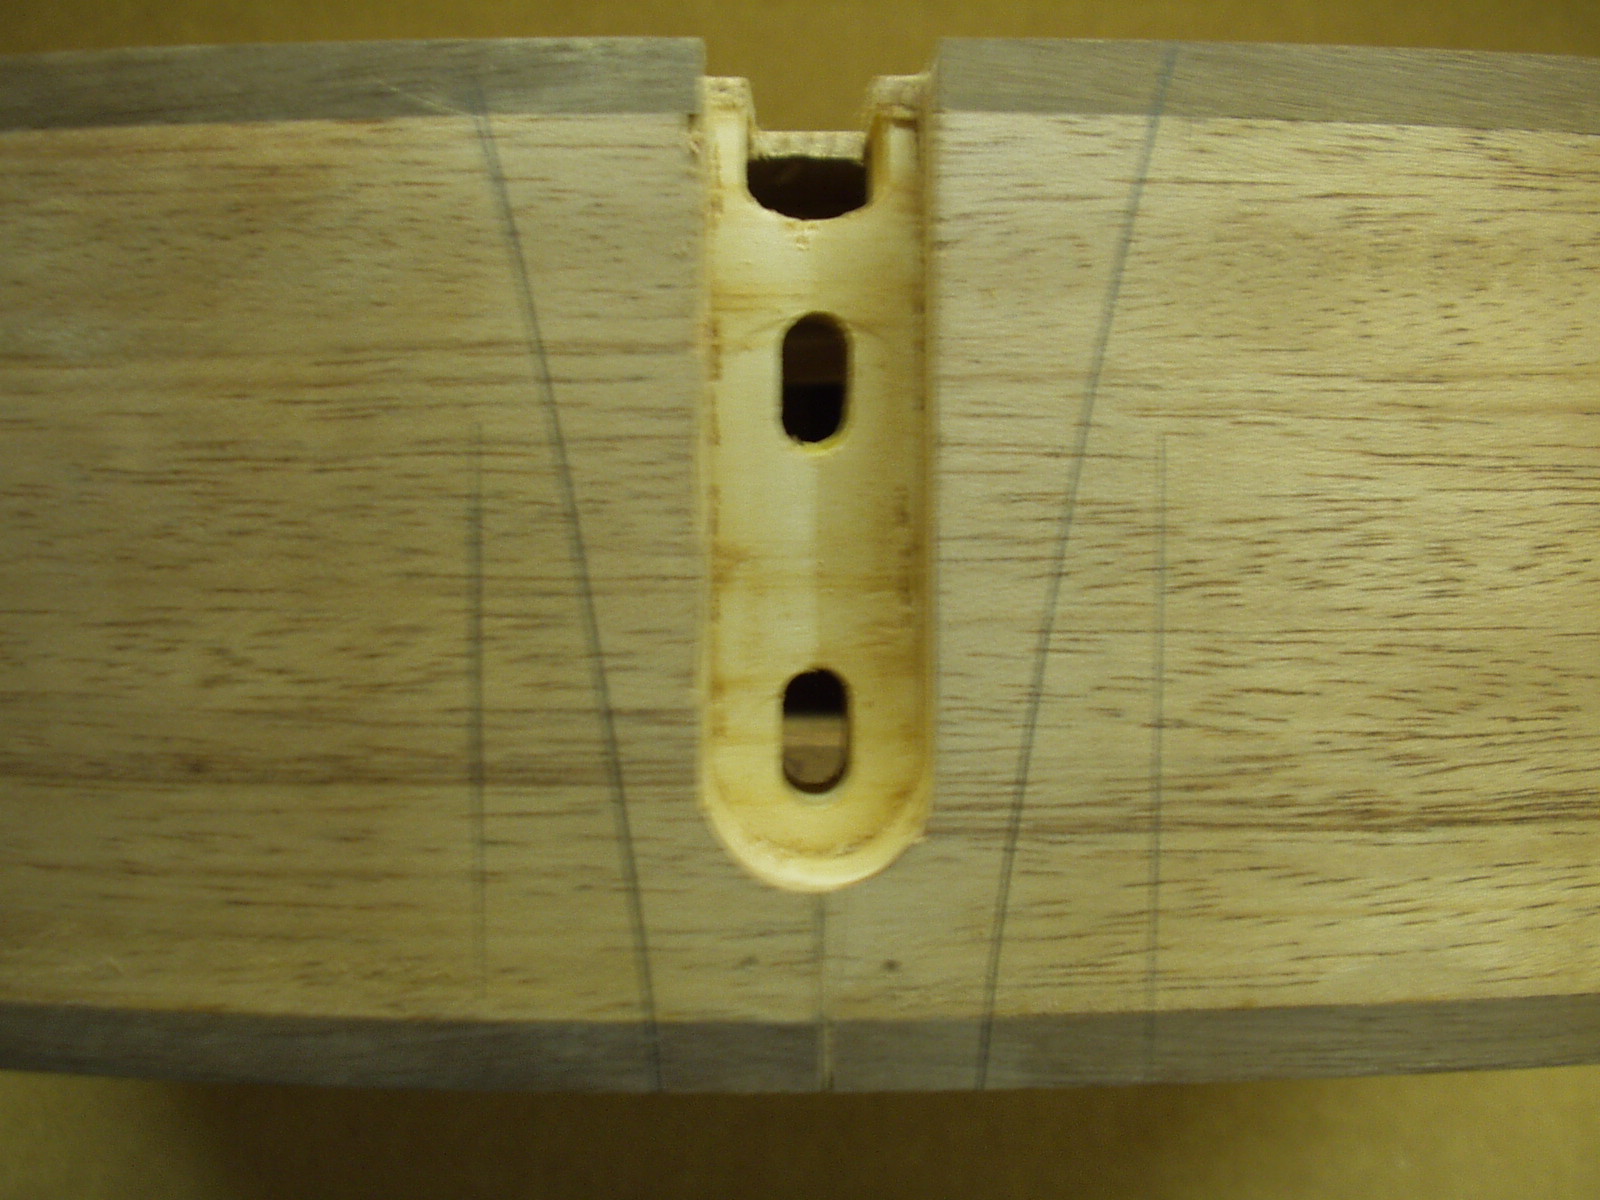
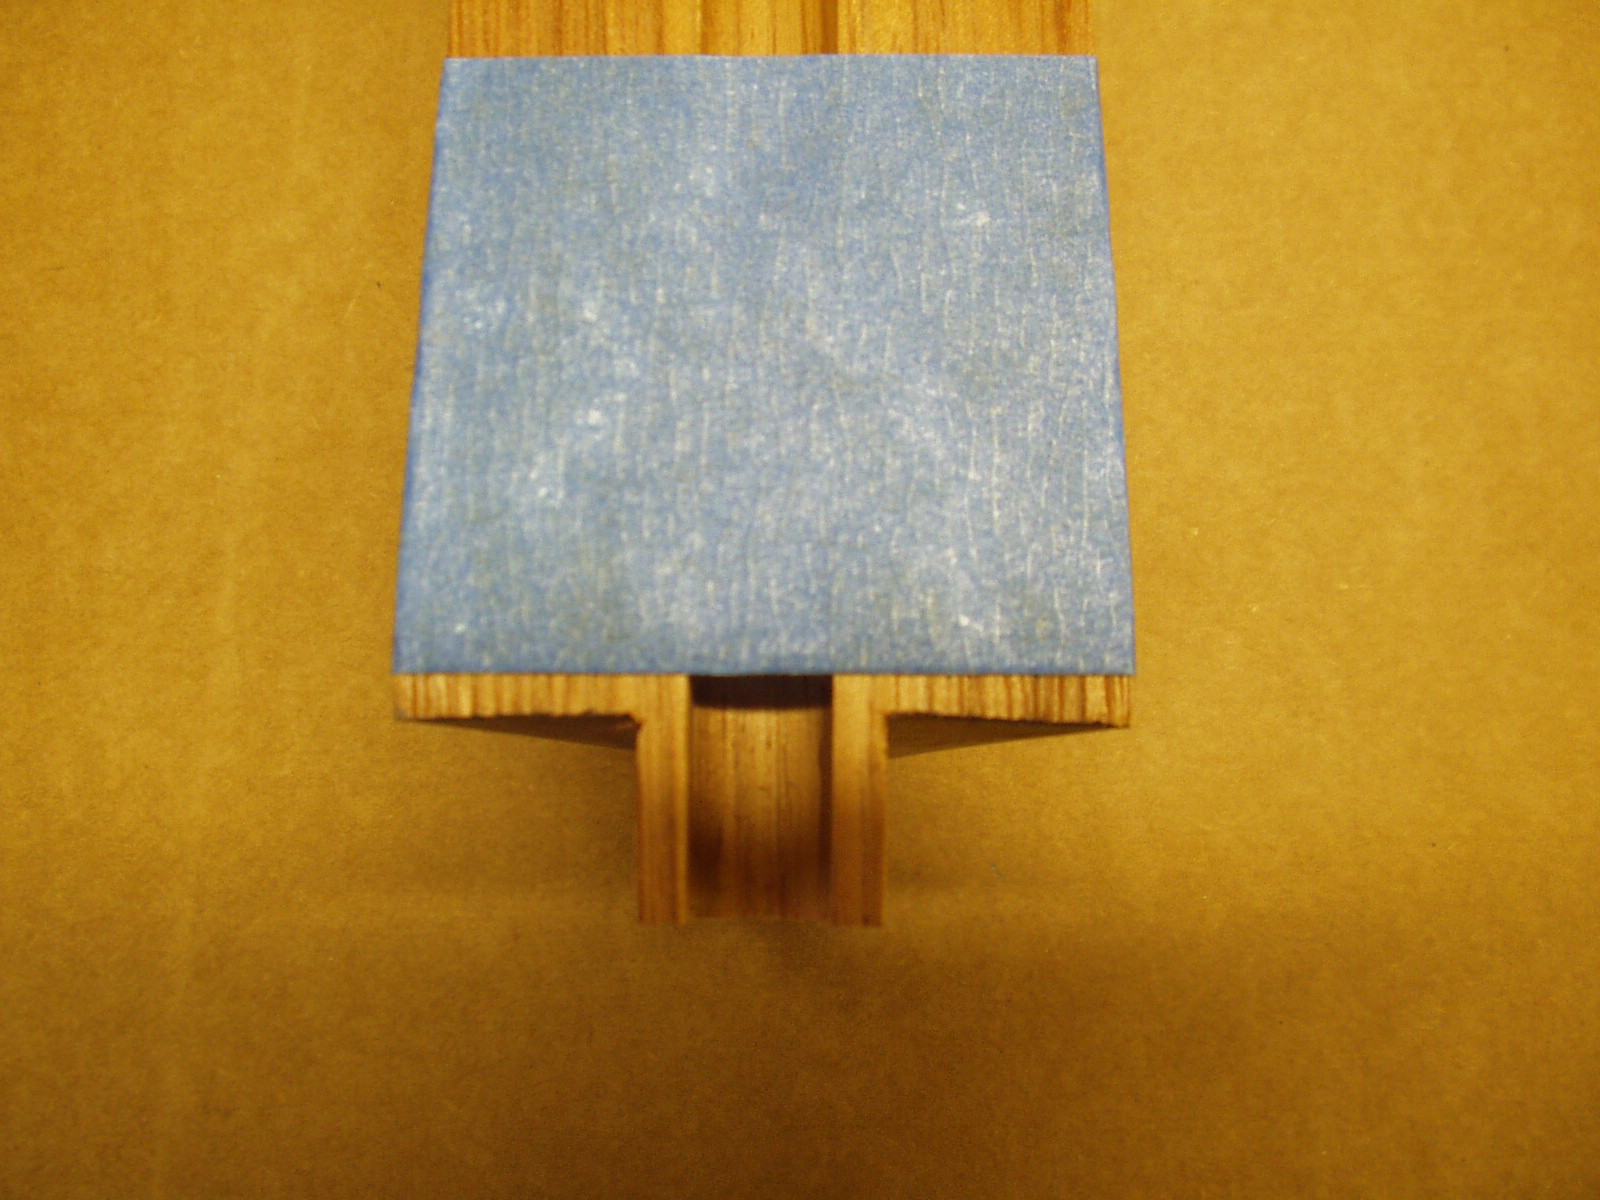
The area where the neck meets the
body must be dead flat. Use a flat
sanding board to accomplish this,
sanding top to bottom than side to side
(with the grain) to remove scratches.
body must be dead flat. Use a flat
sanding board to accomplish this,
sanding top to bottom than side to side
(with the grain) to remove scratches.
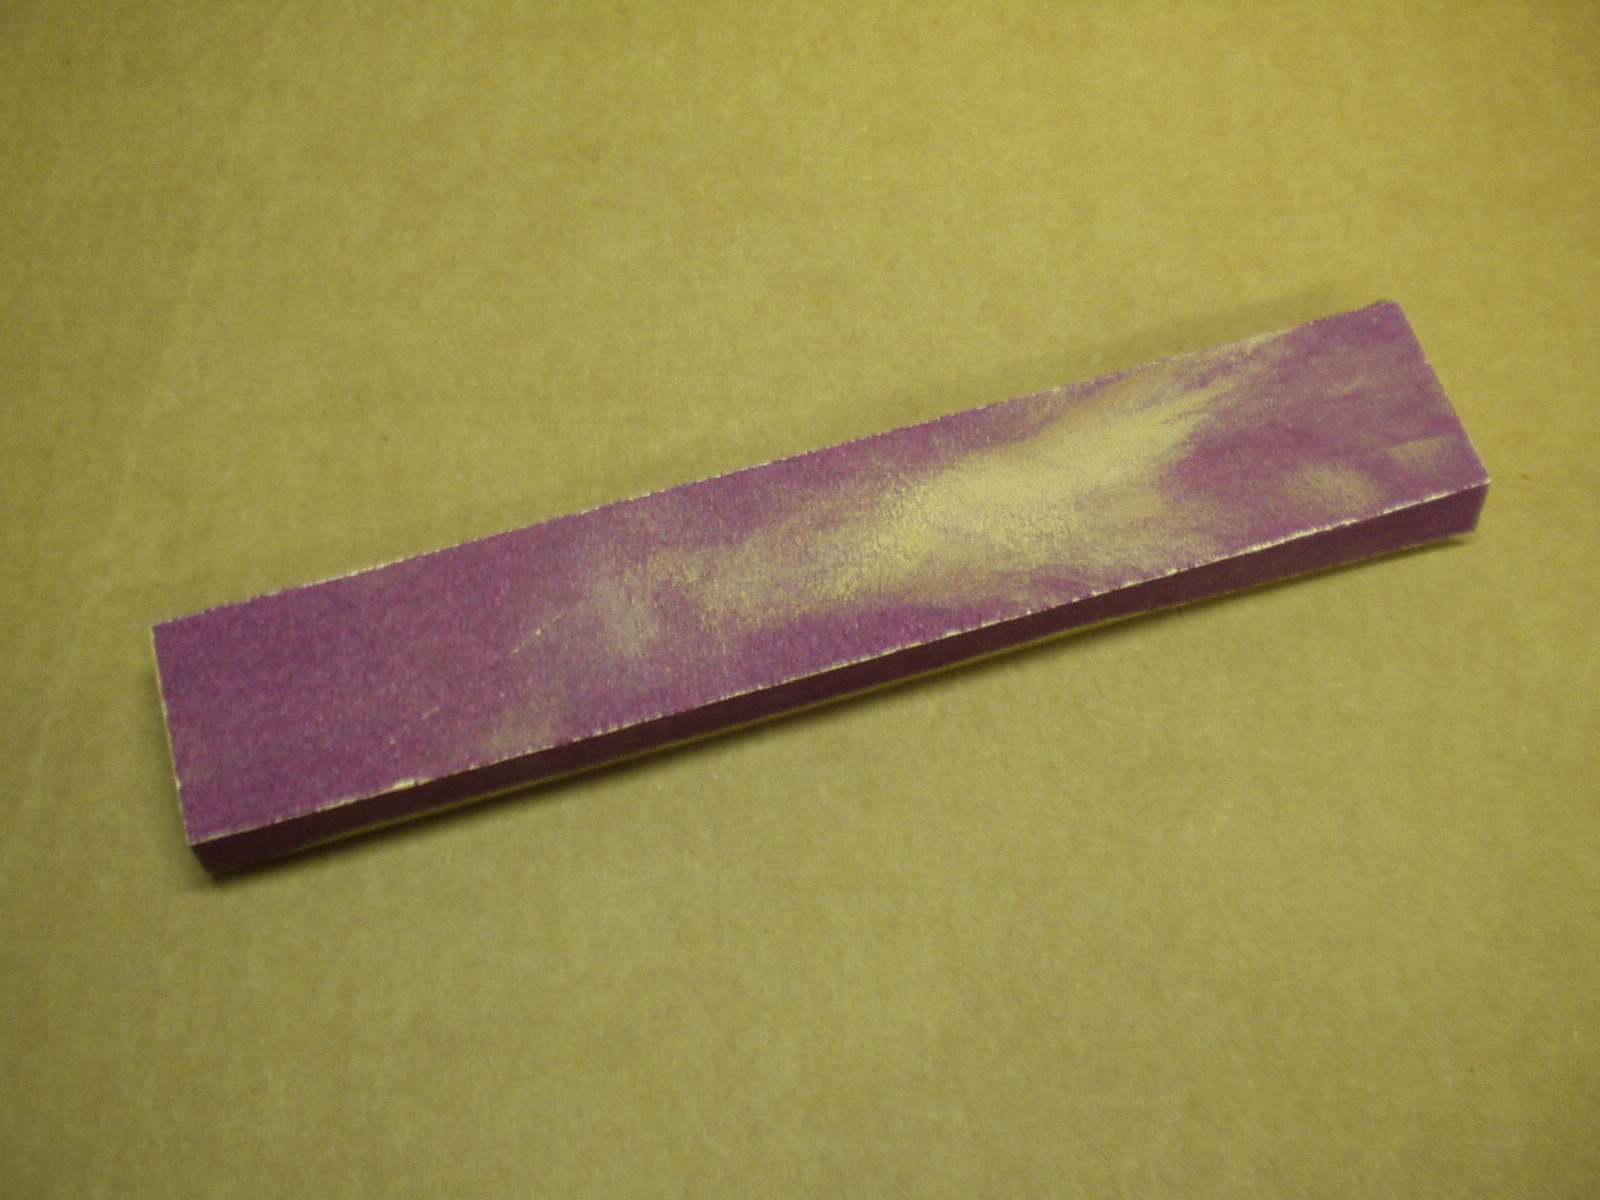


The"top to rim" angle in the neck
location must match your plans/ blue
print --- mine and I believe Martin
happens to be 91.3 +/- degrees. At
this point I recommend the adjustment
be accomplished by sanding the rim.
location must match your plans/ blue
print --- mine and I believe Martin
happens to be 91.3 +/- degrees. At
this point I recommend the adjustment
be accomplished by sanding the rim.
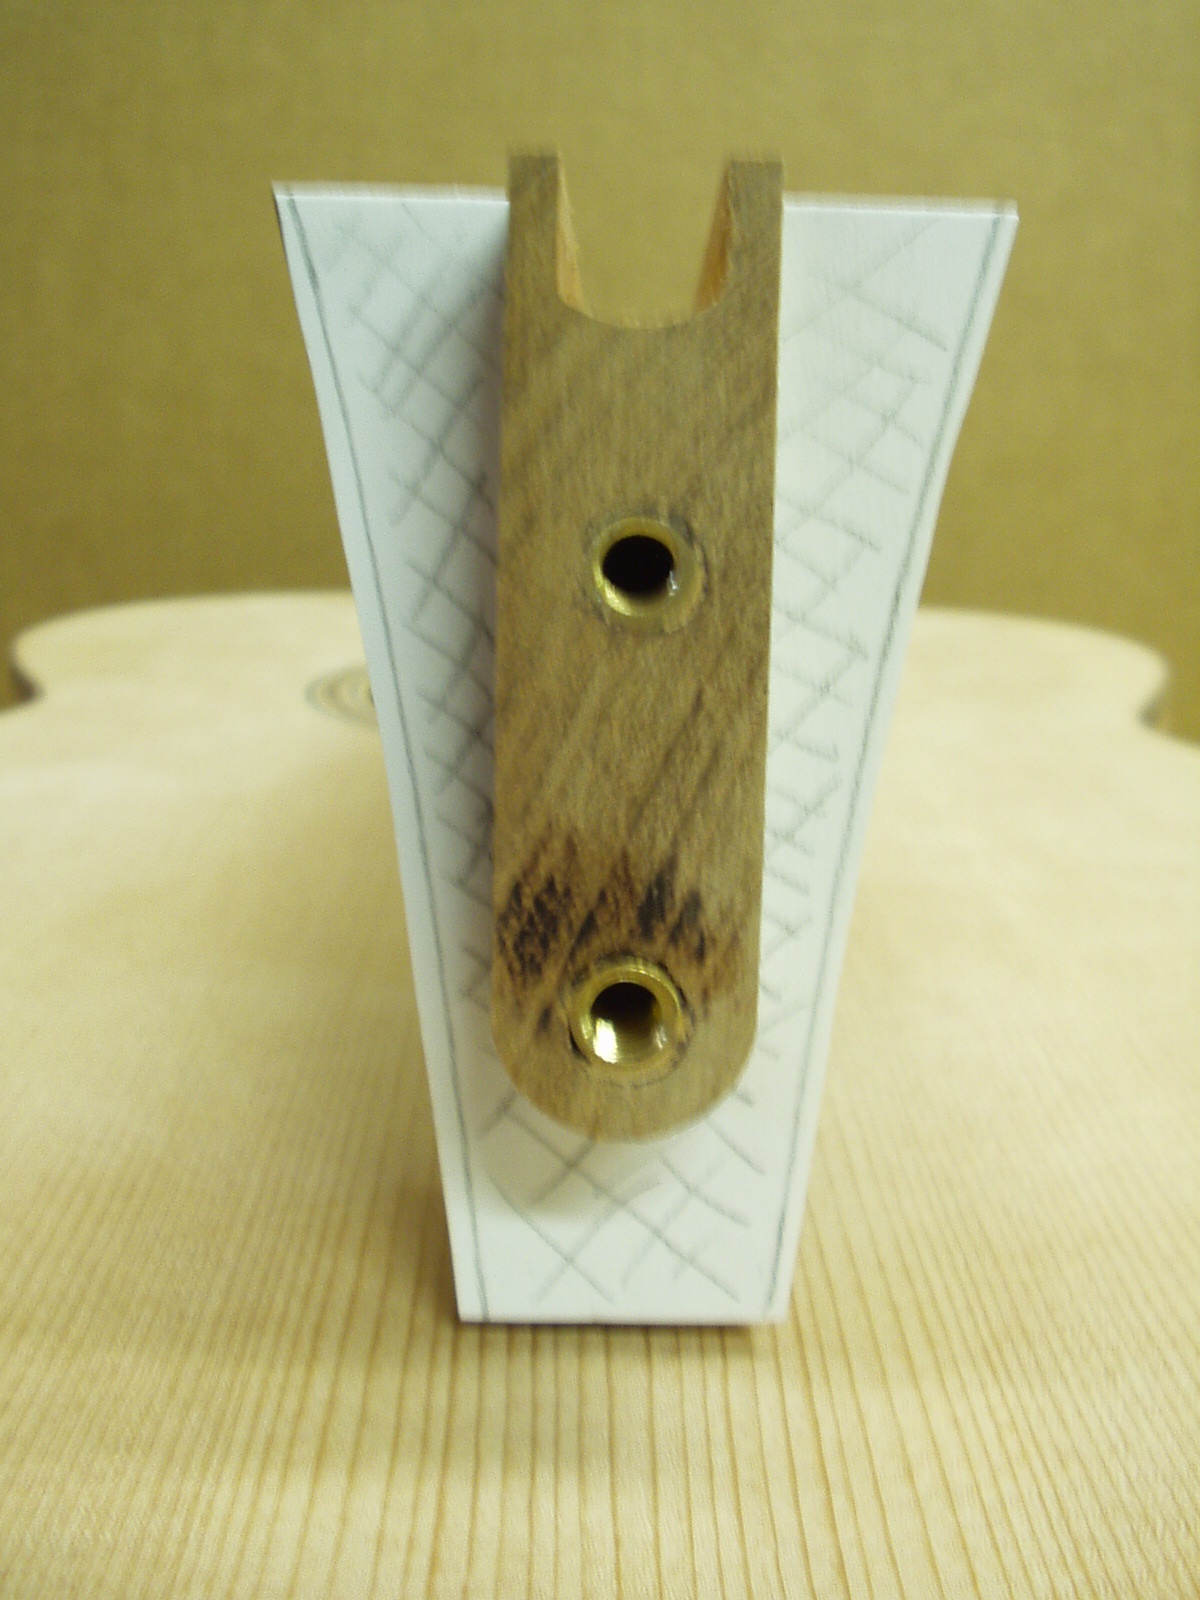
Trim the cheeks on the neck heel so
that they are dished in towards the
tenon (XXX) – leave about 1/8 to 3/32
untouched this is the surface that
actually contacts the body. The neck
manufacturer took great pains to get
this angle correct so only change it as
a last resort. KMG and Martin have the
cheeks machined at 89 degrees.Note:
that the (XXX) area extends all the way
to the end of the heel. The heel cap
will cover the slight taper that is
created.
Notice how the cheeks taper in toward
the tenon creating a relief area. The
magic here is, now you only have to
contend with the outer portion of the
heel to make perfect contact. There is
no need to be concerned about
making the entire end of the neck
conform to the body.
the tenon creating a relief area. The
magic here is, now you only have to
contend with the outer portion of the
heel to make perfect contact. There is
no need to be concerned about
making the entire end of the neck
conform to the body.
The simple analogy is like buying a set of tires for you car. The specification of the
tires must match the specification of the car. Its not likely you would modify the car
to make the tires work – you would first make sure they were compatible, and only
the thing to worry about is the minor adjustment of balancing. A similar comparison
holds true for the guitar body and neck --- I can draw a perfect guitar with my CAD
program because the dimensions and angles are correct --- So if the dimensions
and angles of the parts are correct they WILL match and fit properly.
OK – now we are ready to fit the neck. Go to Part #2
KMG "Success Kit" builders note
that during the rim assembly you
have already properly sloped the
top of the rim and neck block.
that during the rim assembly you
have already properly sloped the
top of the rim and neck block.