Kenneth Michael Guitars est.1978
| KMG "Success Kit" Neck Prep & Assembly |
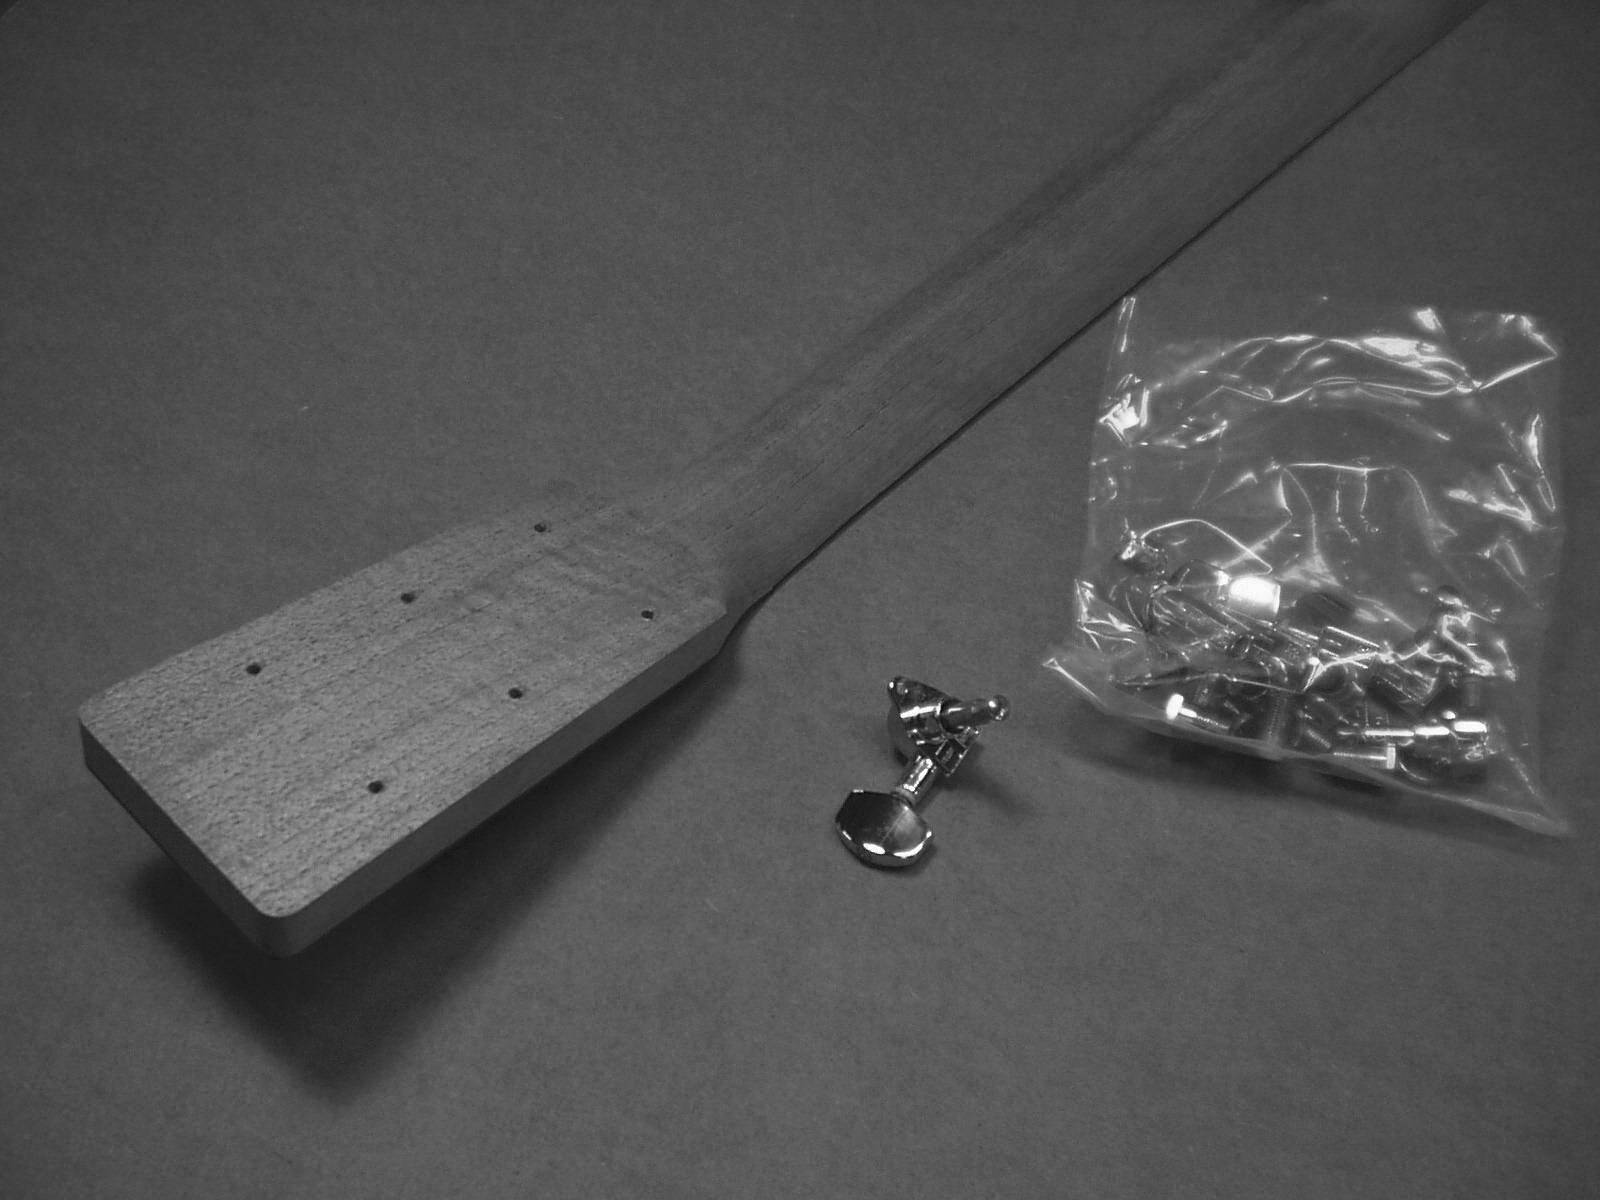
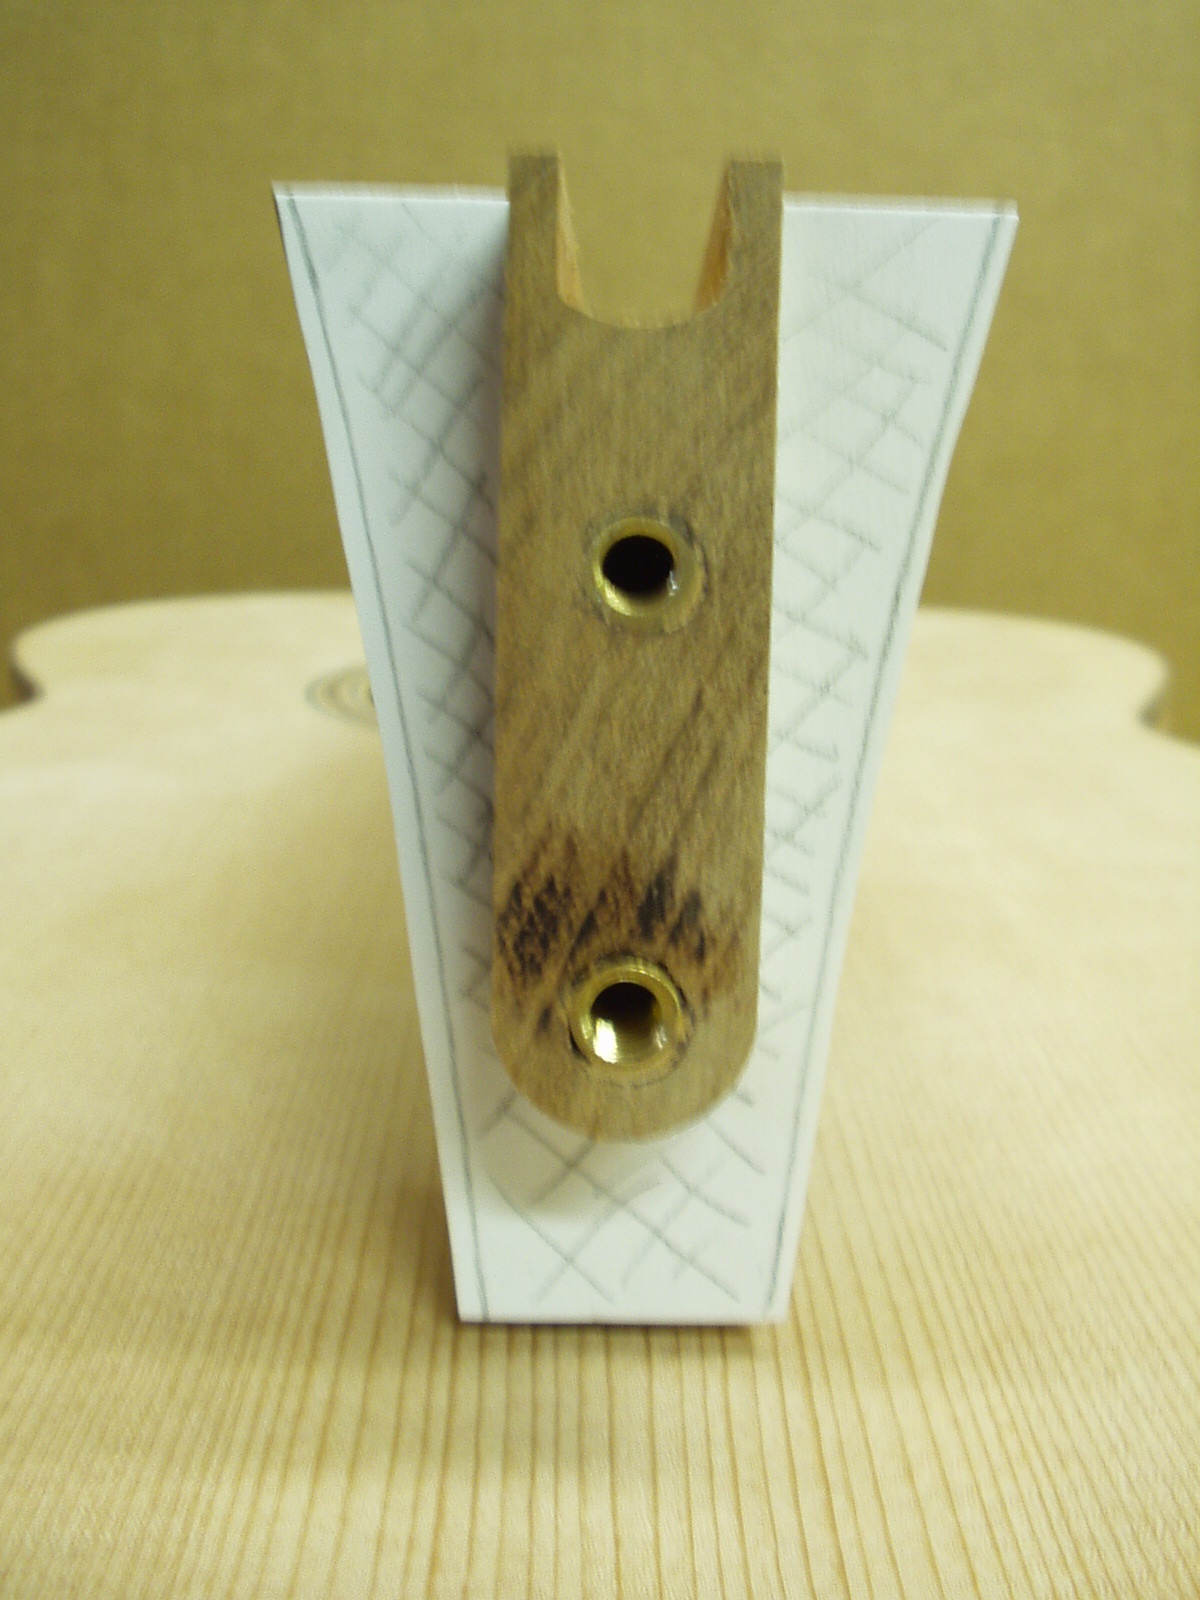
Depending on the specific kit package
KMG neck will come with tuning machine
holes pre-drilled, or must be marked and
pre-drilled using the supplied template.
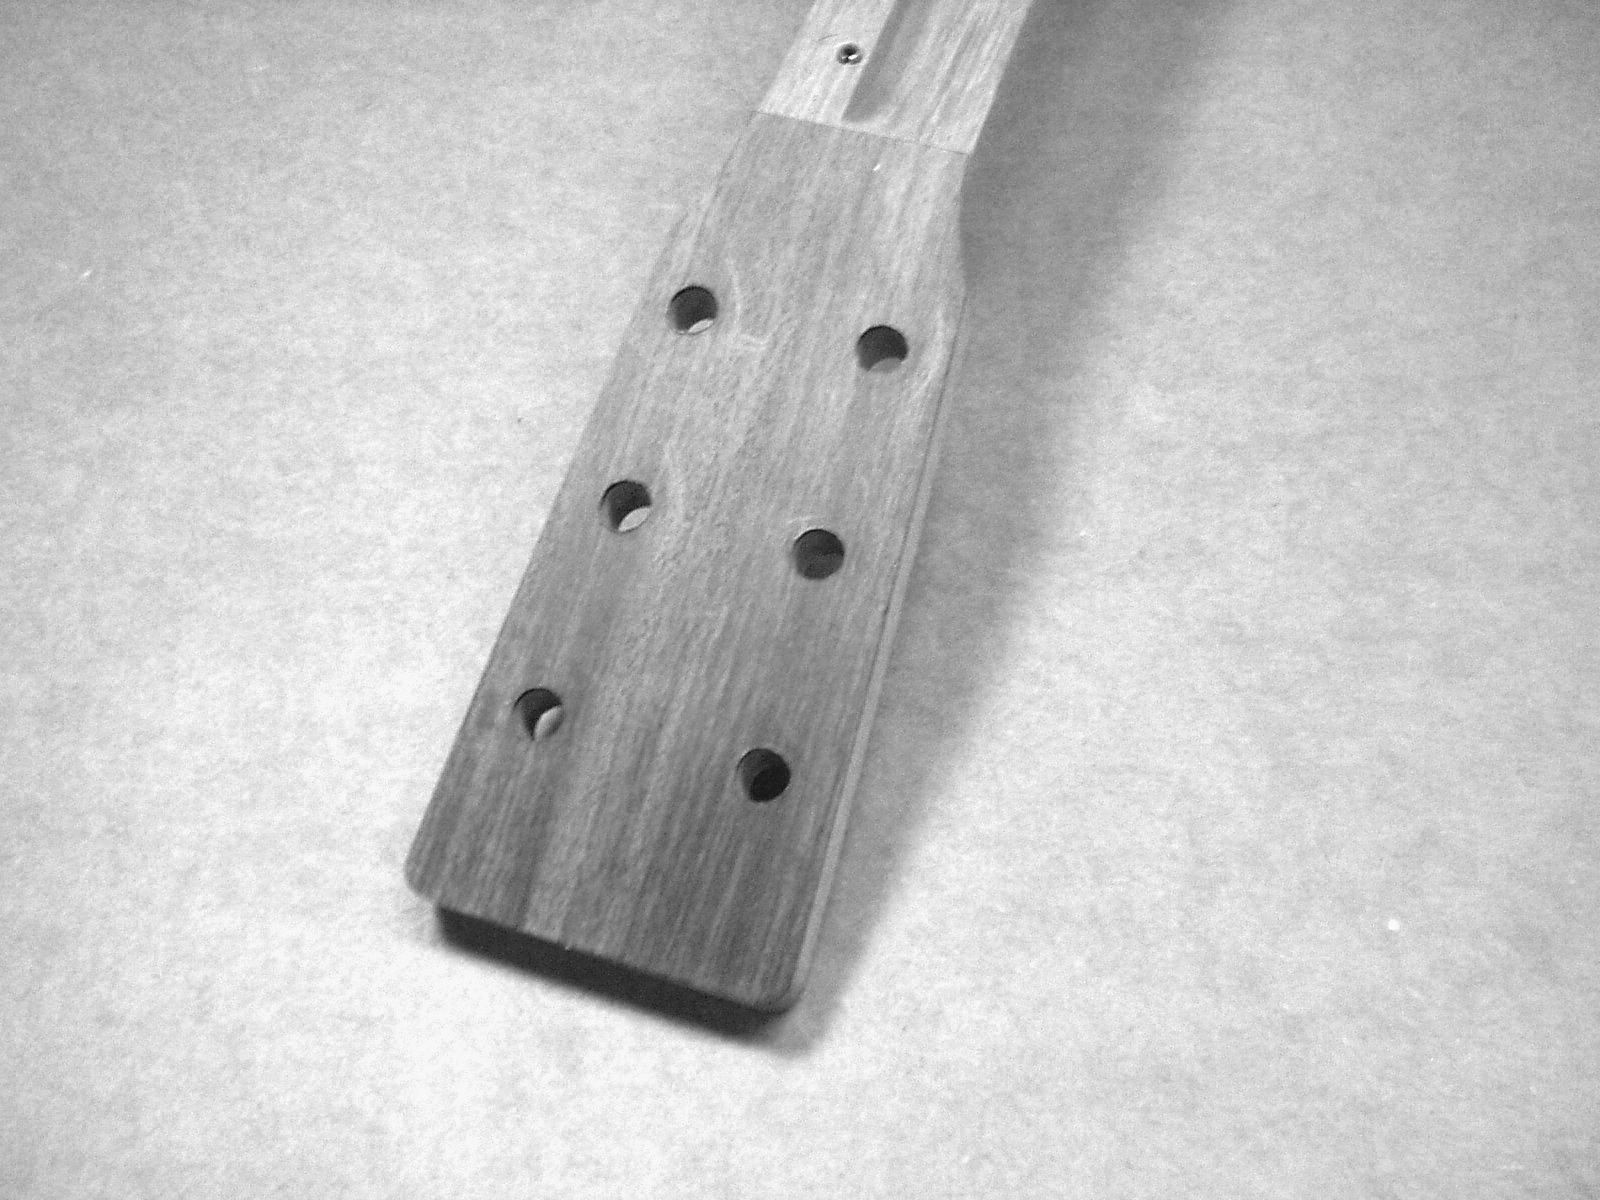
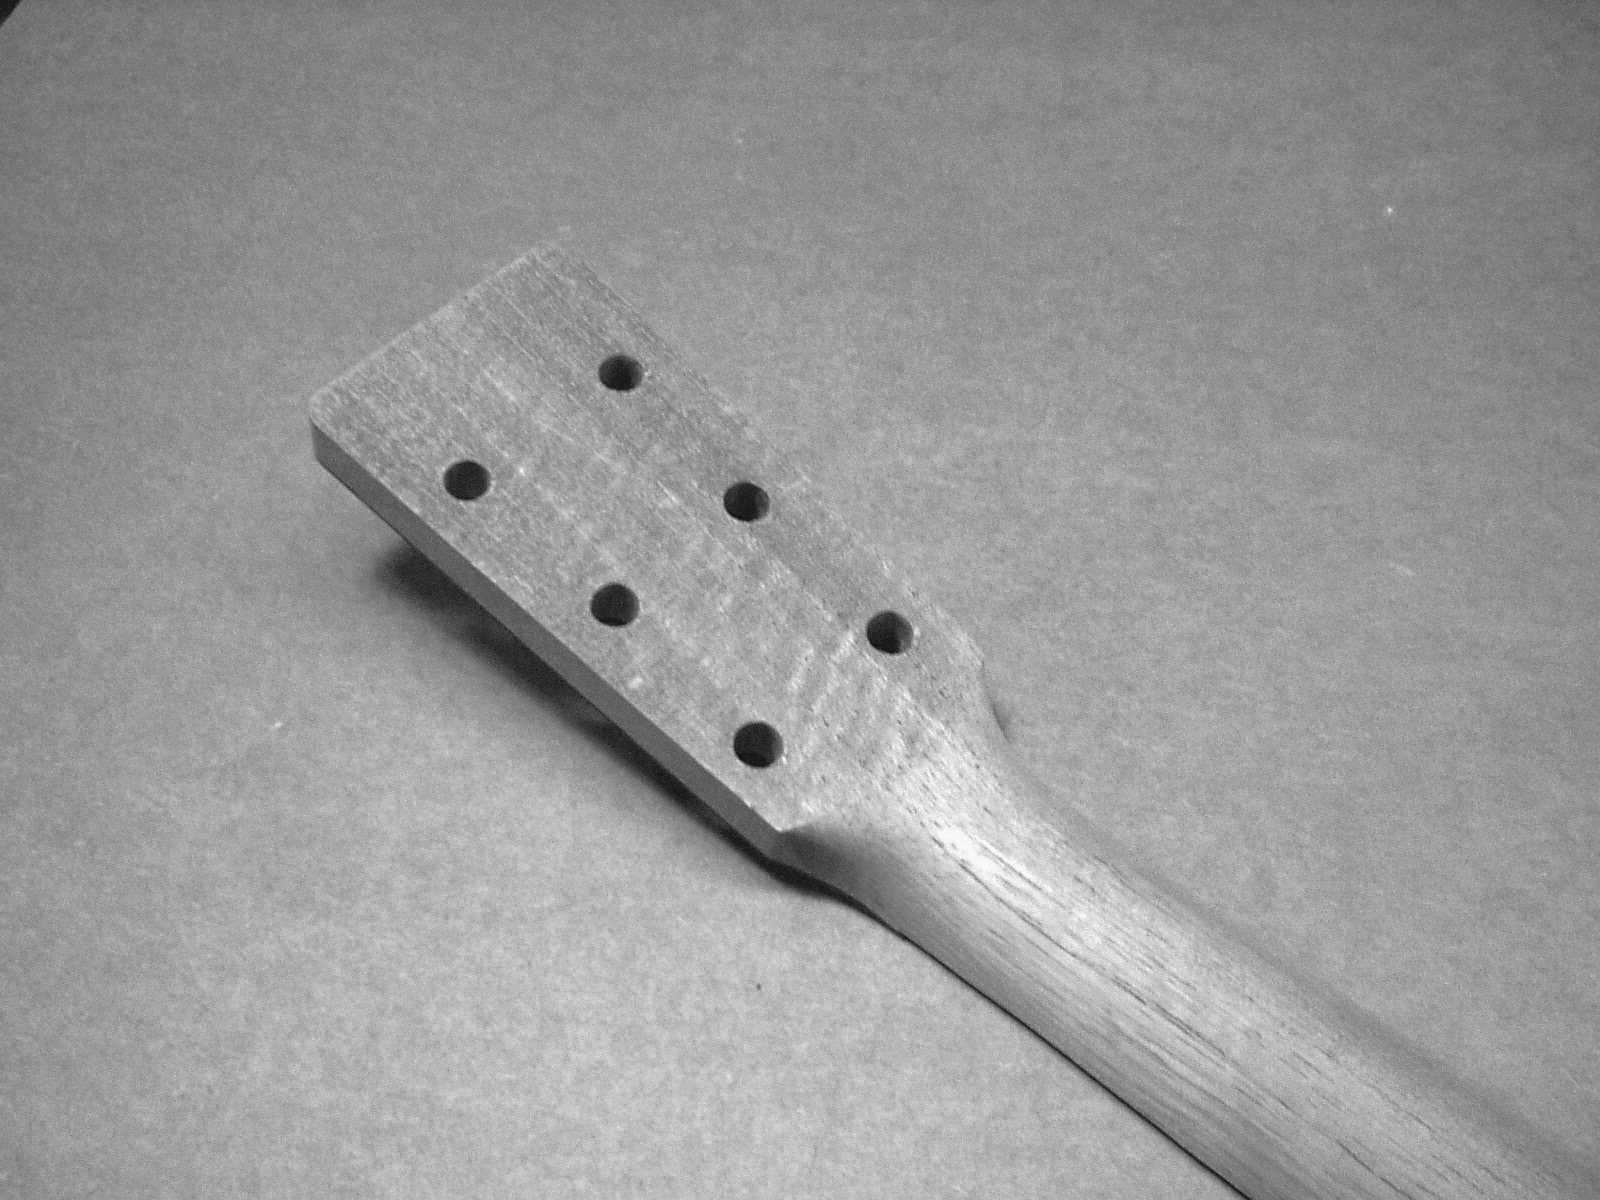
The KMG tuning machines supplied
require a 10mm (.390”) mounting hole. It
is best use a drill press and drill from the
veneer side of the peg head. A backer
board should be securely taped to the
back of the peg head to help prevent chip
out. It is best to drill to final size using
progressively larger diameter bits.
This will minimize chance of
wandering off location
KMG neck will come with tuning machine
holes pre-drilled, or must be marked and
pre-drilled using the supplied template.
The KMG tuning machines supplied
require a 10mm (.390”) mounting hole. It
is best use a drill press and drill from the
veneer side of the peg head. A backer
board should be securely taped to the
back of the peg head to help prevent chip
out. It is best to drill to final size using
progressively larger diameter bits.
This will minimize chance of
wandering off location
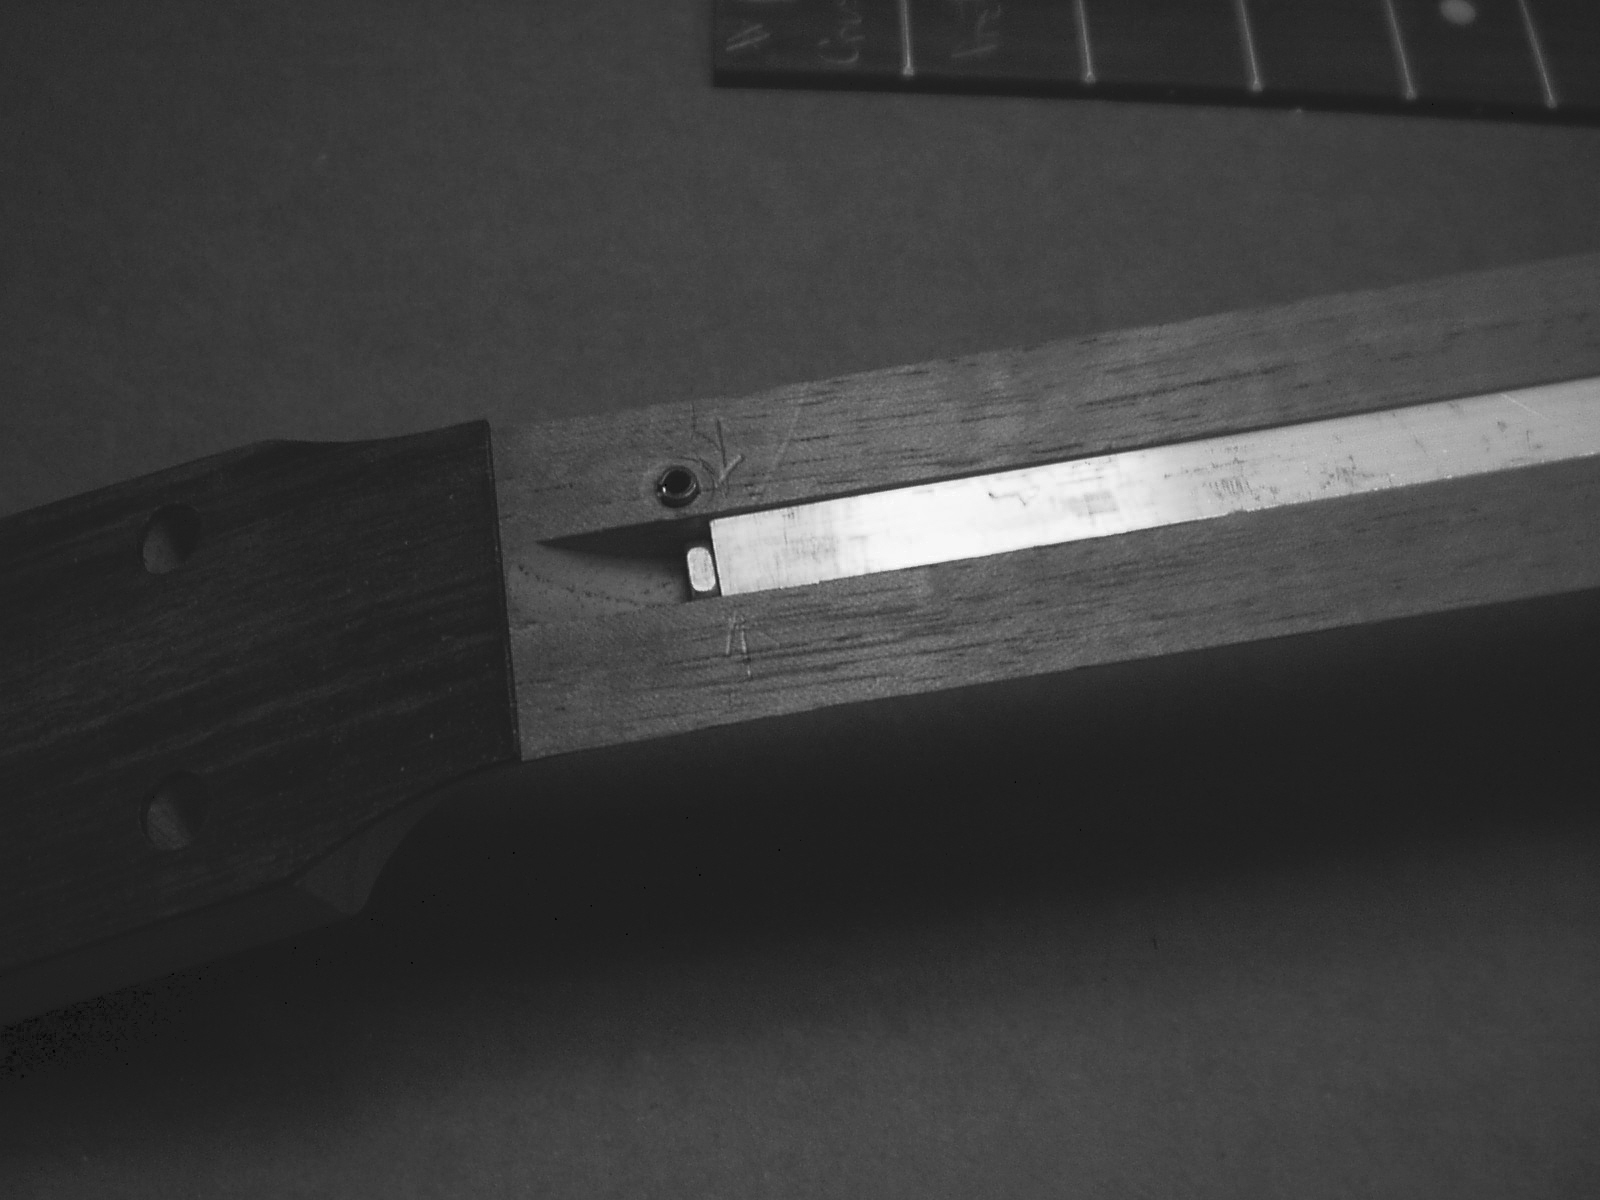
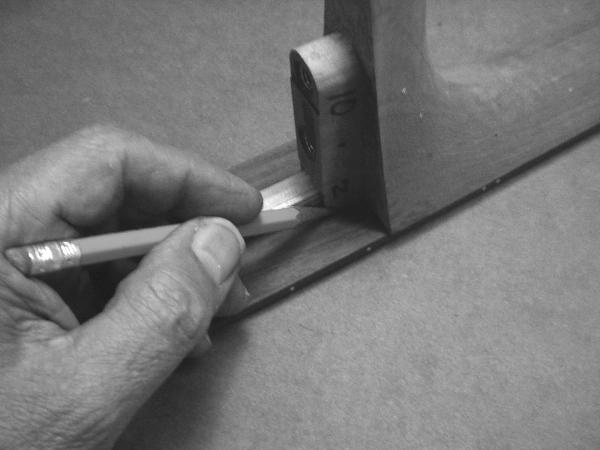
Prior to gluing the truss rod in place it
recommended that a mark is placed
on the neck to indicate the proper
clearance in the neck slot – if the rod
is too far toward the peg head it can
ride up on the slot channel and will
not be at the correct level.
recommended that a mark is placed
on the neck to indicate the proper
clearance in the neck slot – if the rod
is too far toward the peg head it can
ride up on the slot channel and will
not be at the correct level.
Some builders do not glue the truss rod in the belief that tension alone will prevent
movement. Just as a measure of insurance I recommend an application of Titebond to
keep things tight and stable this in turn helps in the prevention of buzz and rattles. Do not
get any glue on the paper covering – note that the paper side goes down into the slot.
movement. Just as a measure of insurance I recommend an application of Titebond to
keep things tight and stable this in turn helps in the prevention of buzz and rattles. Do not
get any glue on the paper covering – note that the paper side goes down into the slot.
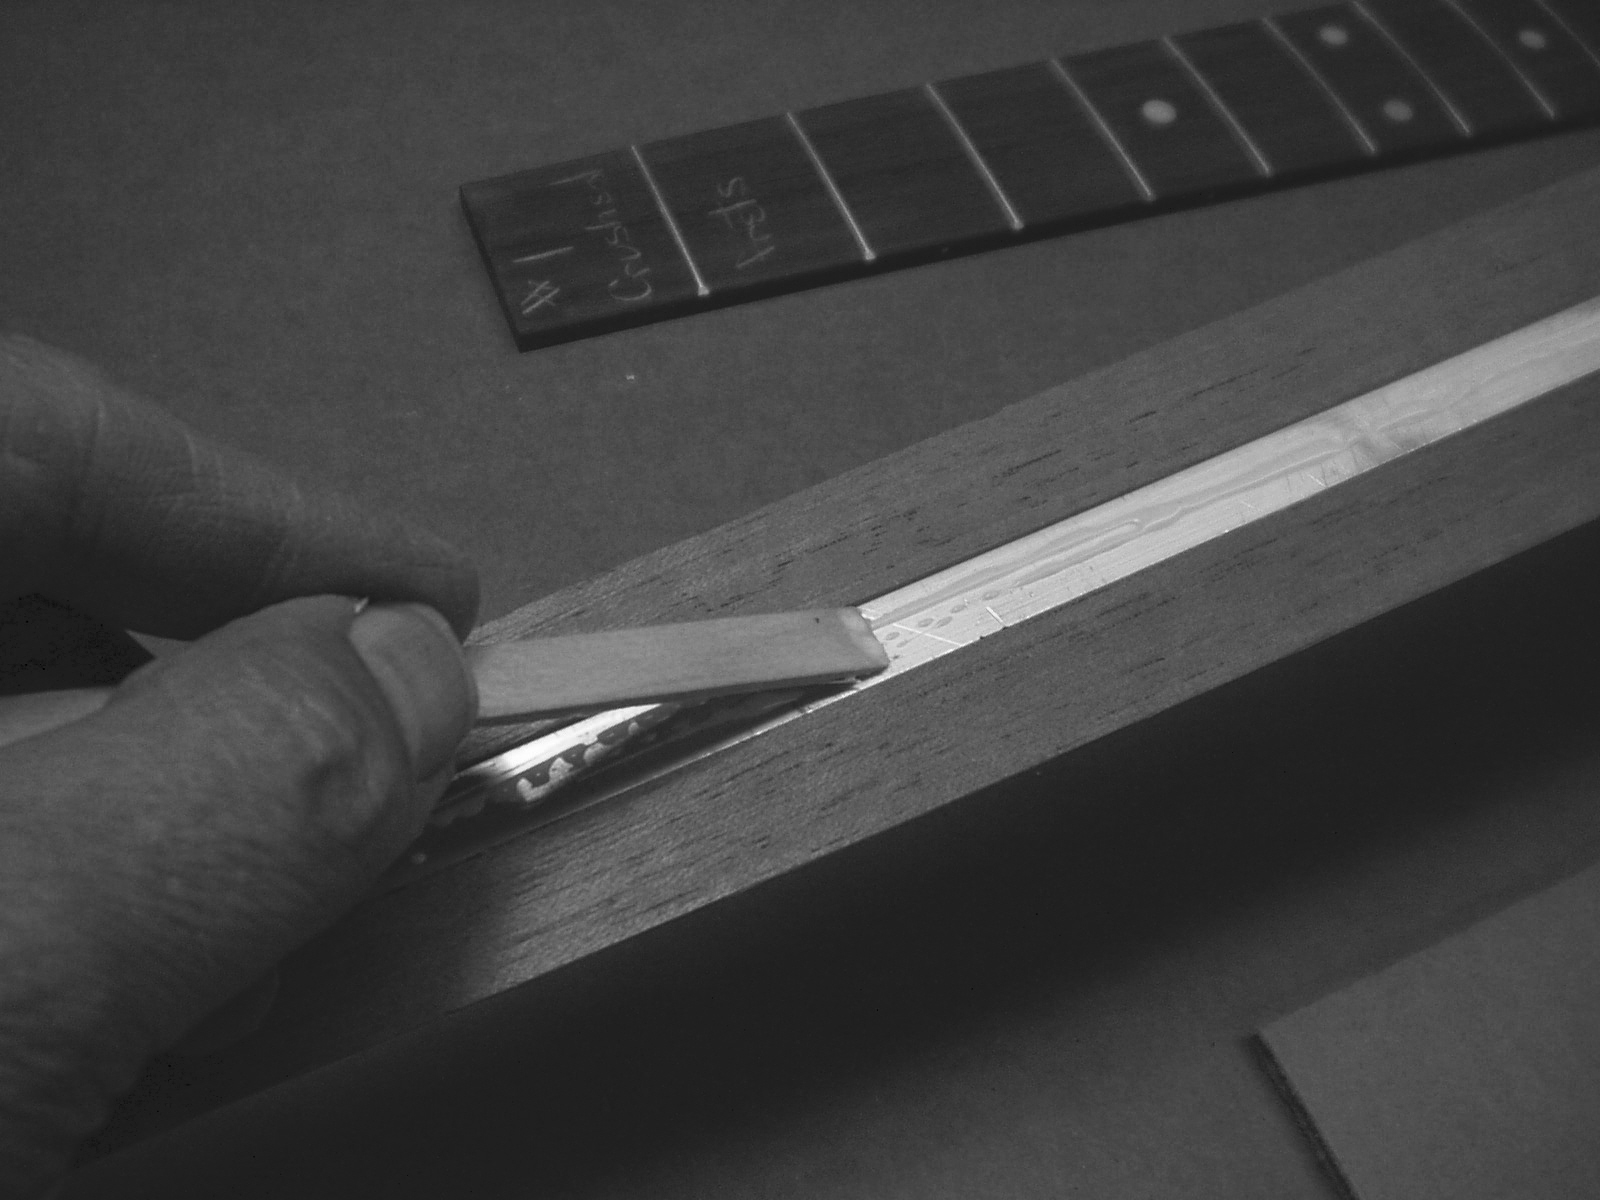
The veneer filler is now glued to the to of the truss rod. Apply a thin layer of Titebond,
position the filler, craft sticks and masking tape can be used to hold the filler in lace until
dry.
position the filler, craft sticks and masking tape can be used to hold the filler in lace until
dry.
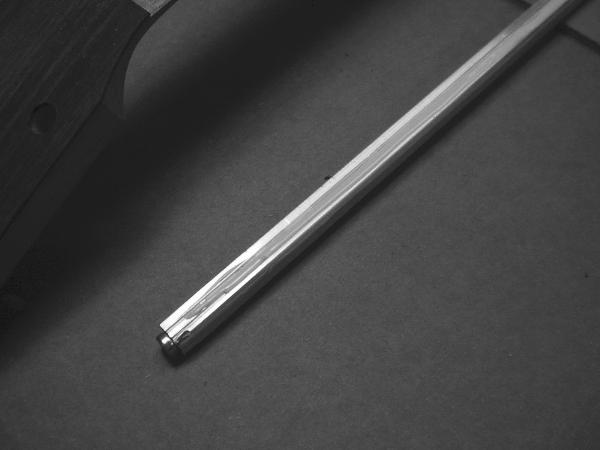
Once the glue dries use a scraper
blade to level the filler to the
fingerboard surface. This is a very
important step – a high spot will cause
mis-alignment when gluing the
fingerboard to the neck.
blade to level the filler to the
fingerboard surface. This is a very
important step – a high spot will cause
mis-alignment when gluing the
fingerboard to the neck.
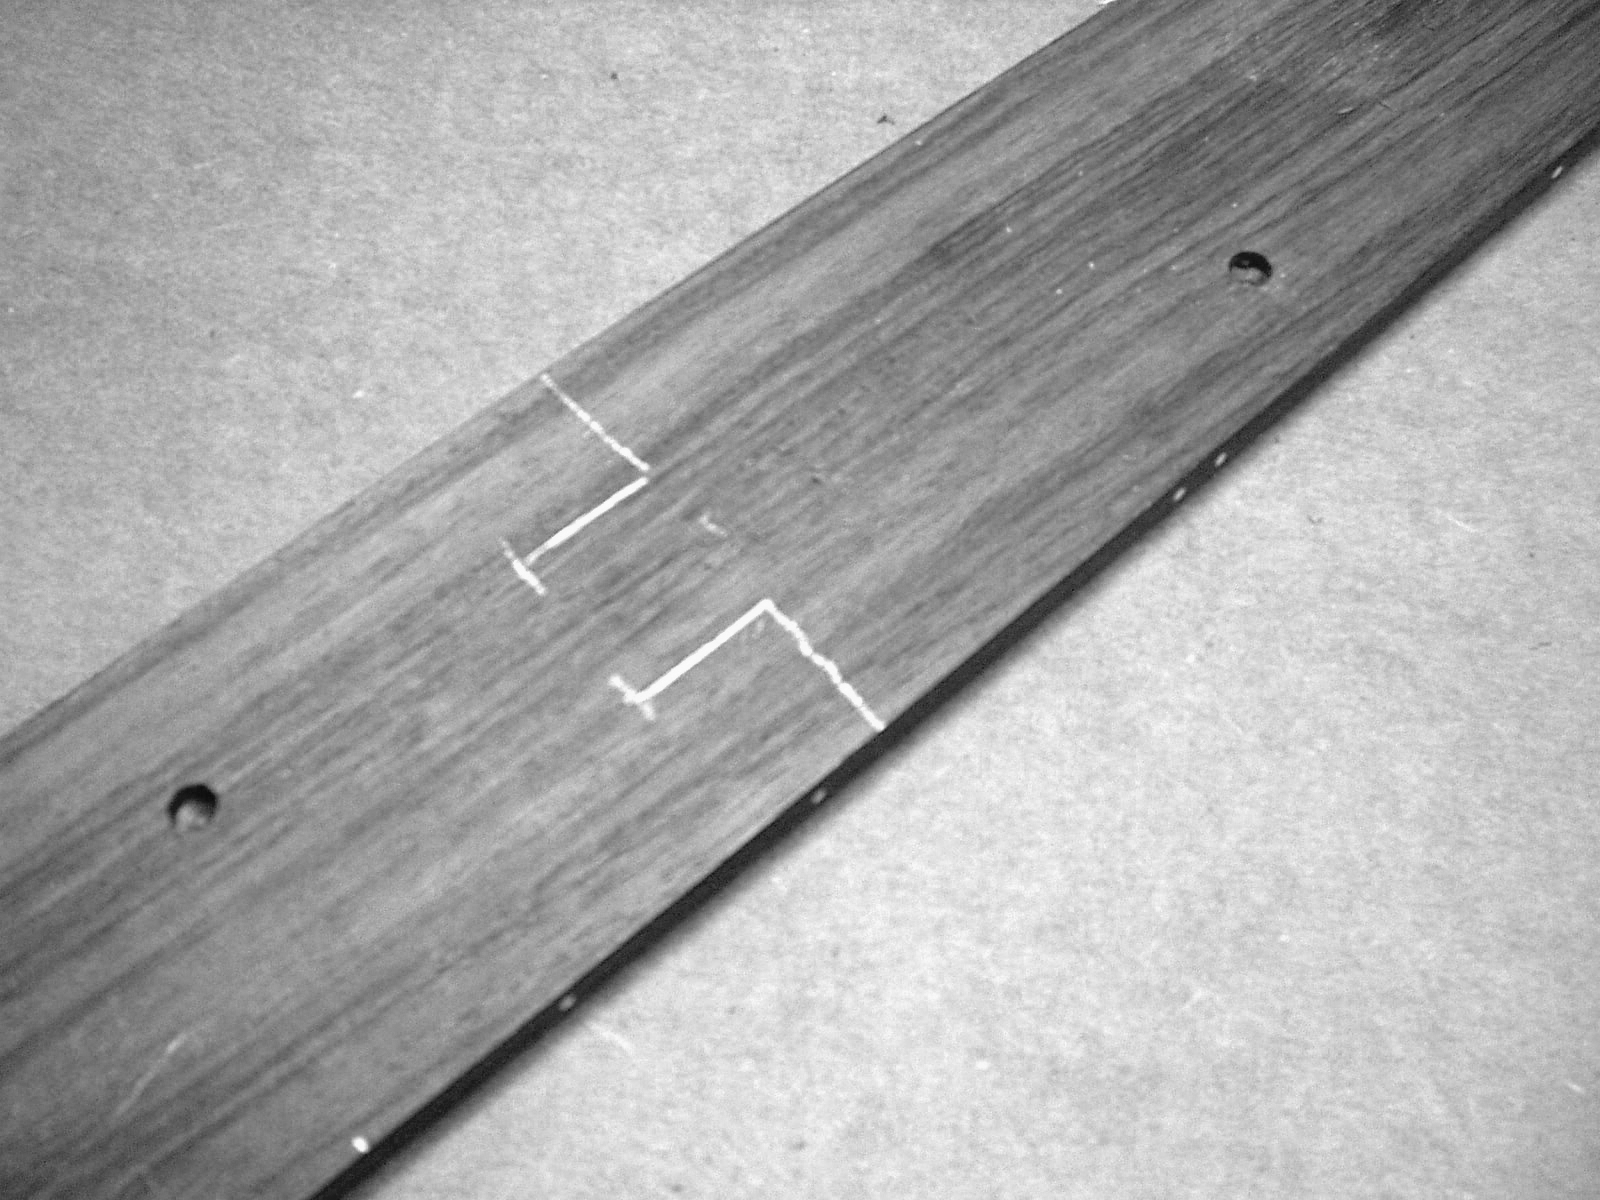
Since the glue we are using has a high percentage of water, care must to taken to
apply a balanced amount of the product. Our aim is a good bond without the worry of
warping the neck or fingerboard. There is no need to apply glue to the fingerboard
extension. Mark off this area.
apply a balanced amount of the product. Our aim is a good bond without the worry of
warping the neck or fingerboard. There is no need to apply glue to the fingerboard
extension. Mark off this area.
Guidelines in place
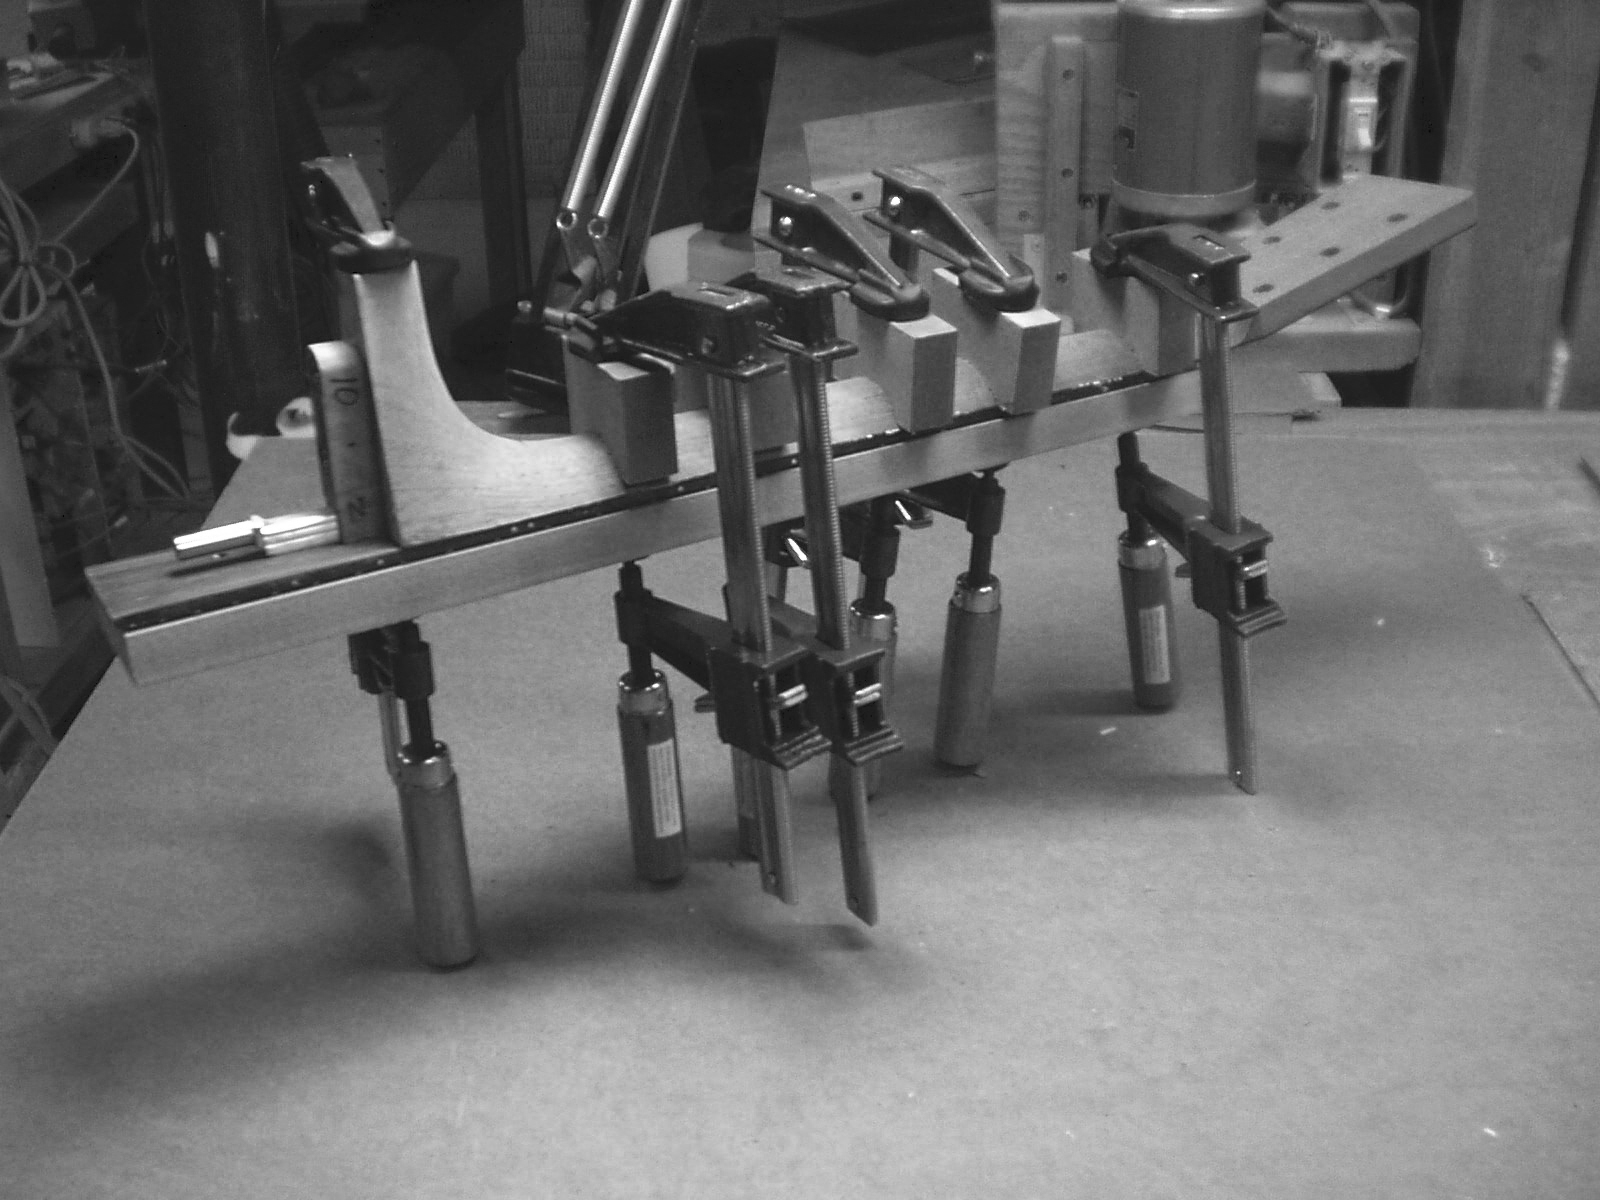
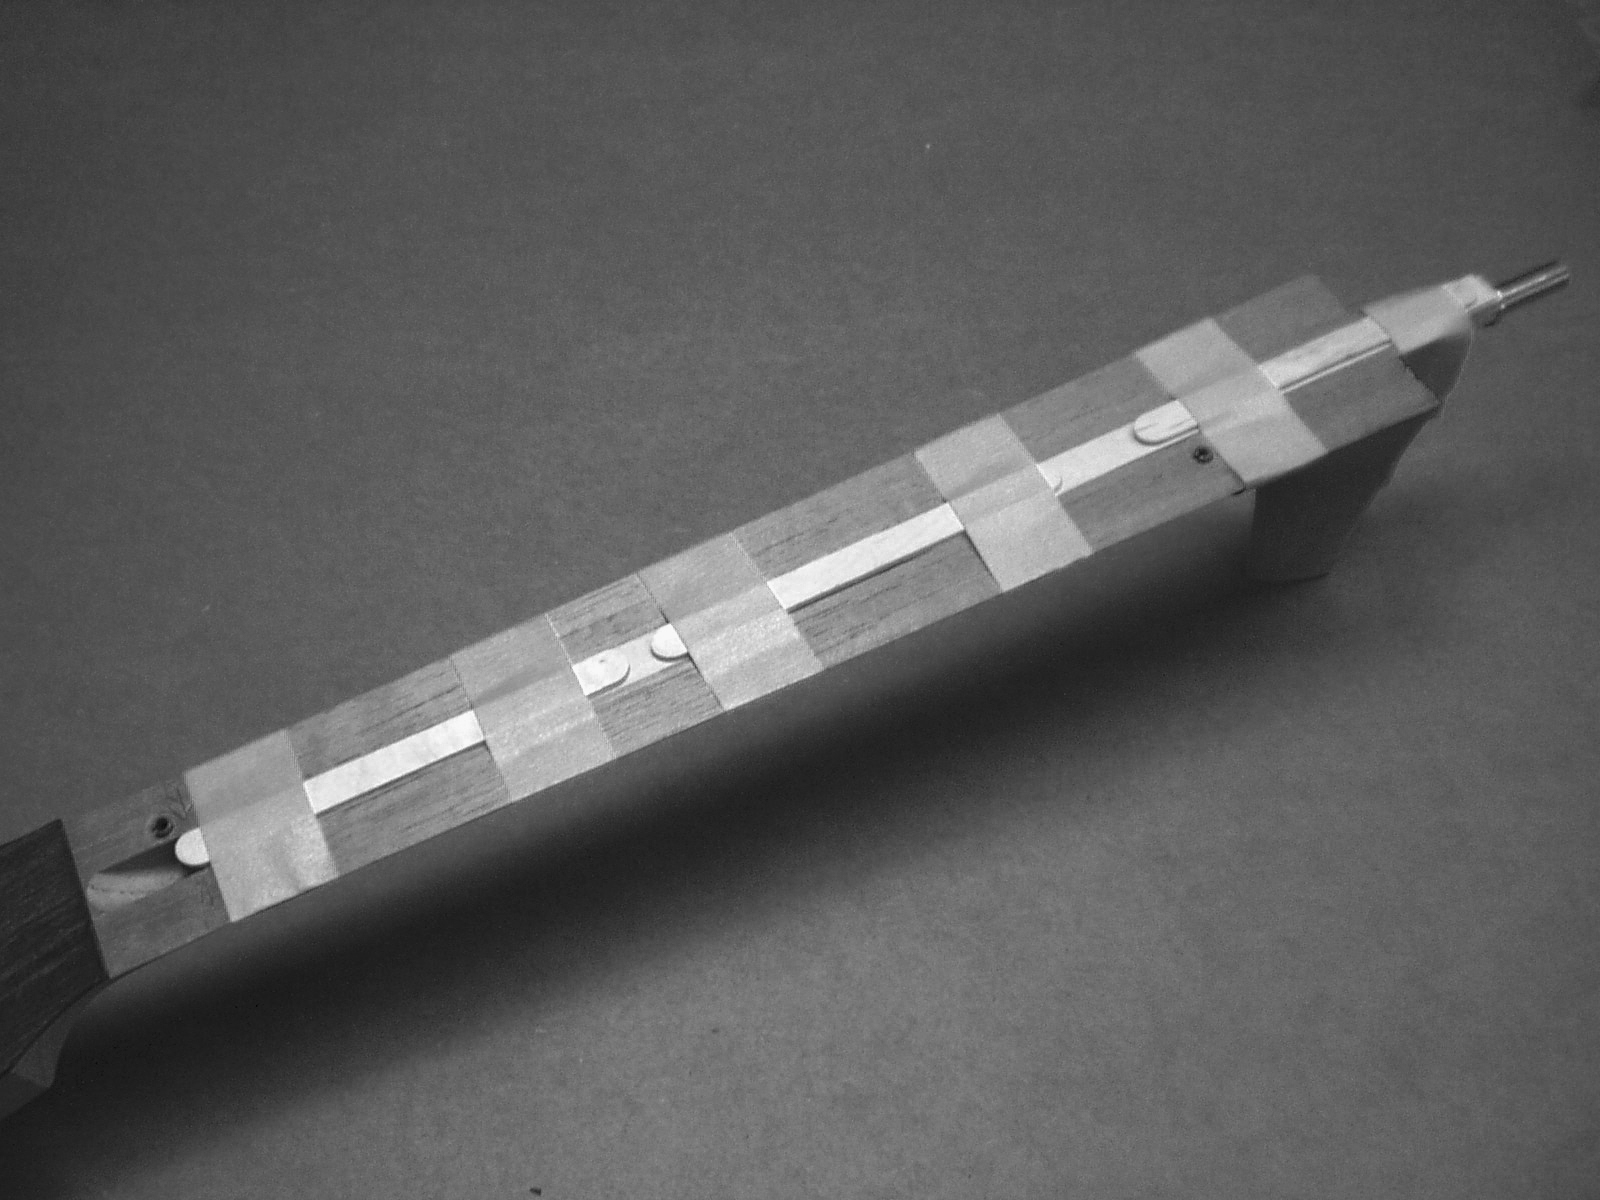
Apply several layers of 1/2" wide tape
along the edges of the finger-board caul,
this build up will serve to form a
contoured surface which will help to
compress the FB against the neck more
uniformly. As with all gluing operations
make a test run of the clamping set up.
Note the use of the contoured cauls on
the neck and the fingerboard.
Carefully apply a THIN layer of glue to the neck surface and the finger. Position the
fingerboard and apply the clamps. Clean up as much of the glue squeeze as possible
with out disturbing the clamps
fingerboard and apply the clamps. Clean up as much of the glue squeeze as possible
with out disturbing the clamps
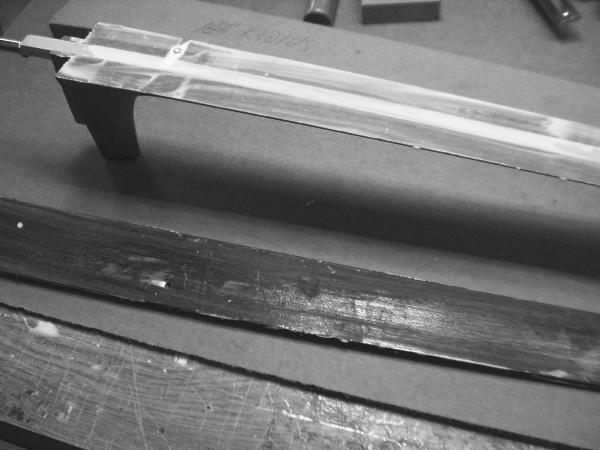
It is best to let this assembly dry
overnight to allow the components to
stabilize
overnight to allow the components to
stabilize
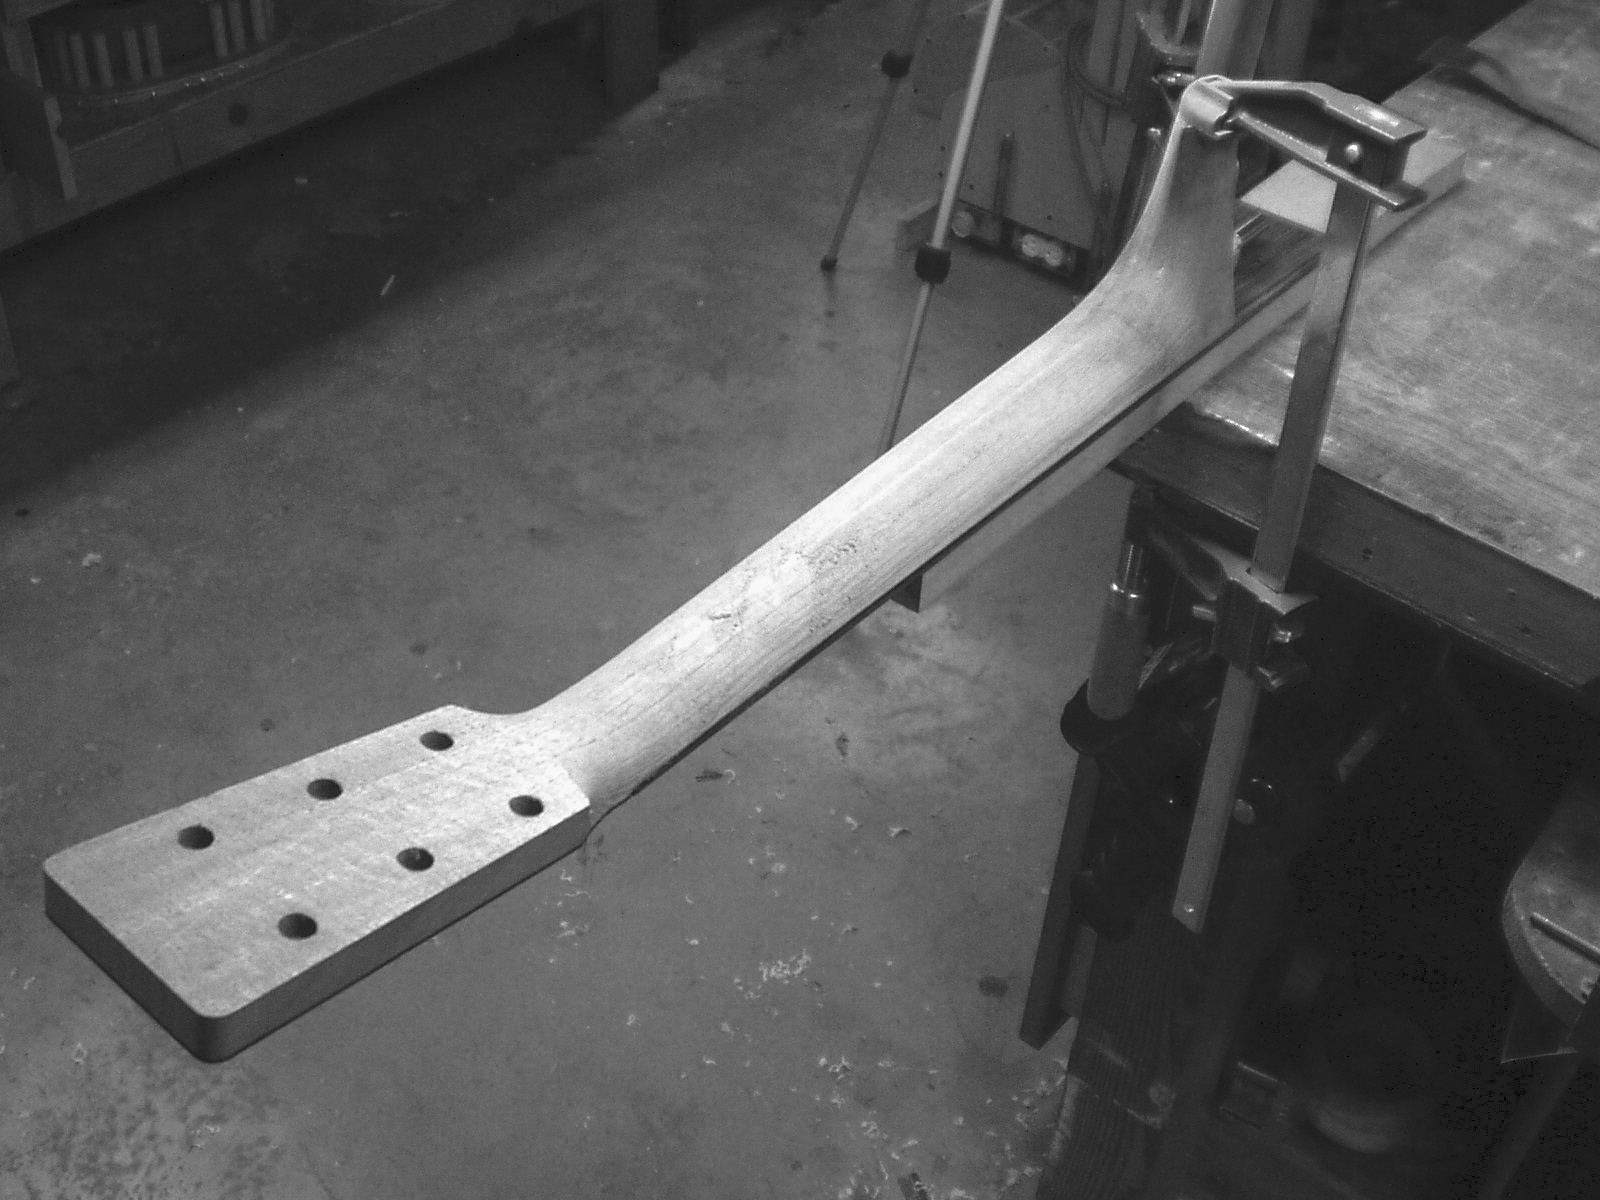
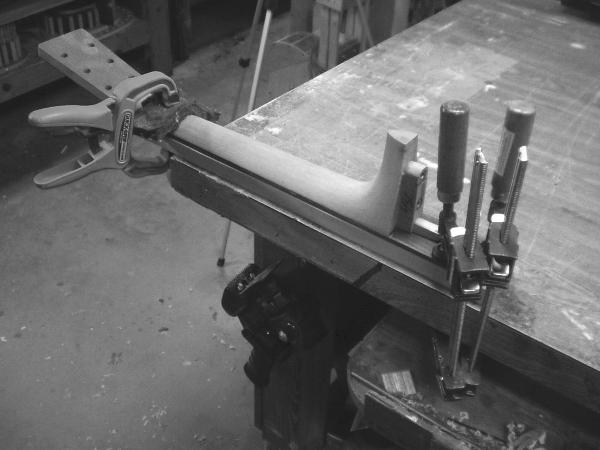
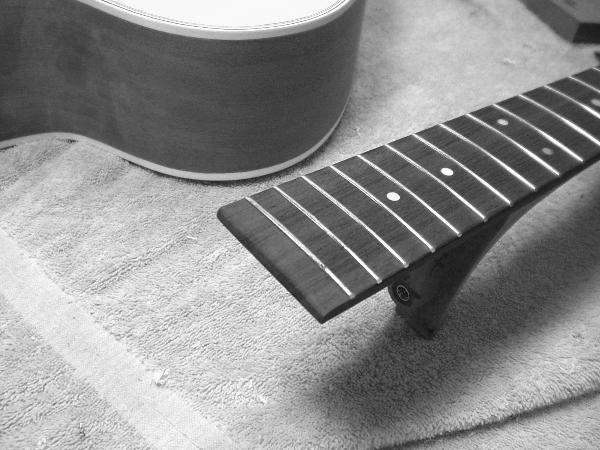
The fingerboard-clamping caul is a multi-tasking device, now we are going to use it to
support the neck assembly for final shaping. I have found that using a corner of the
workbench is a good location to set up the shaping operation. Align the caul (support) in
such a way so it is clear of the edge of the fingerboard.
support the neck assembly for final shaping. I have found that using a corner of the
workbench is a good location to set up the shaping operation. Align the caul (support) in
such a way so it is clear of the edge of the fingerboard.
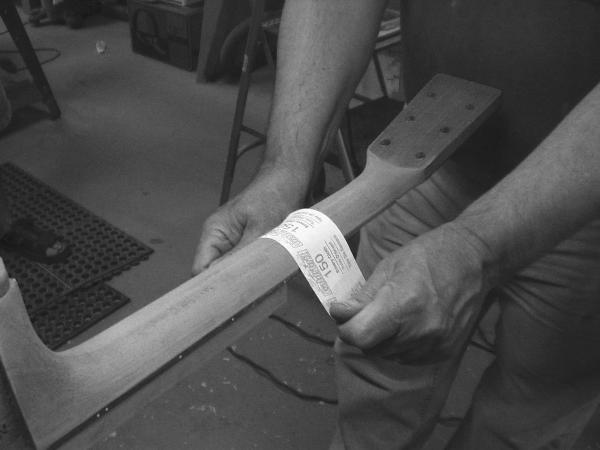
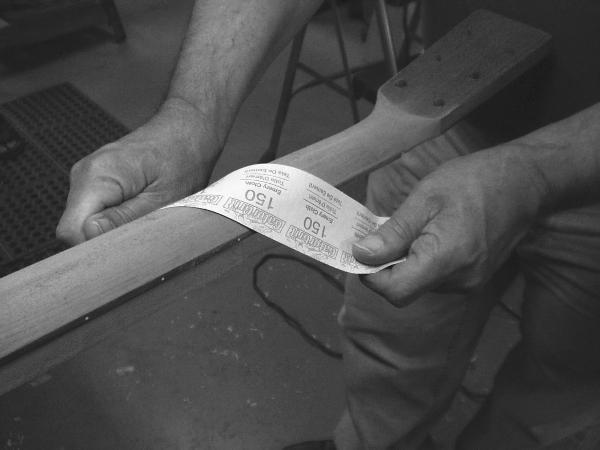
Emery cloth is the best abrasive to use for the neck shaping procedure. It is more
durable than regular sand paper. If Emery is unavailable to you, paper backed sand
paper can be reinforced using duct or packaging tape. To prevent deep scratches the
shaping should be done with nothing less than 150 grit. There is no magic formula for
this process --- without sounding like a smart a** --- you need to sand away everything
that does not look or feel like a guitar neck. Use a guitar with a neck you like as a
model, work slowly. Sanding cross grain is more aggressive but leaves more scratches.
When properly executed the edge of the fingerboard actually takes on a slight
curvature, which in turn unifies the two pieces.

When you are satisfied with the look and feel of the arm portion, reposition and
re-clamp the assembly so you can access the heel. Take care not to remove too much
material and work to keep both sides symmetrical.
re-clamp the assembly so you can access the heel. Take care not to remove too much
material and work to keep both sides symmetrical.
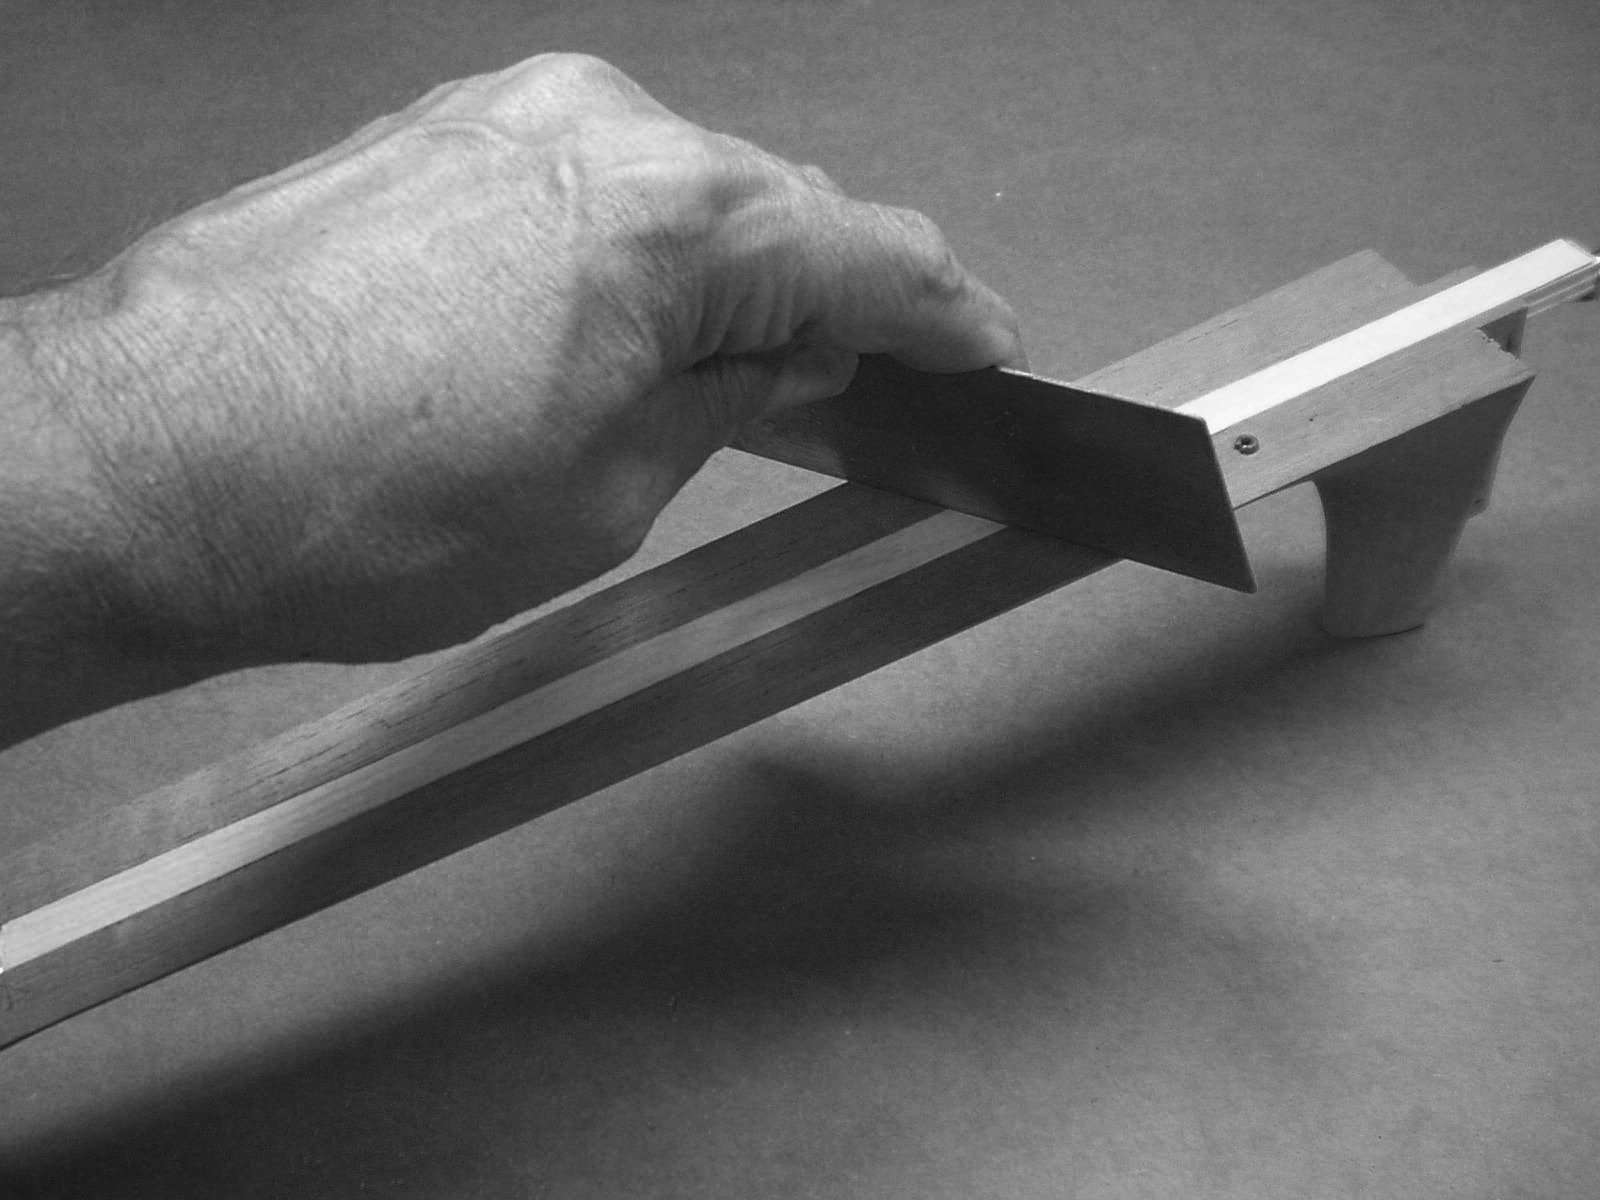
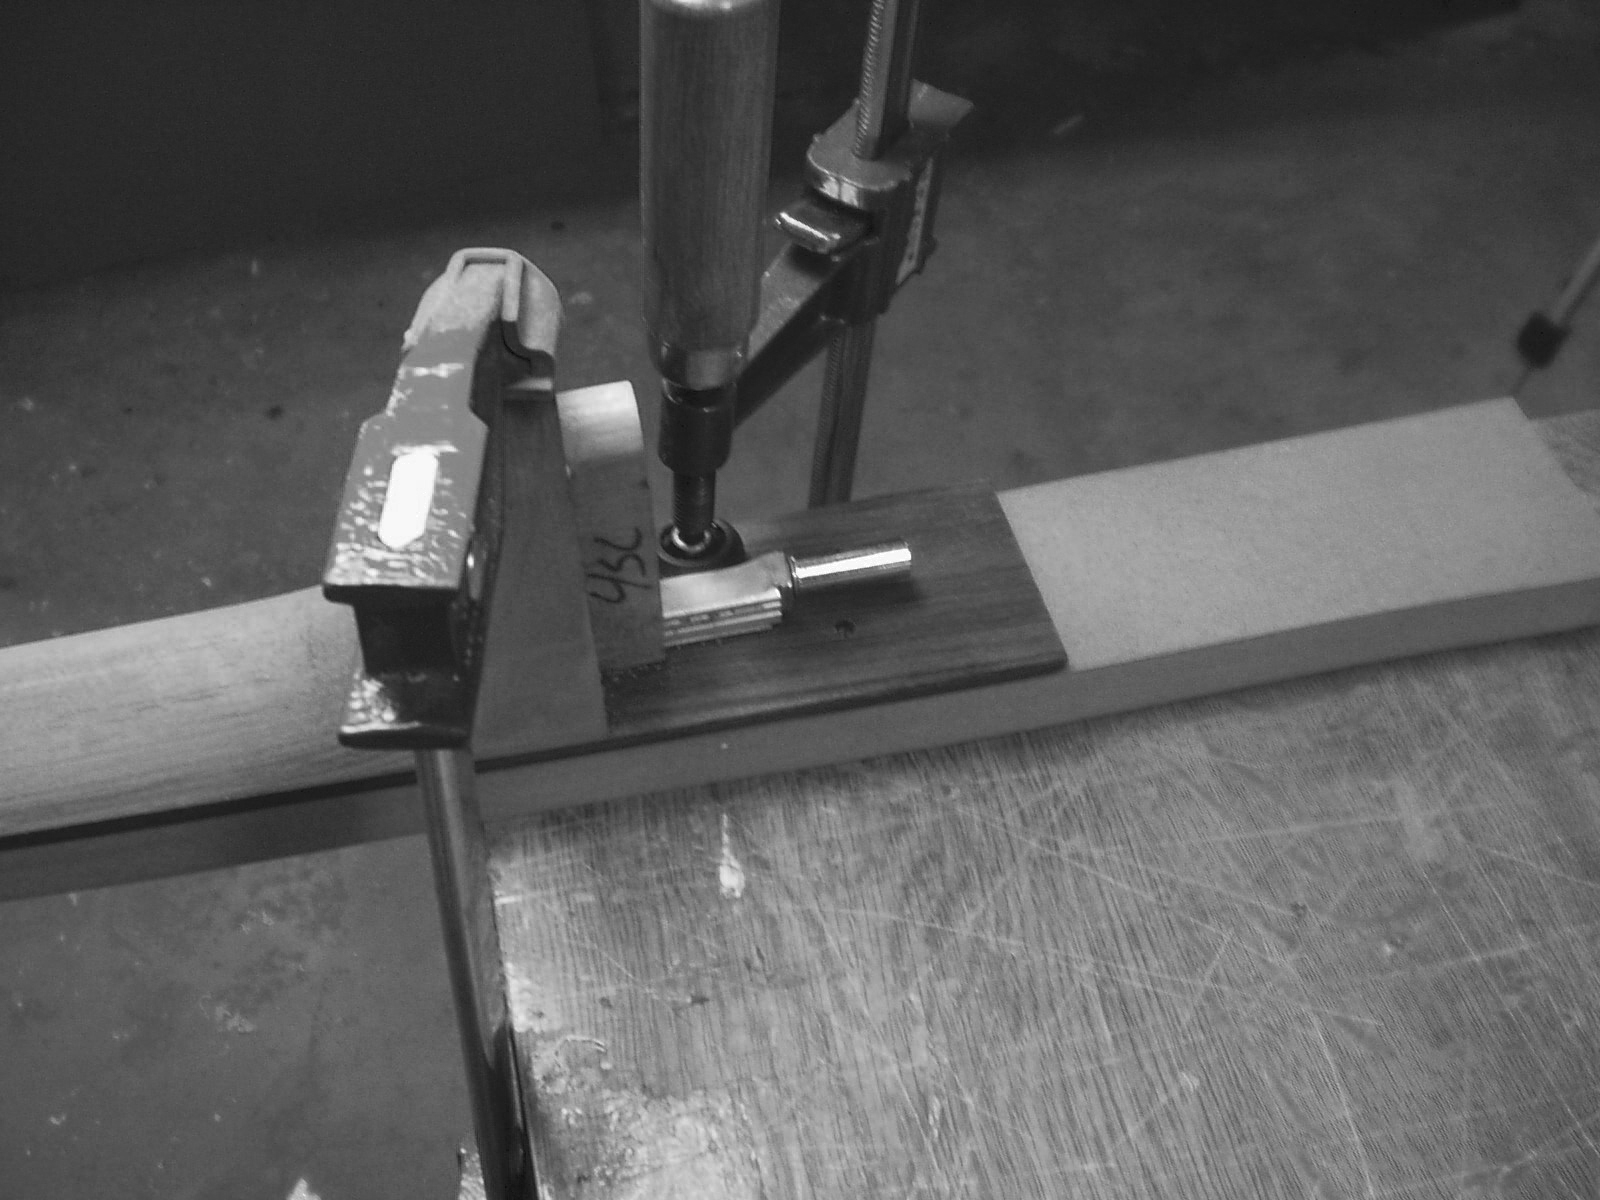
More multi-tasking for the fingerboard caul --- the caul will now be used as a straight
edge, saw guide to trim the head stock veneer at the proper angle. The photos below
illustrate how to notch the topside of the caul to allow clearance for the spine of the razor
saw.
edge, saw guide to trim the head stock veneer at the proper angle. The photos below
illustrate how to notch the topside of the caul to allow clearance for the spine of the razor
saw.
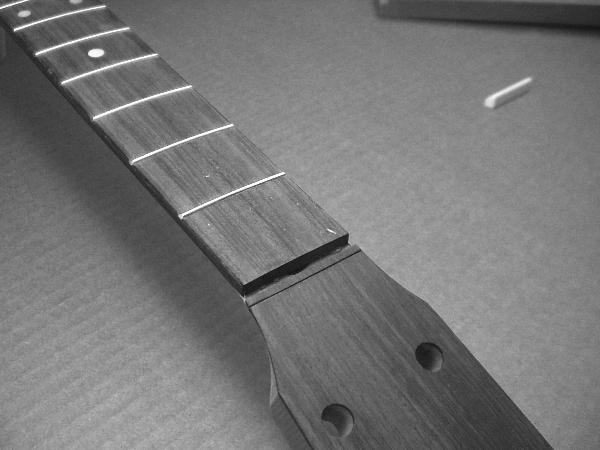
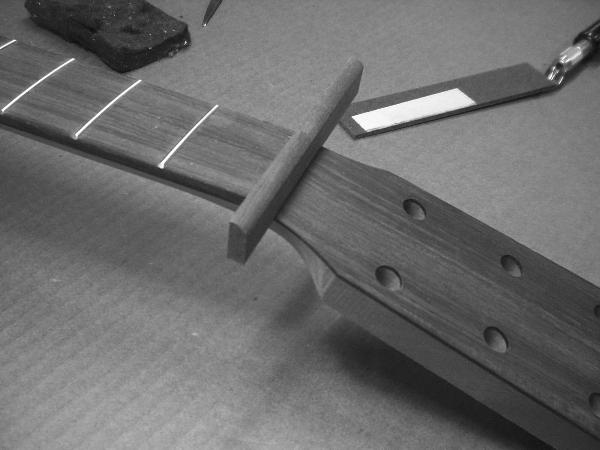
In preparation to trim the headstock veneer aligning the nut against the end of the
fingerboard than carefully draw a line on the veneer. The caul is then lined up above the
mark.
fingerboard than carefully draw a line on the veneer. The caul is then lined up above the
mark.
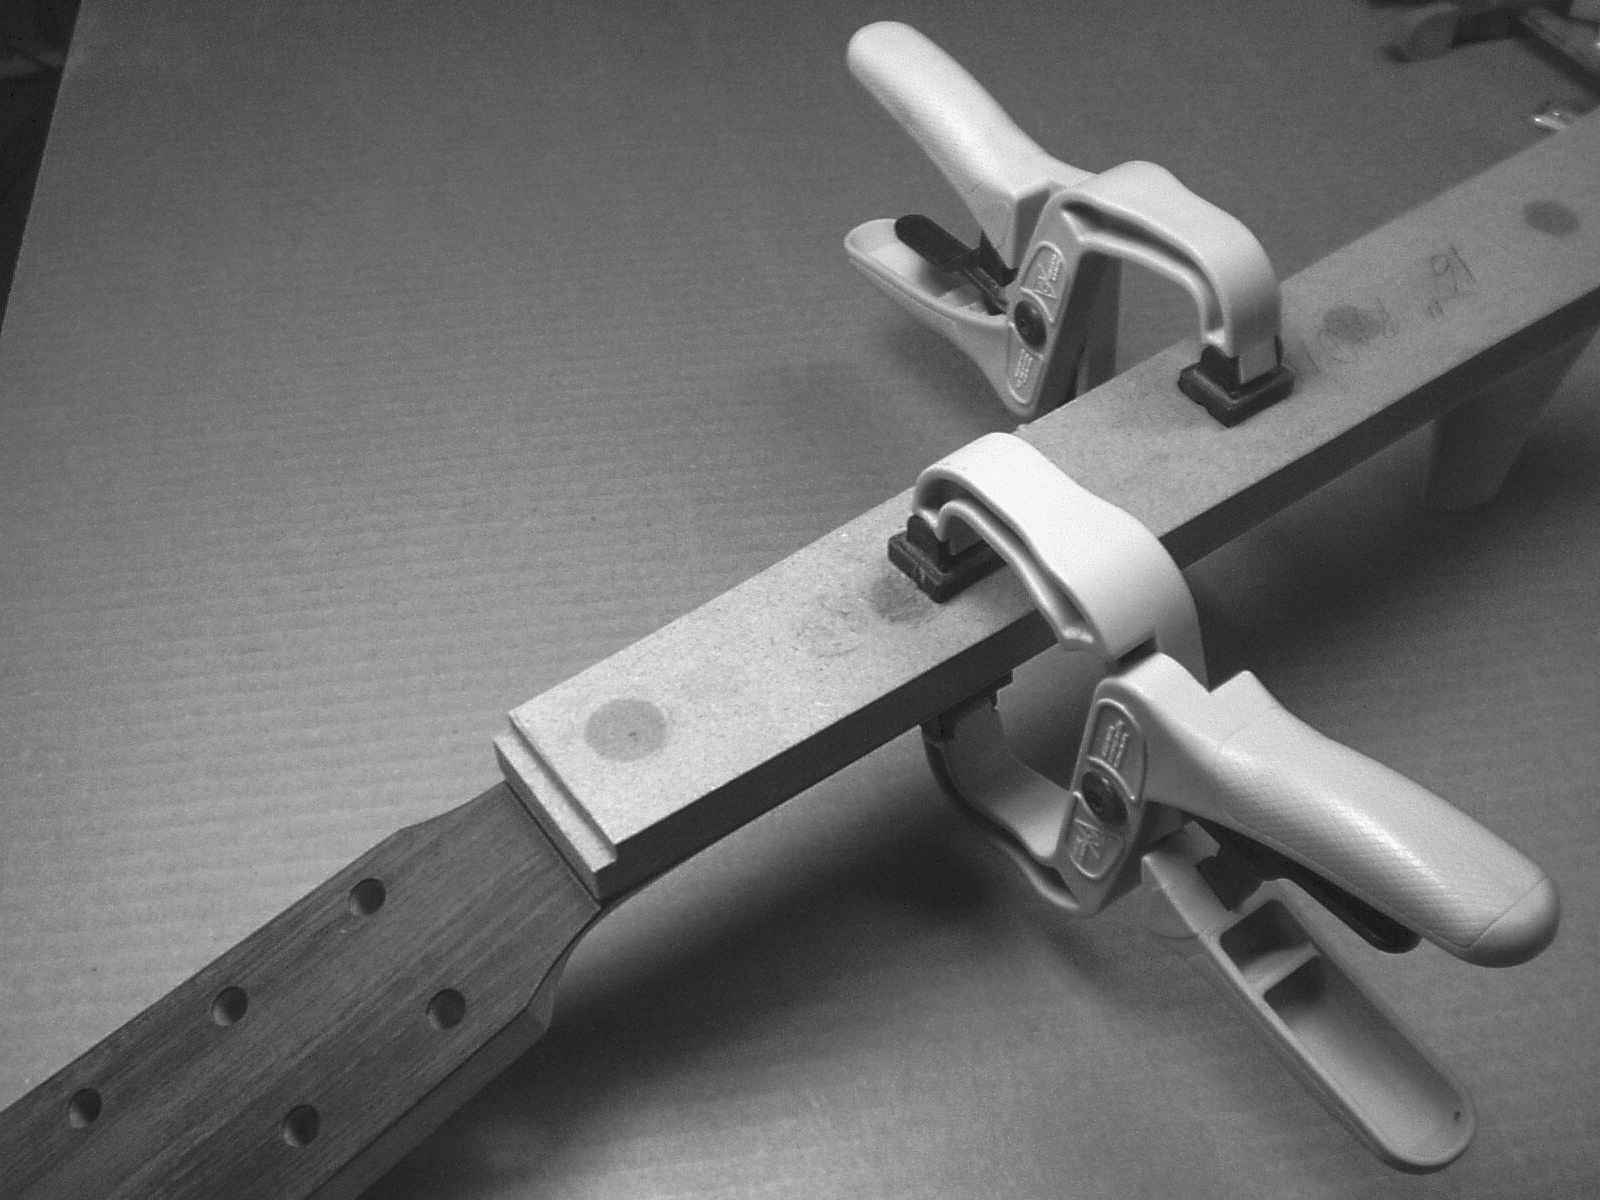
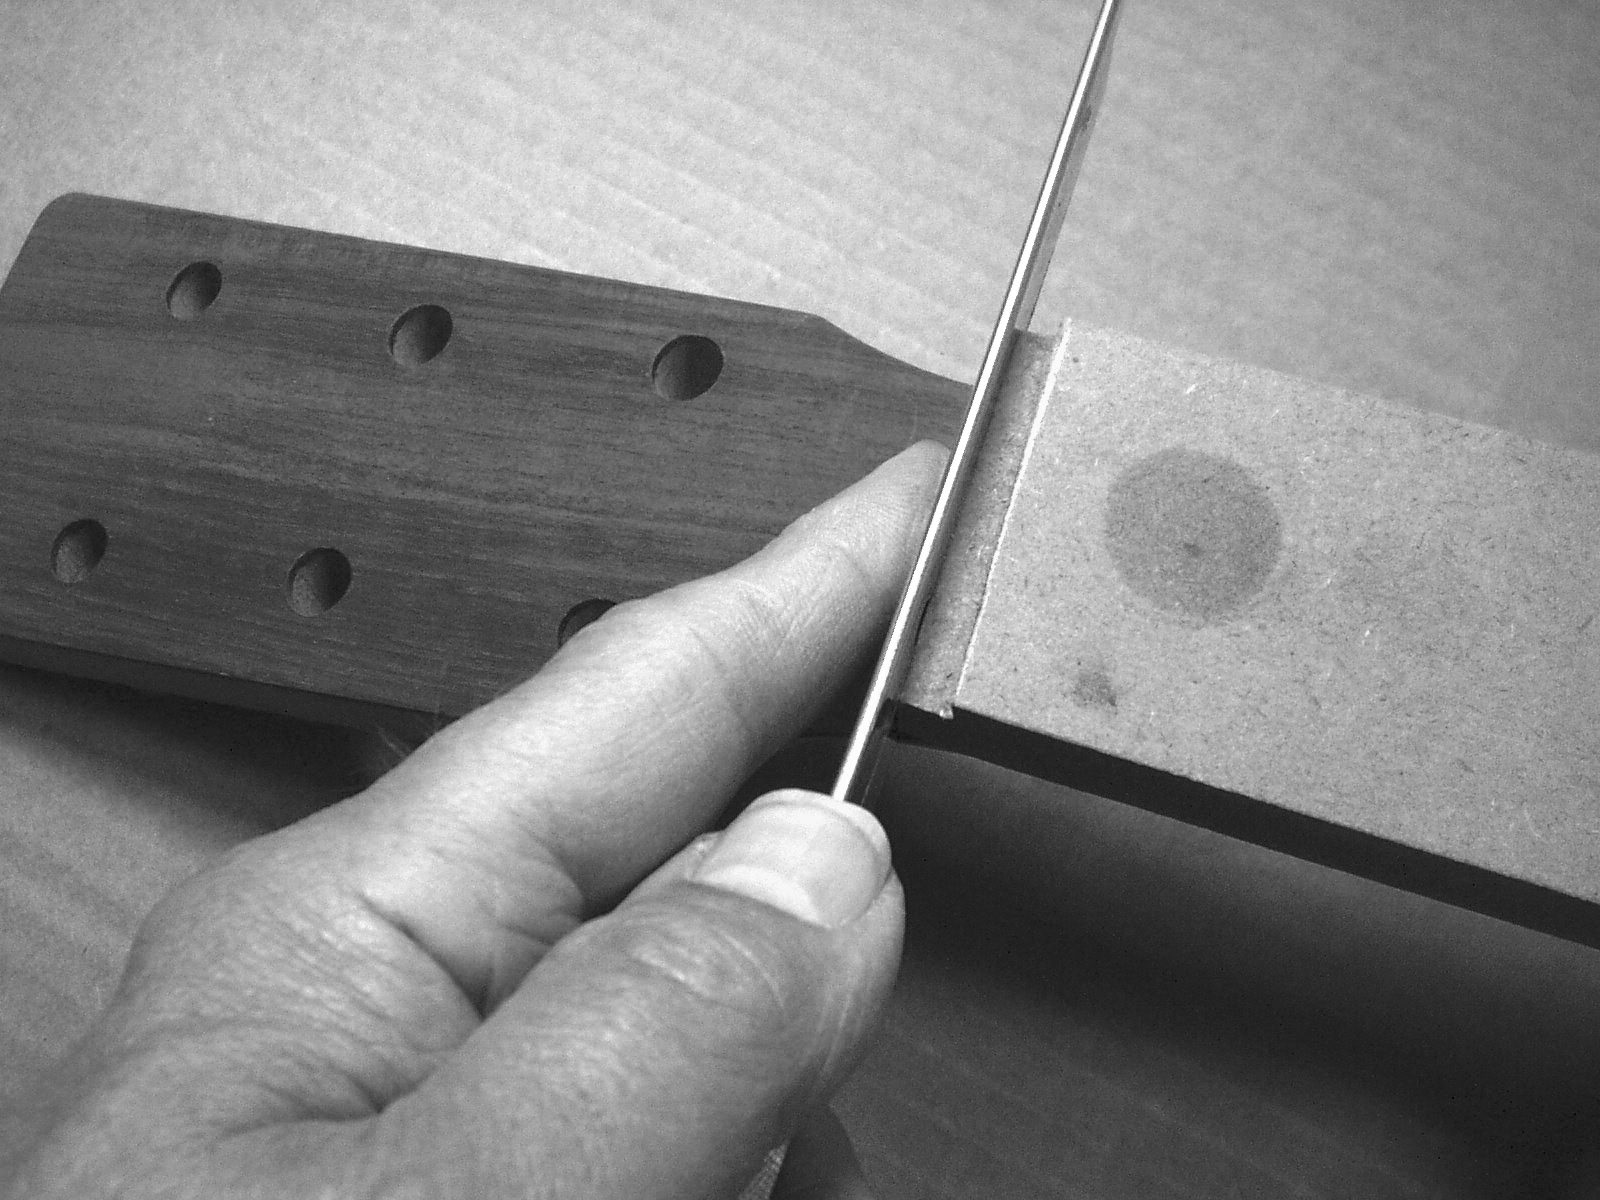
Note that this set-up allows a cut that is
perpendicular and parallel to the end
of the fingerboard. The notch in the
caul provides the clearance so that the
spine of the razor saw does not
contact the guiding edge.
perpendicular and parallel to the end
of the fingerboard. The notch in the
caul provides the clearance so that the
spine of the razor saw does not
contact the guiding edge.
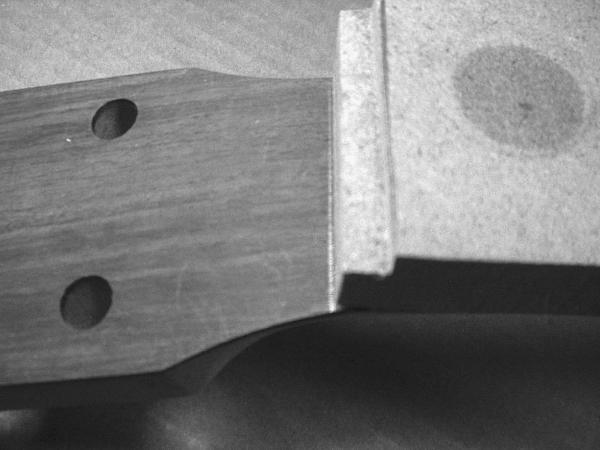
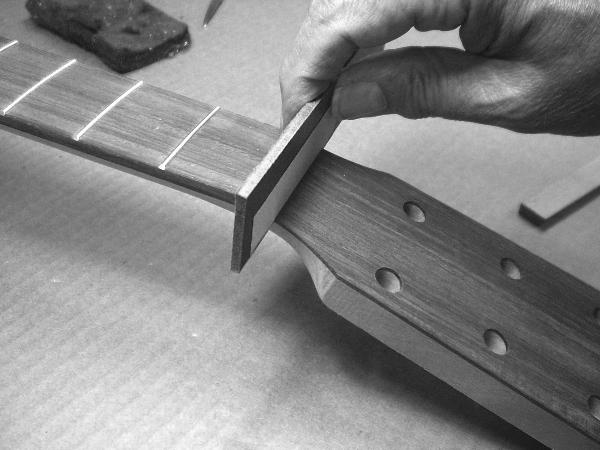
Holding the razor saw tight against the guide saw through the headstock veneer being
careful not to cut into the neck.
careful not to cut into the neck.
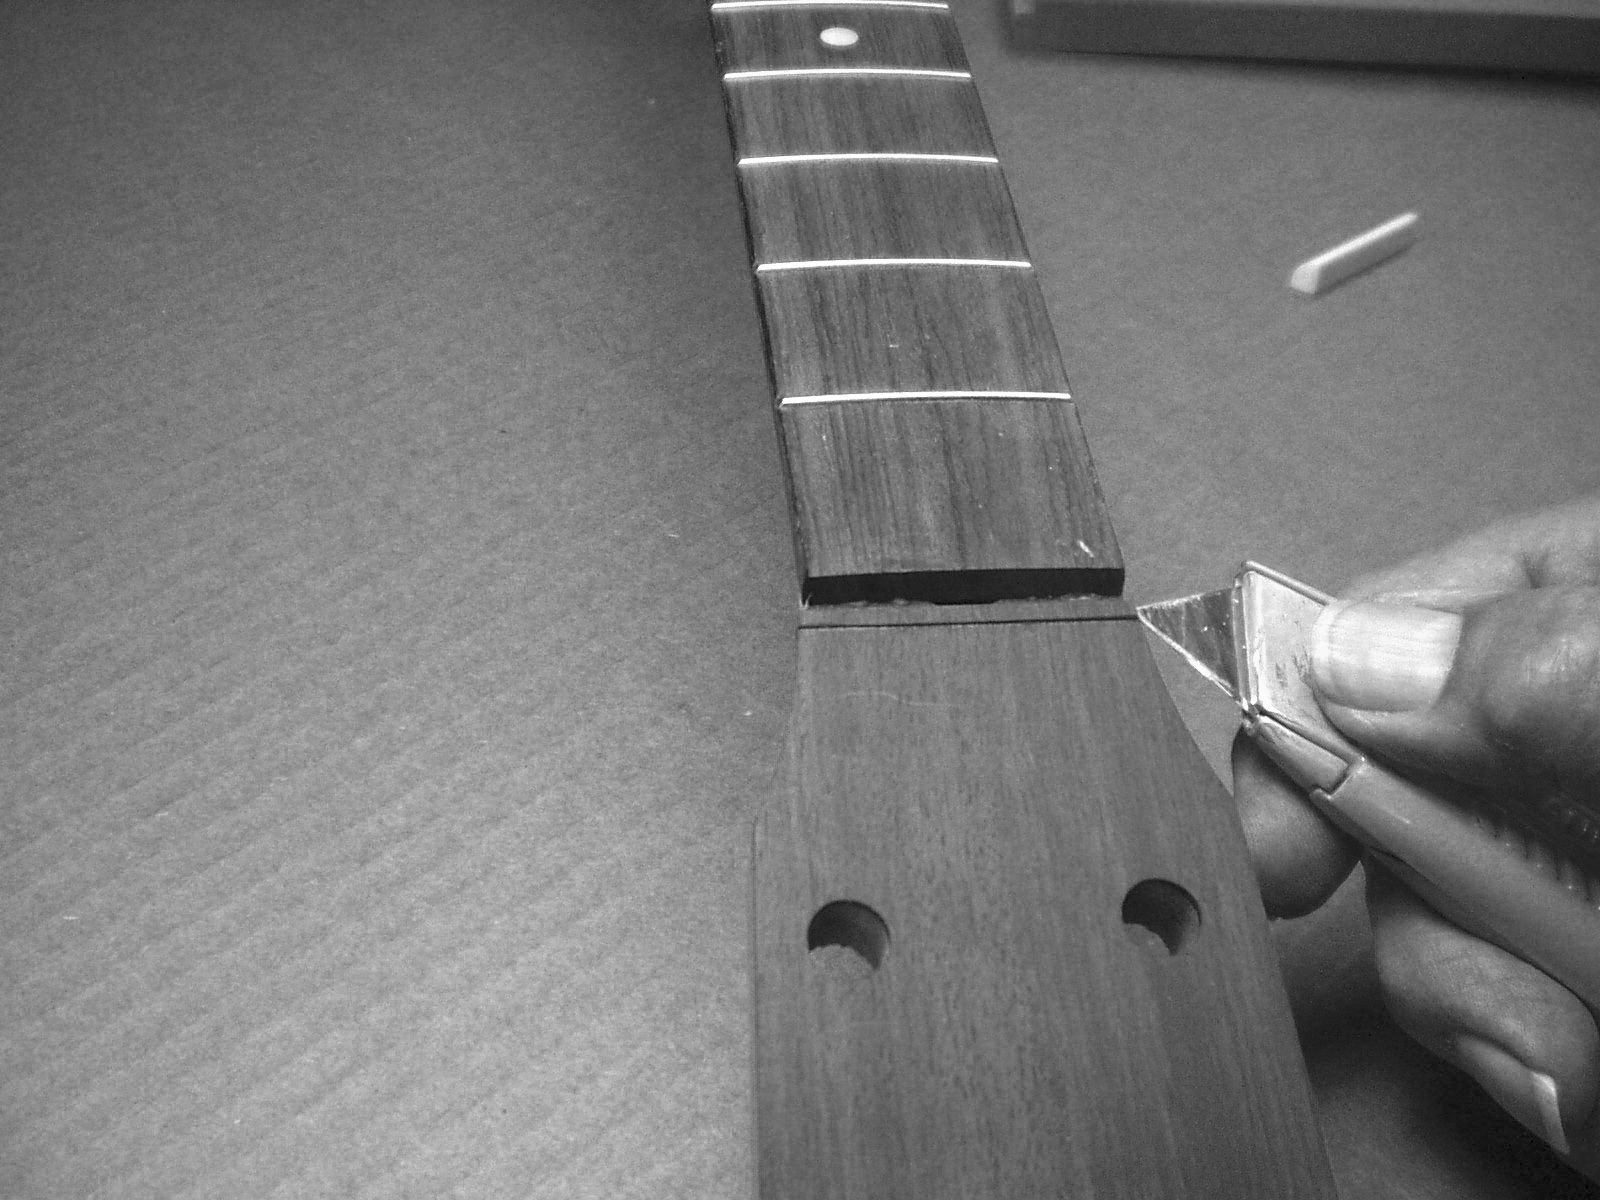
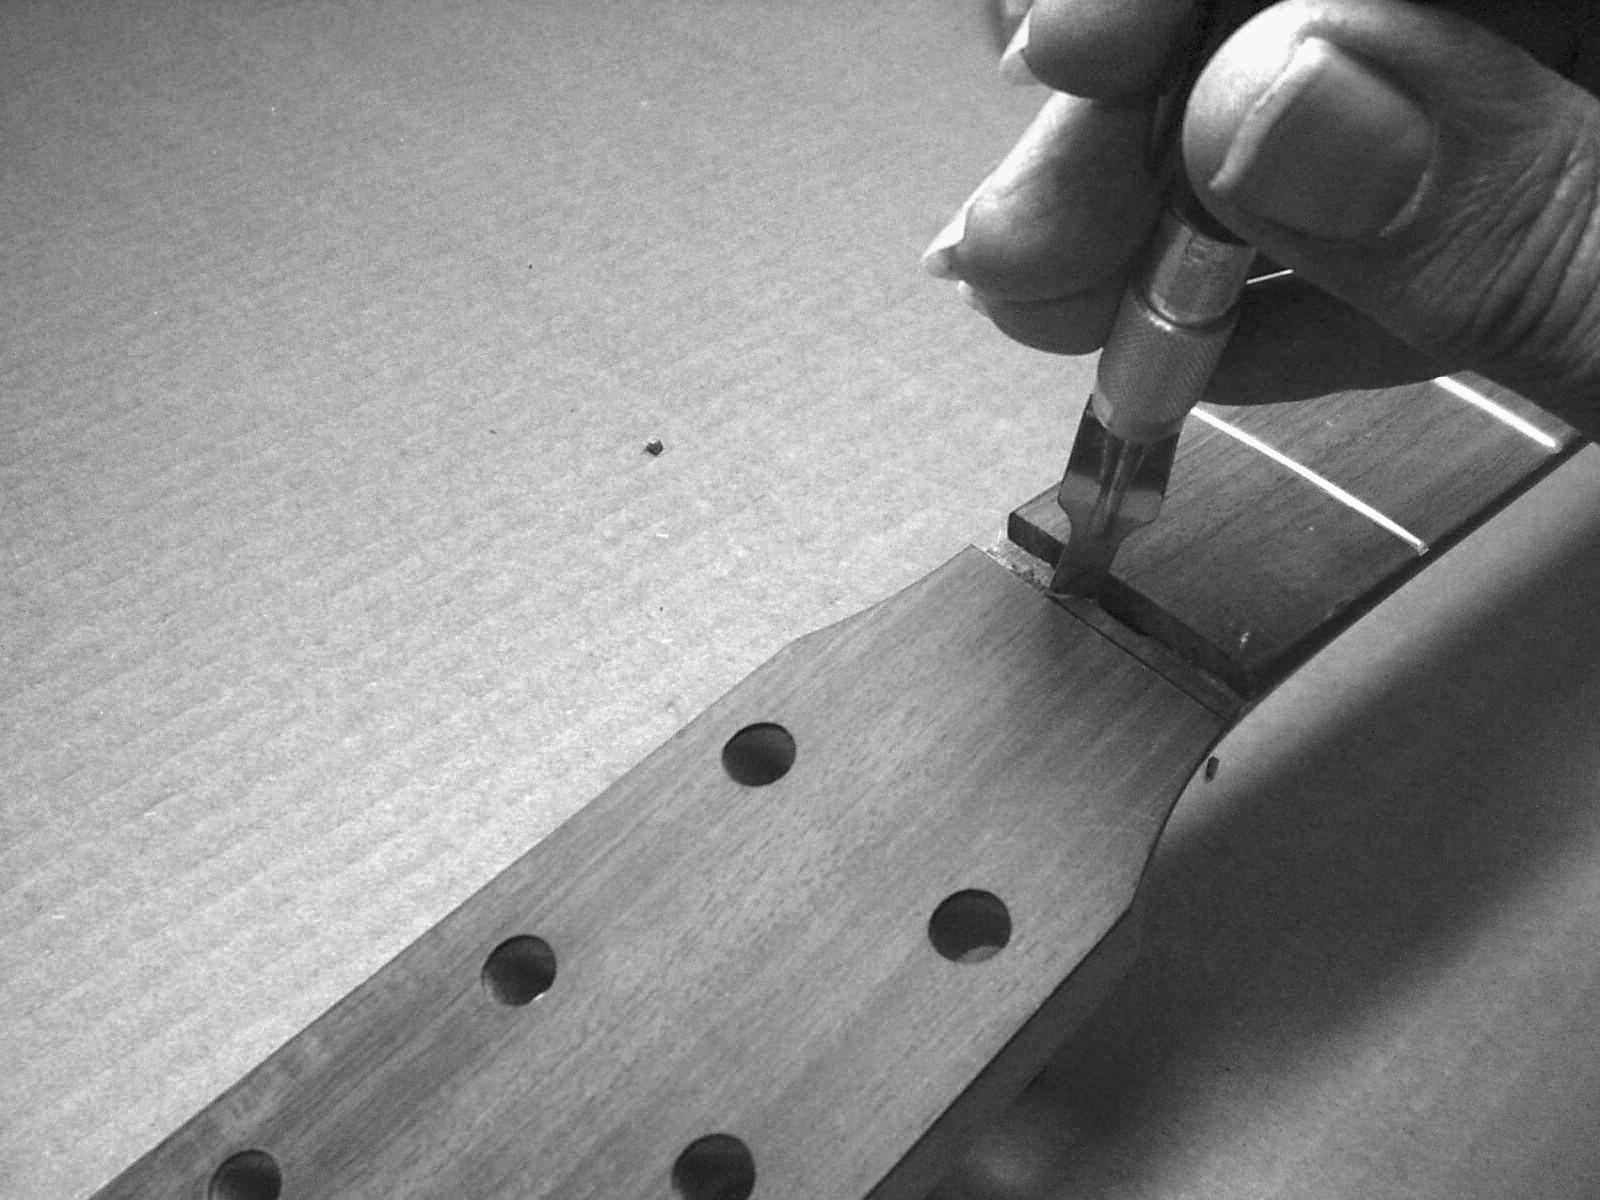
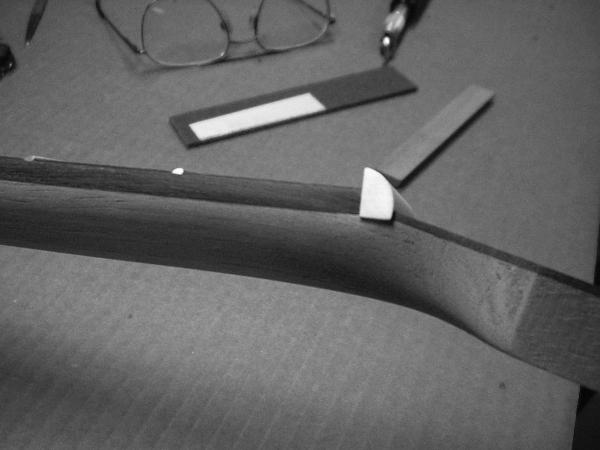
Use a utility or Exacto knife to carefully separate the cutoff section of veneer from the
neck at each side of the headstock. Use a small chisel to clear the cutoff from the nut
slot.
neck at each side of the headstock. Use a small chisel to clear the cutoff from the nut
slot.
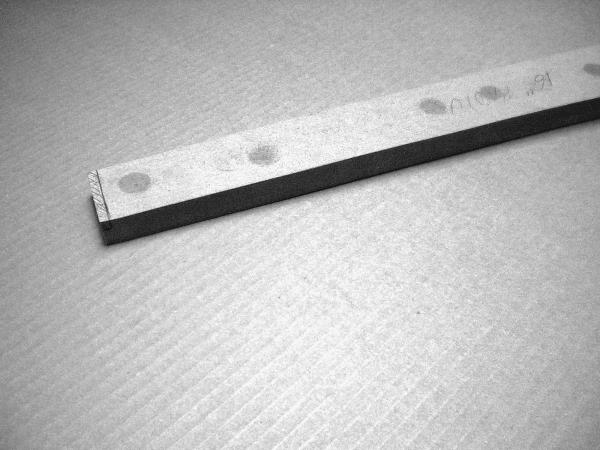
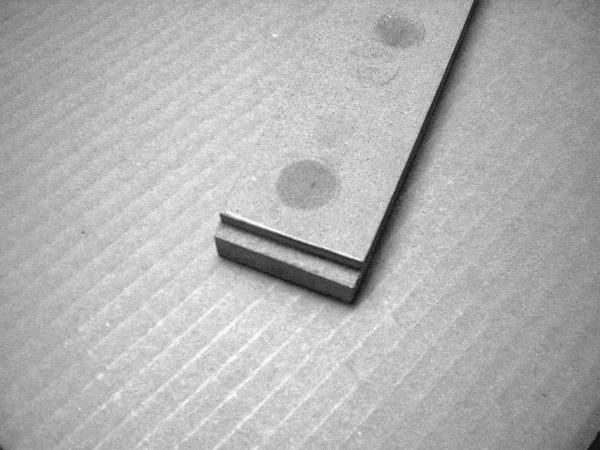
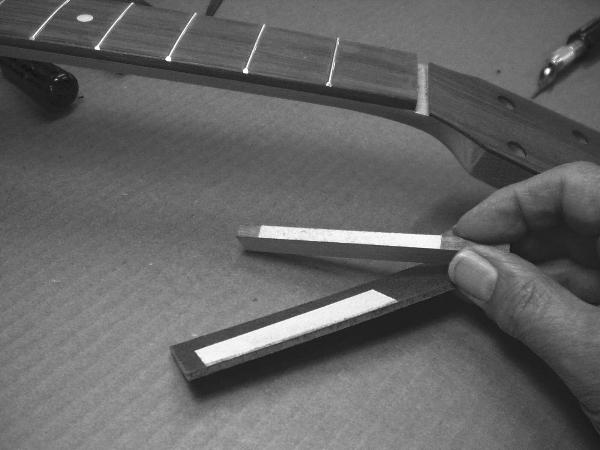
To add refinement to the nut slot two special sanding sticks are made. One is the
exact width of the nut and has sand paper glue to the bottom. The second stick is
made of ¾” x 1/8” Masonite and has sand paper glue to wide side.
exact width of the nut and has sand paper glue to the bottom. The second stick is
made of ¾” x 1/8” Masonite and has sand paper glue to wide side.
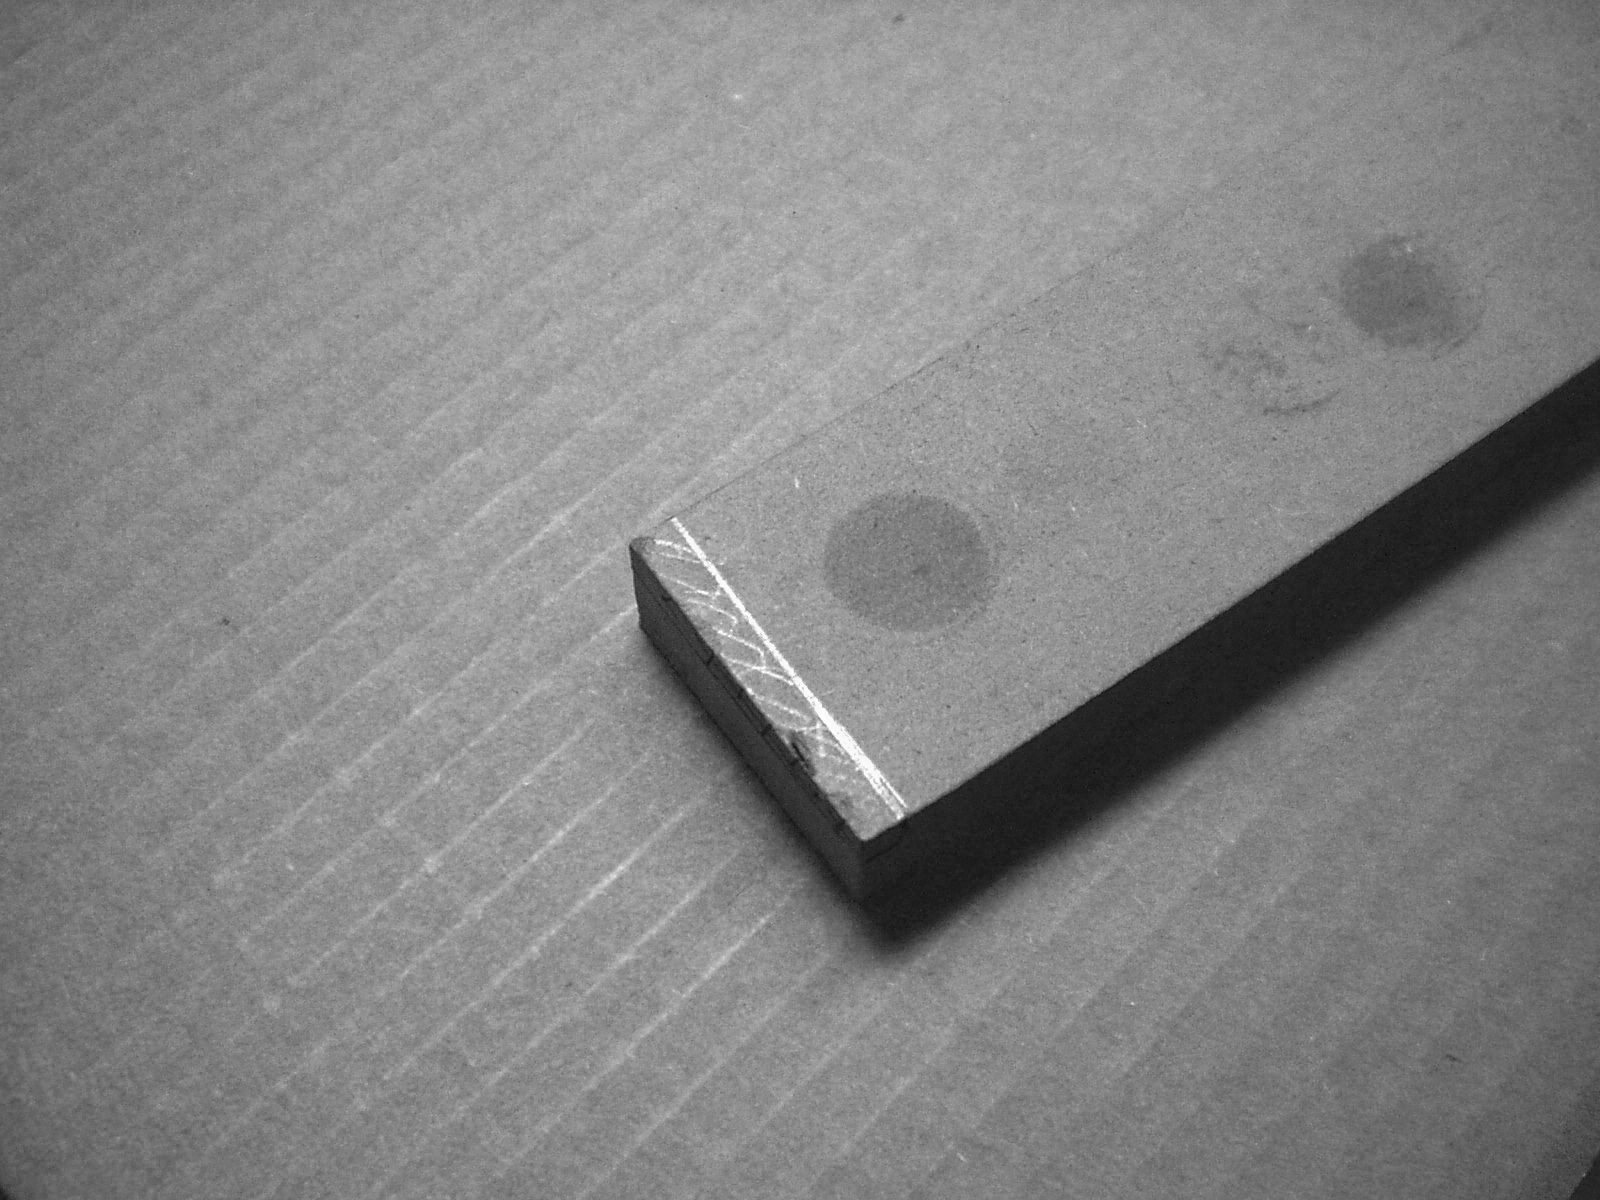
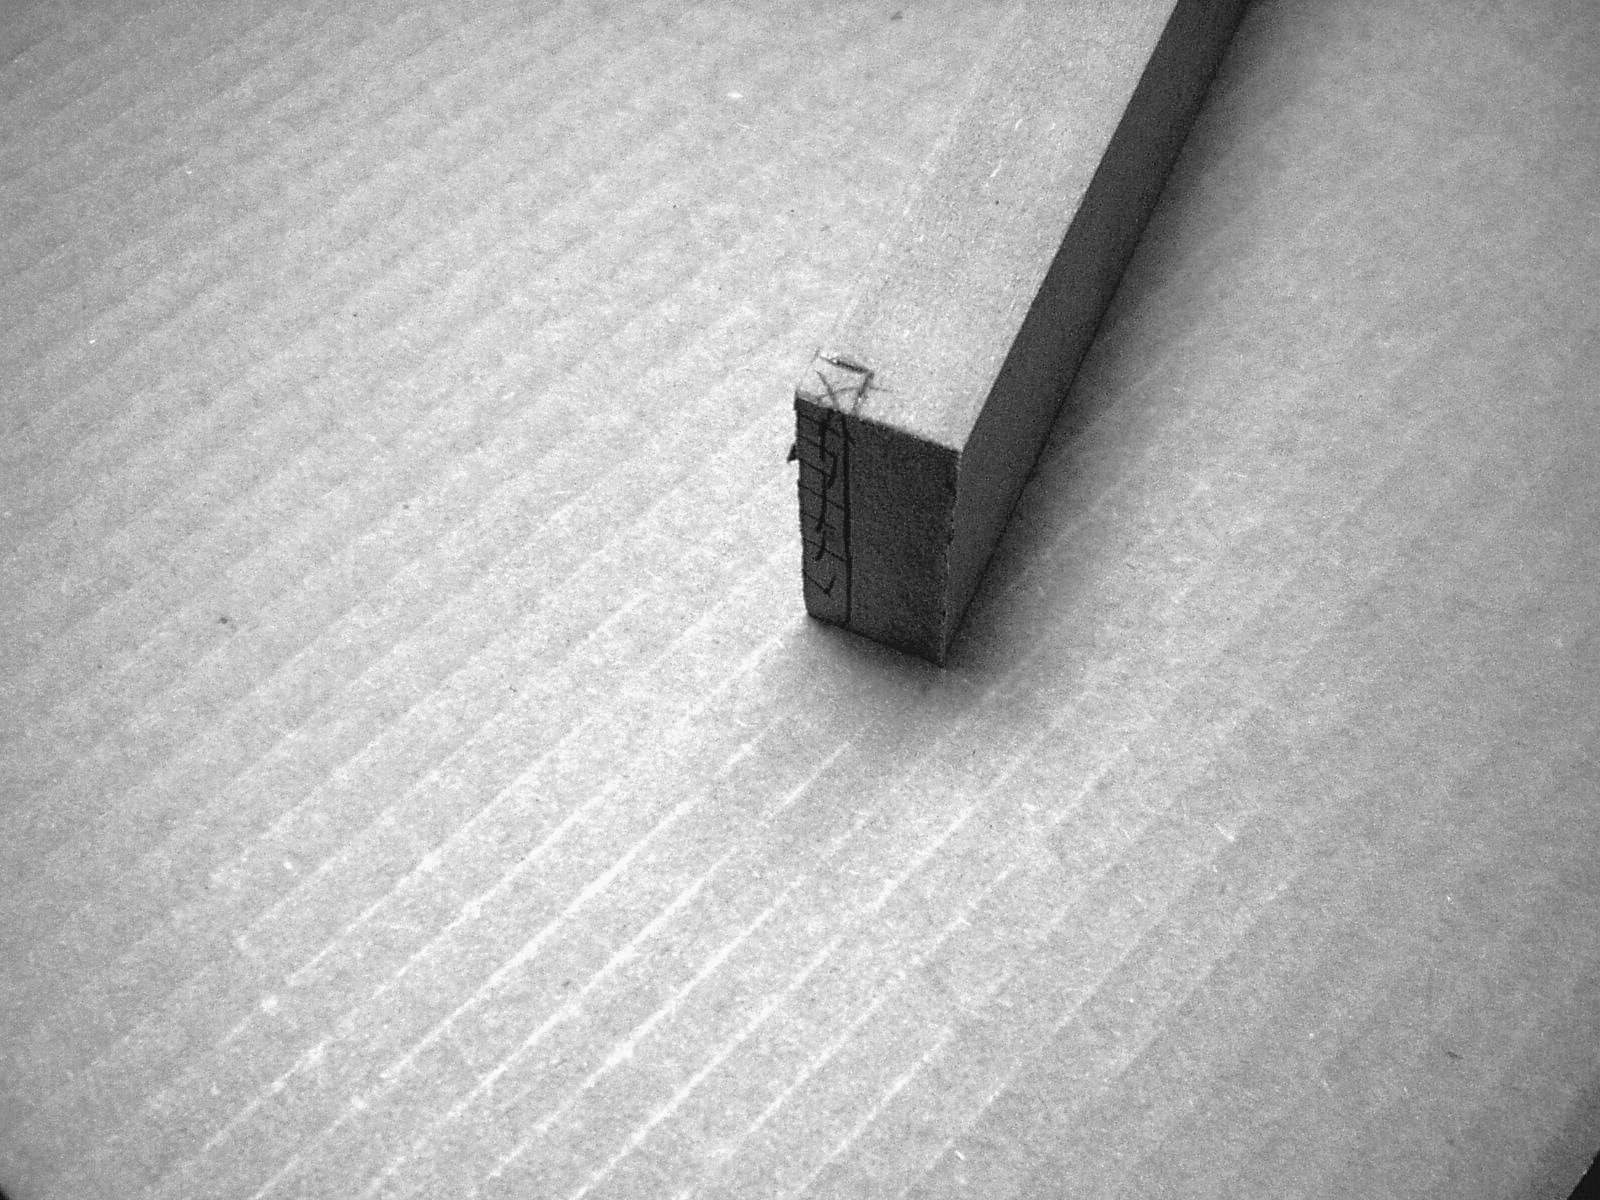
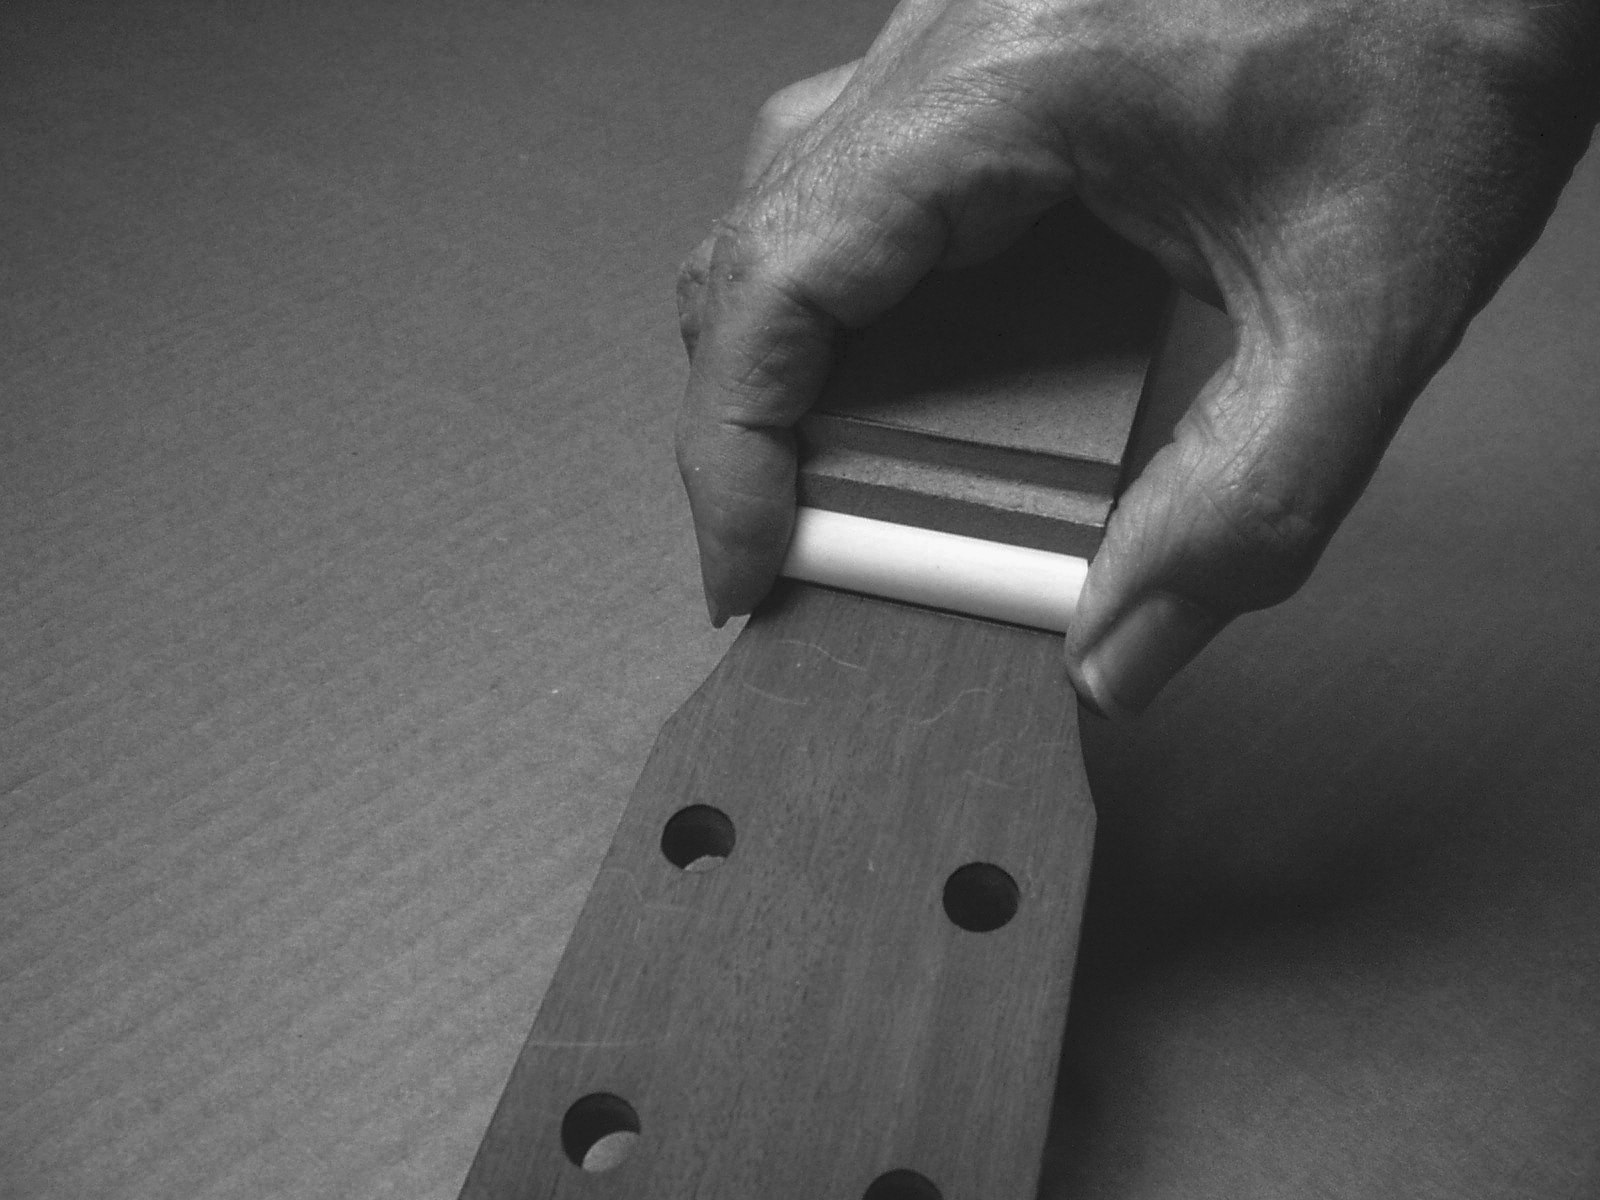
| Carefully smooth the bottom of the nut slot |
| Using the 1/8" thick sanding stick smooth the edge of the veneer |
| The nut should fit snug in the slot with no tendencies to tilt or rock in any direction |
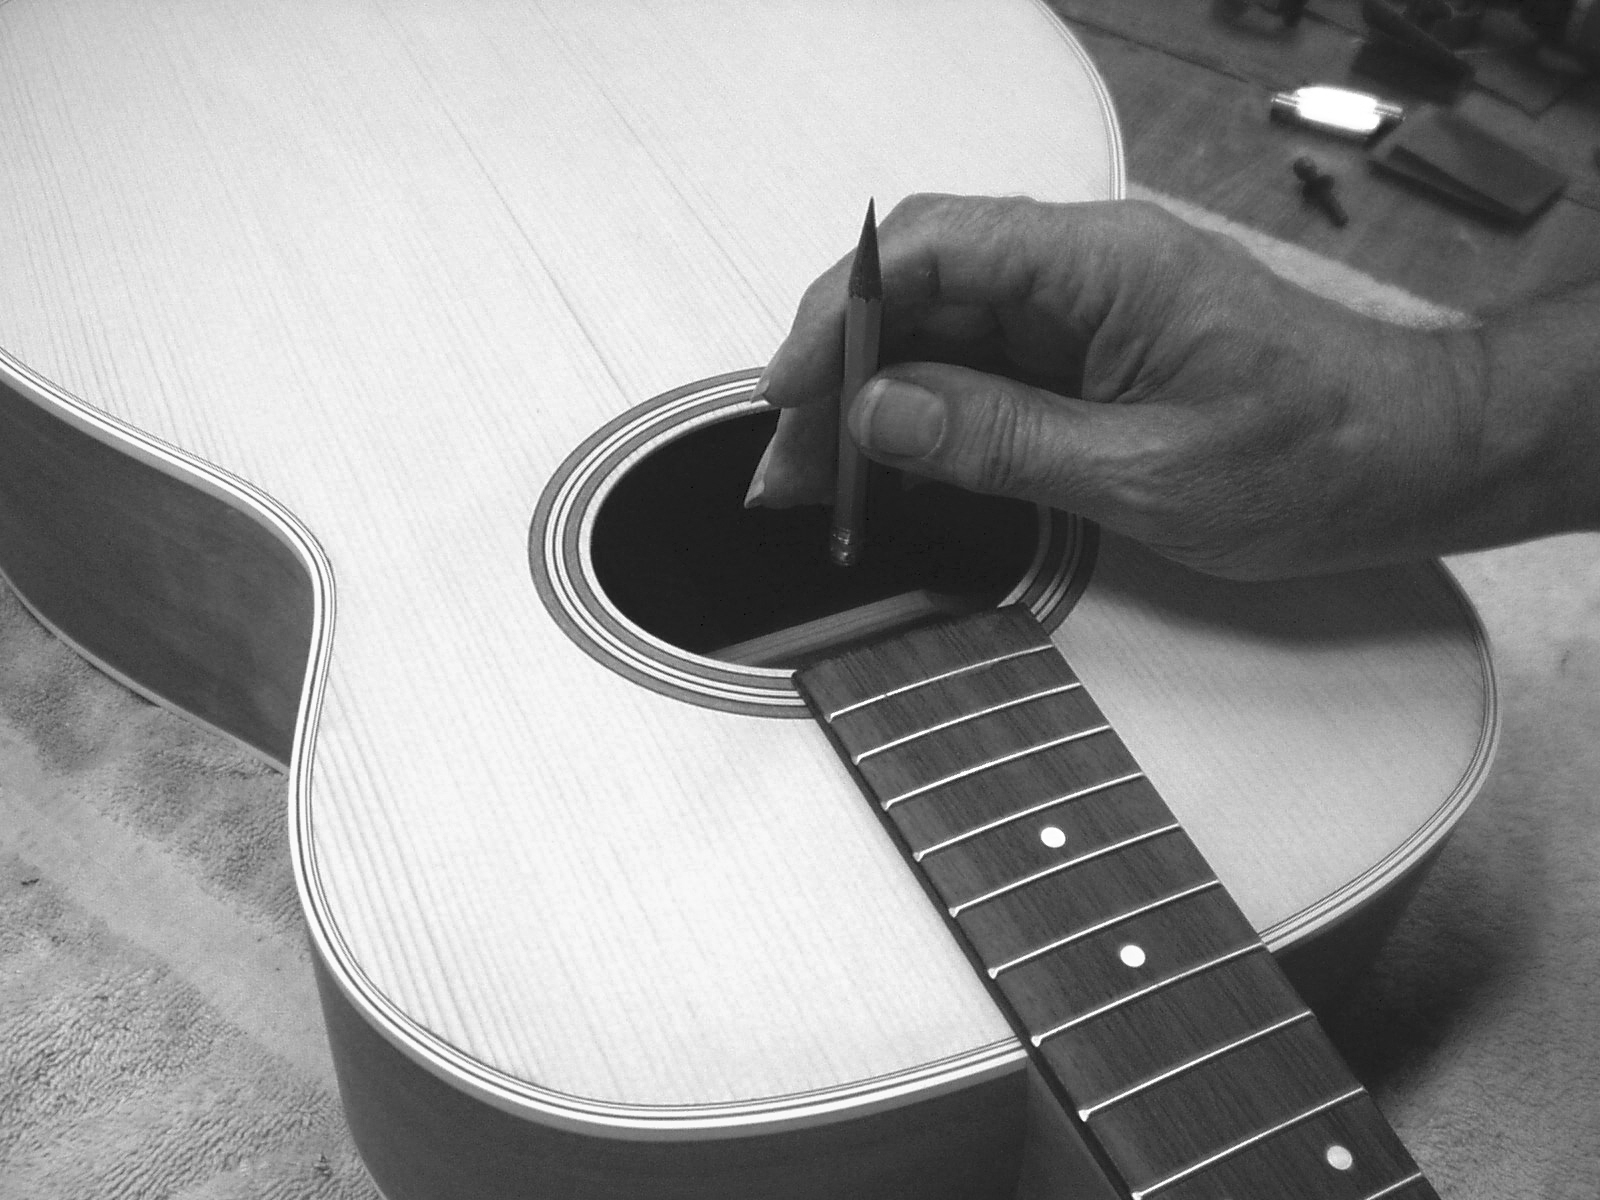
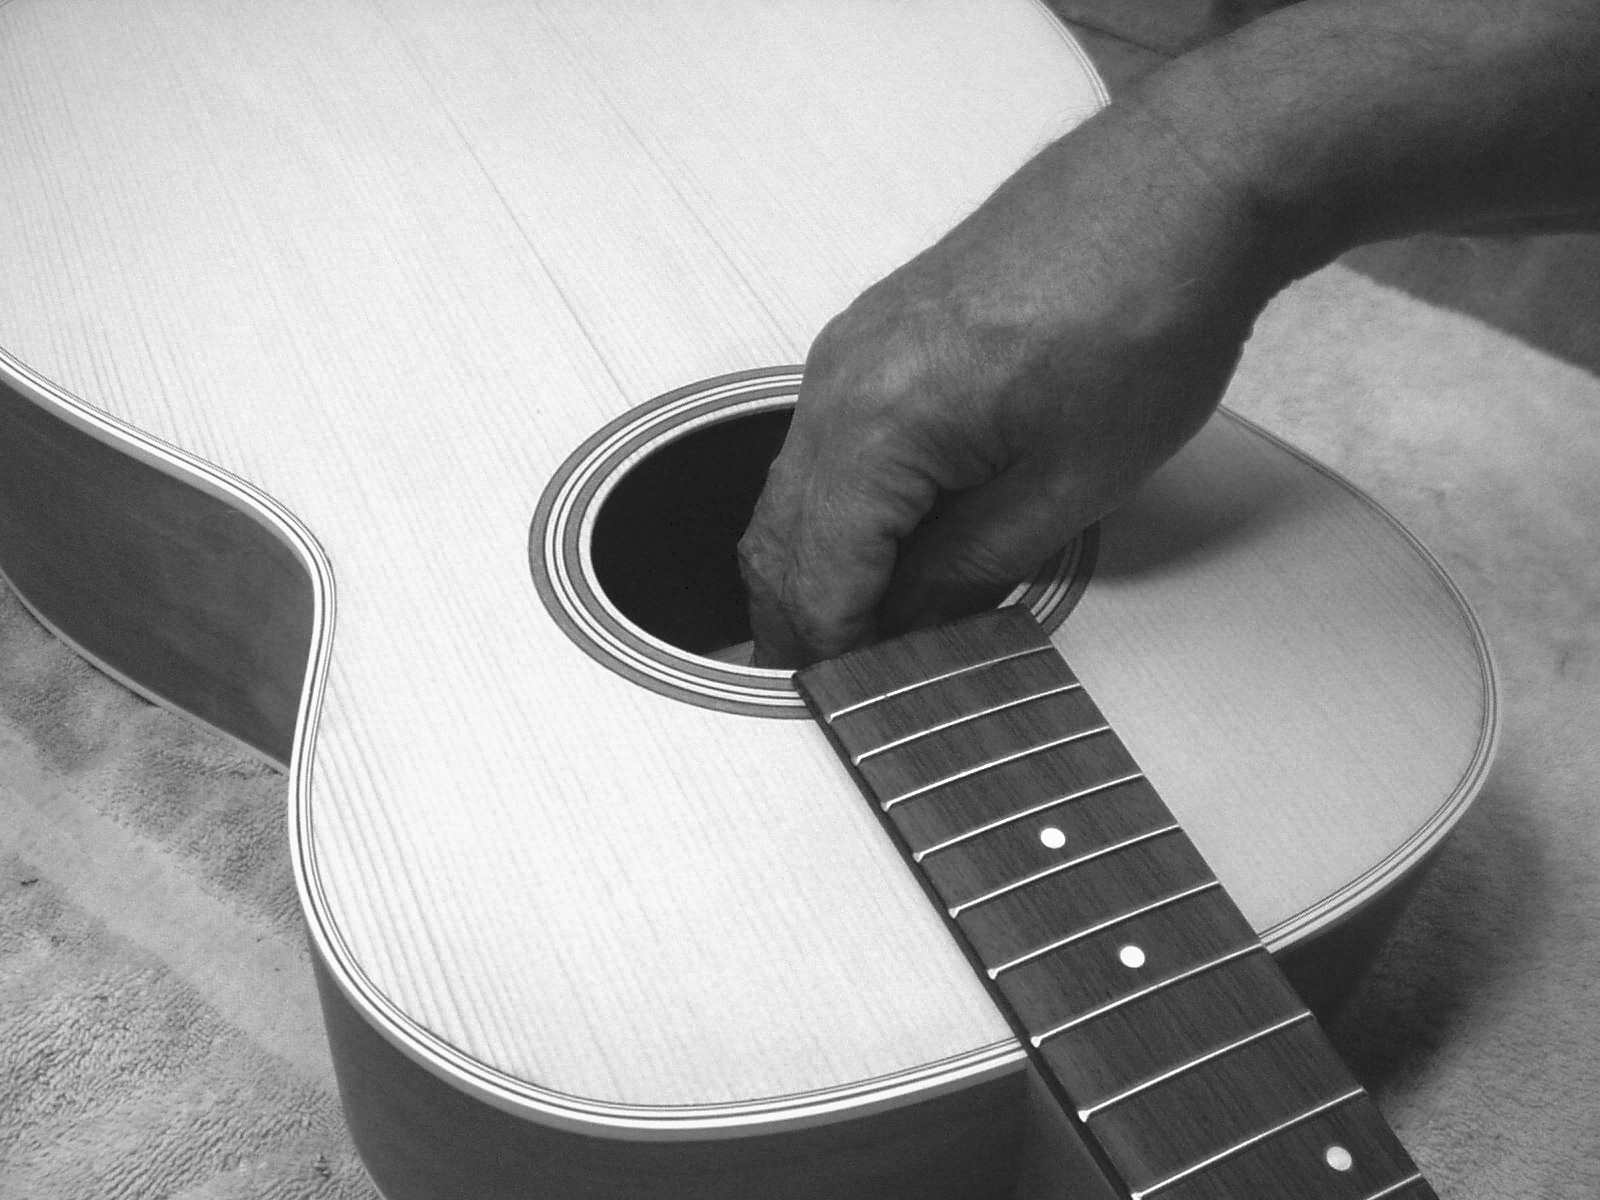
The fingerboard extension needs to be trimmed to match the sound hole. Using the
supplied fasteners secure the neck assembly to the body. Mark the bottom of the
fingerboard where it intersects the sound hole.
supplied fasteners secure the neck assembly to the body. Mark the bottom of the
fingerboard where it intersects the sound hole.
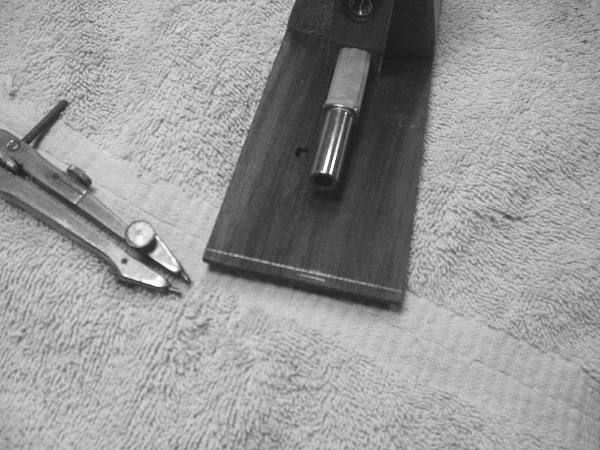
Use a compass to draw a line along the edge of the fingerboard extension. The
compass is set to the mark previously made plus approximately 1/16”. This will result in
a slight reveal between the sound hole and the end of the fingerboard. Generally, the
reveal is held shy of the rosette and this is our preference as well.
compass is set to the mark previously made plus approximately 1/16”. This will result in
a slight reveal between the sound hole and the end of the fingerboard. Generally, the
reveal is held shy of the rosette and this is our preference as well.
| Double-check your measurements, than carefully cut of the fingerboard along the line. |
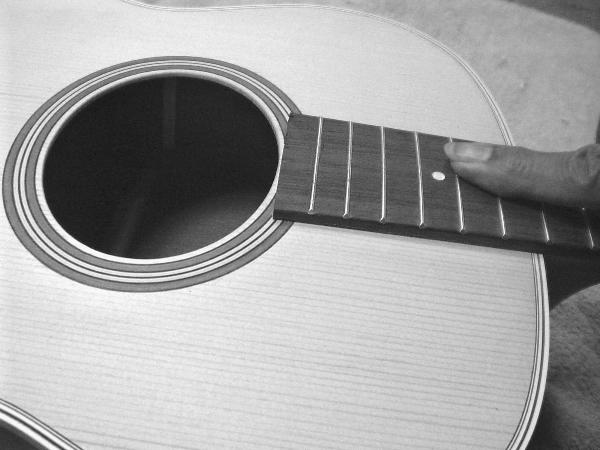
| Finally, sand the end of the fingerboard to form a gentle radius. |
Go HERE first ----- Tenon end of the neck needs some fine tuning before gluing
on the fingerboard --- click on this message
on the fingerboard --- click on this message
Now - before attaching the
fingerboard to the neck -- is a
good time to prepare the neck
heel and cheek perimeter
surface. Go HERE to find out
how to do it and why it must be
done.
fingerboard to the neck -- is a
good time to prepare the neck
heel and cheek perimeter
surface. Go HERE to find out
how to do it and why it must be
done.
The fingerboard is positioned on the neck with the center of the 12th
or 14th fret slot on the body/neck joint. Take care to center the board
on the neck (KMG necks are left over-size to allow for different FB
width preferences.) Once in the proper position, clamp/tape the
finger-board to the neck. Drill two #54 size holes into the neck through
the 3rd and 13th (or 11th) fret slots. Insert #18 brads in the holes keep
the FB in the proper position. Remember that frets for these two slots
are install AFTER the fingerboard is glued to the neck